To configure the author name and email address to be used with your commits
git init
To initialize a new local repository
git clone /path/to/repository
To create a working copy of a local repository
git add
To add one or more files to staging
git commit -m "Commit message"
Commit changes to head (but not yet to the remote repository)
git commit -a
Commit any files you've added with git add, and also commit any files you've changed since then
git push origin master
Send changes to the master branch of your remote repository
git status
List the files you've changed and those you still need to add or commit
......
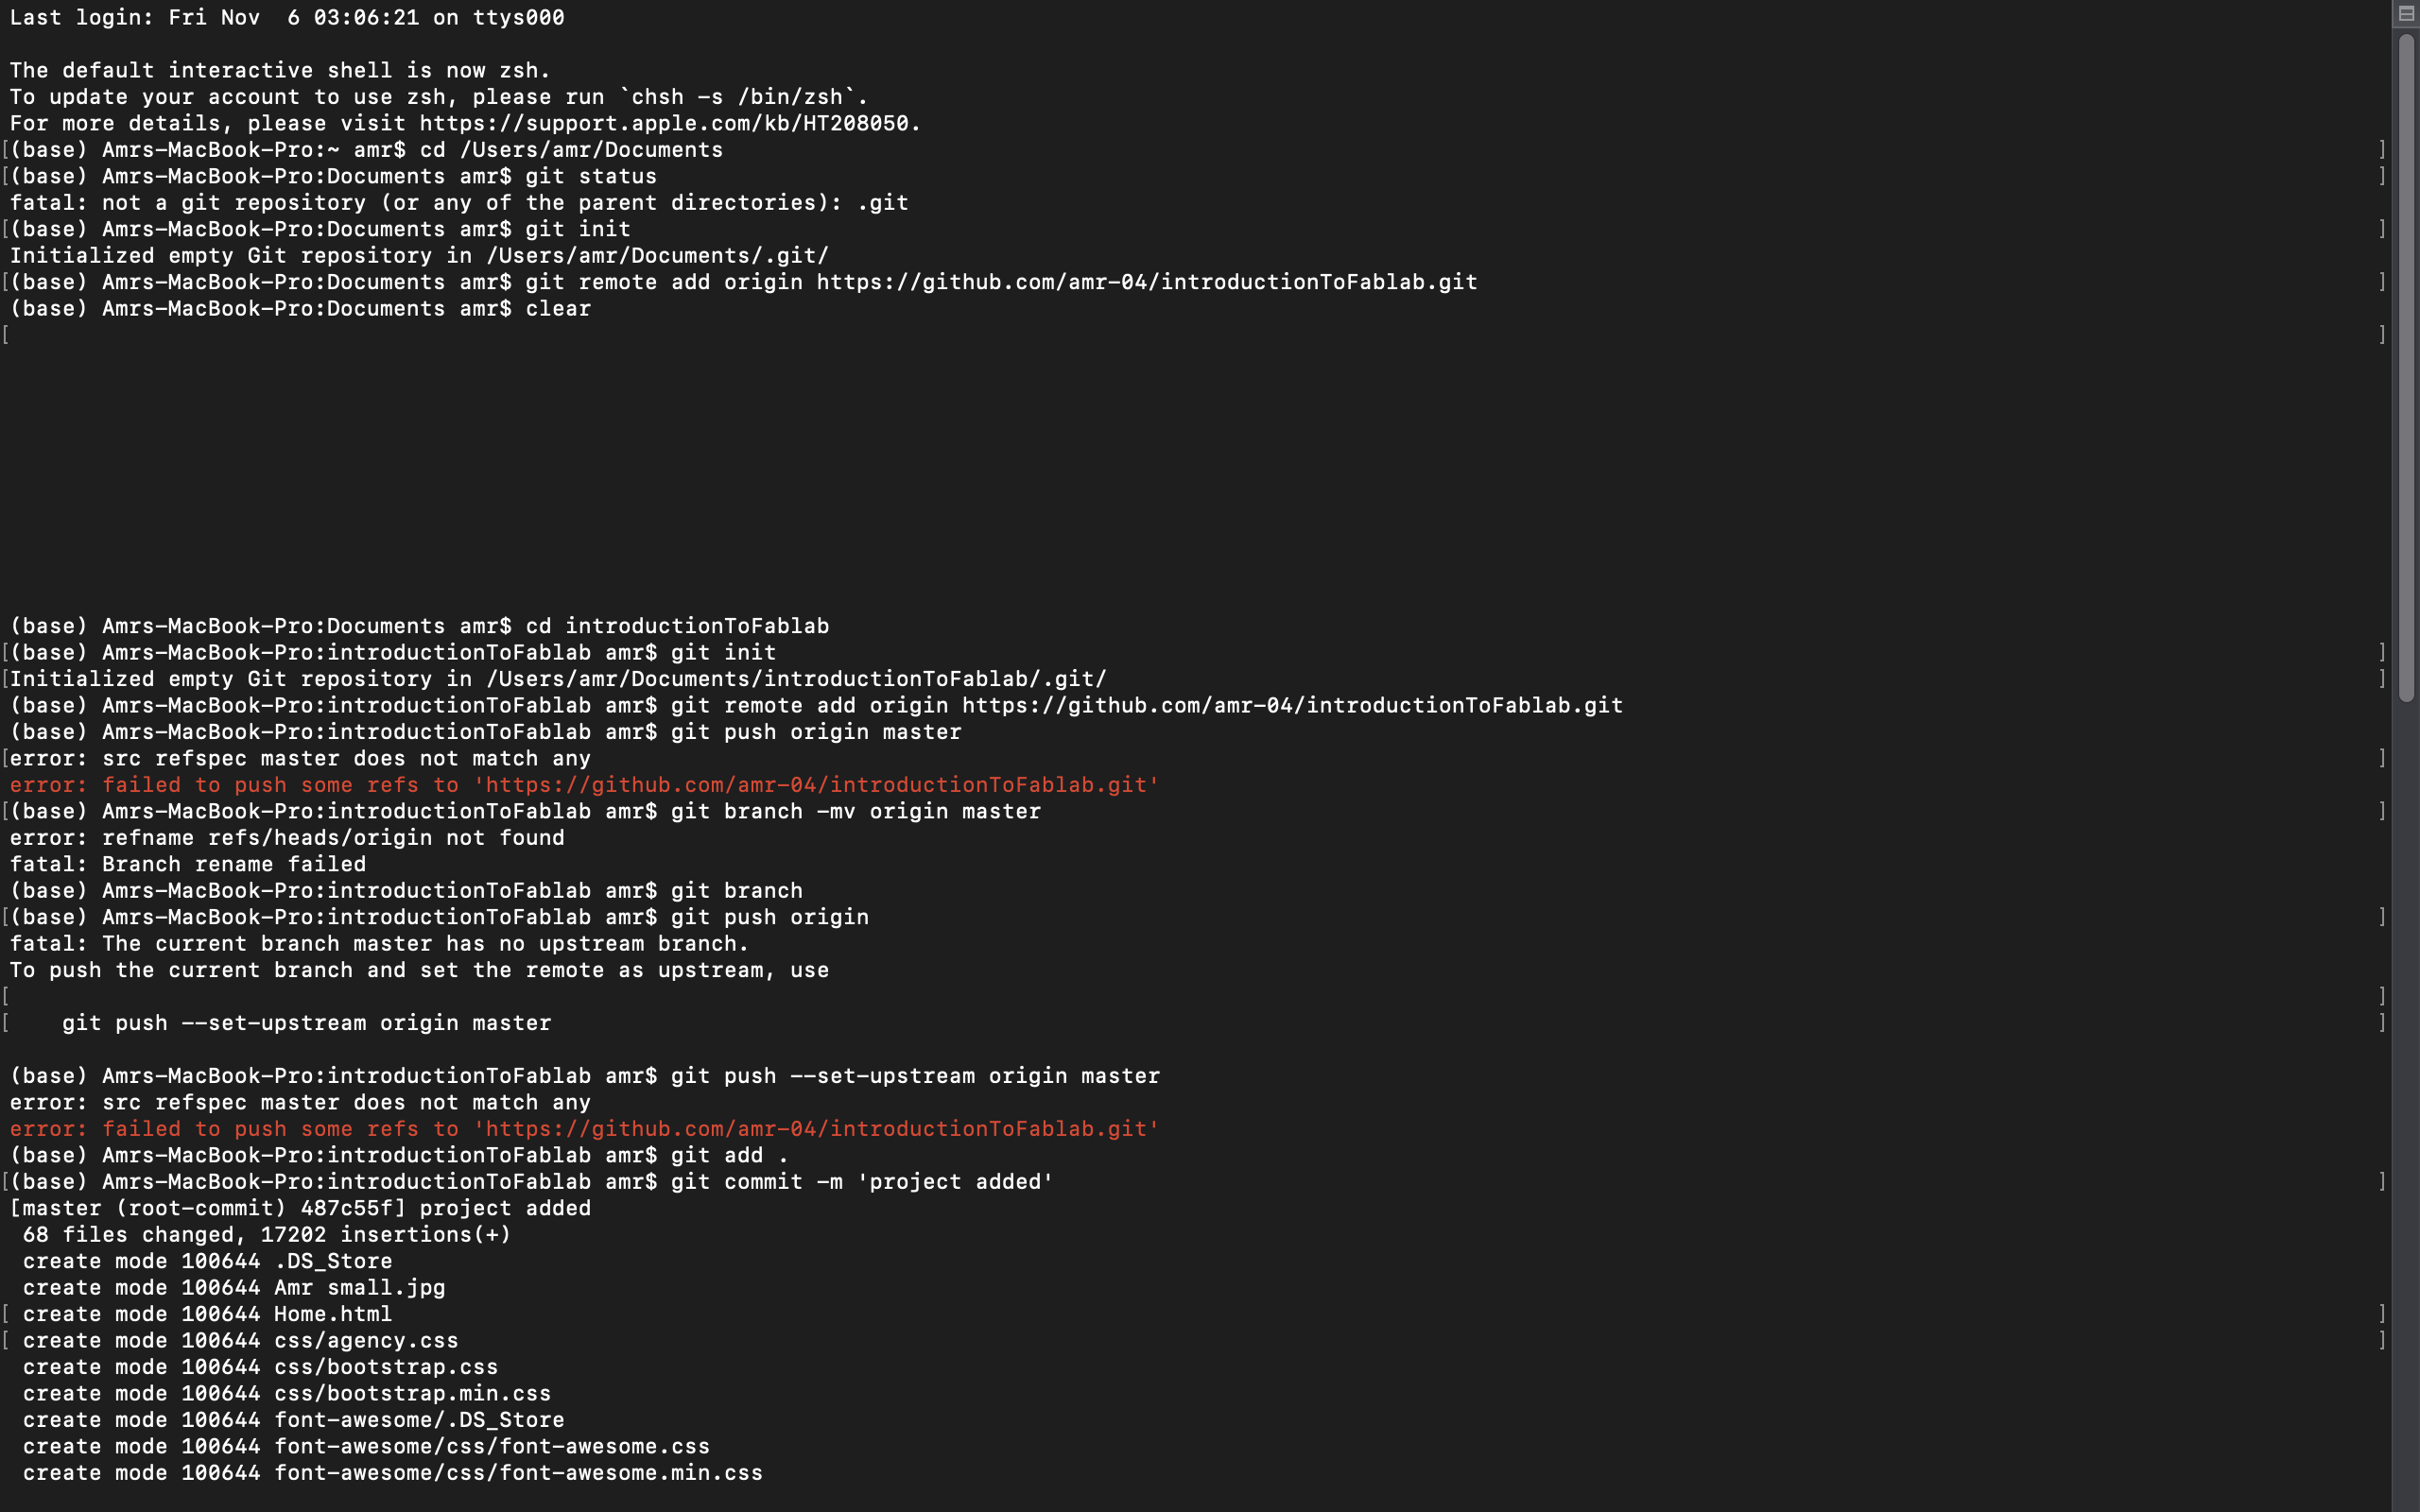
To push the project from the local repository to the github repository we first establish a terminal connection by creating an SSH-key and then copying it:
We then make a new SSH-key on github and paste our key there:
After that we initialize a local git repository and then push to the remote repository with a meaningful commit message as follows:
Abstract
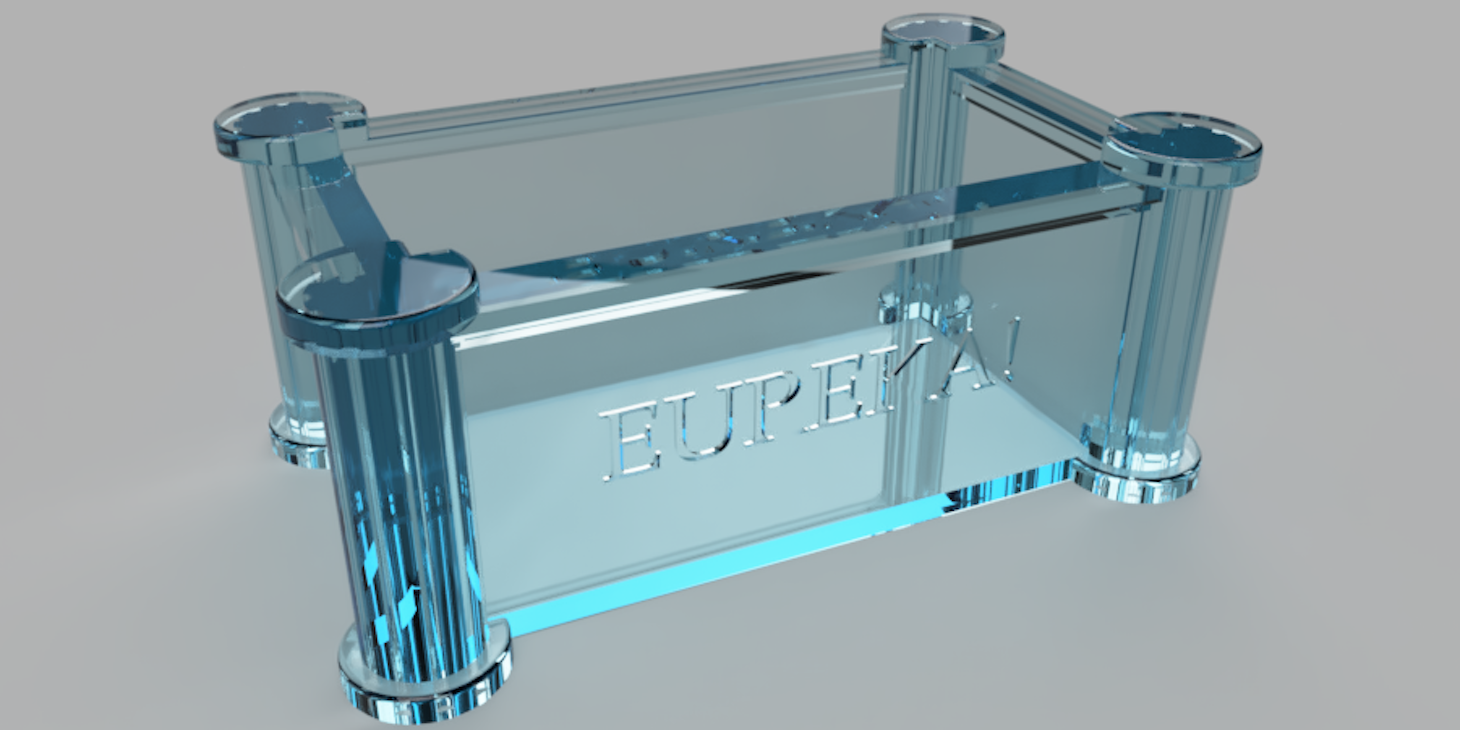
The concept of the project is to design a measurments station called "Archimedes Bathtub" in which an object with uknown mass, density or volume can be recognized.
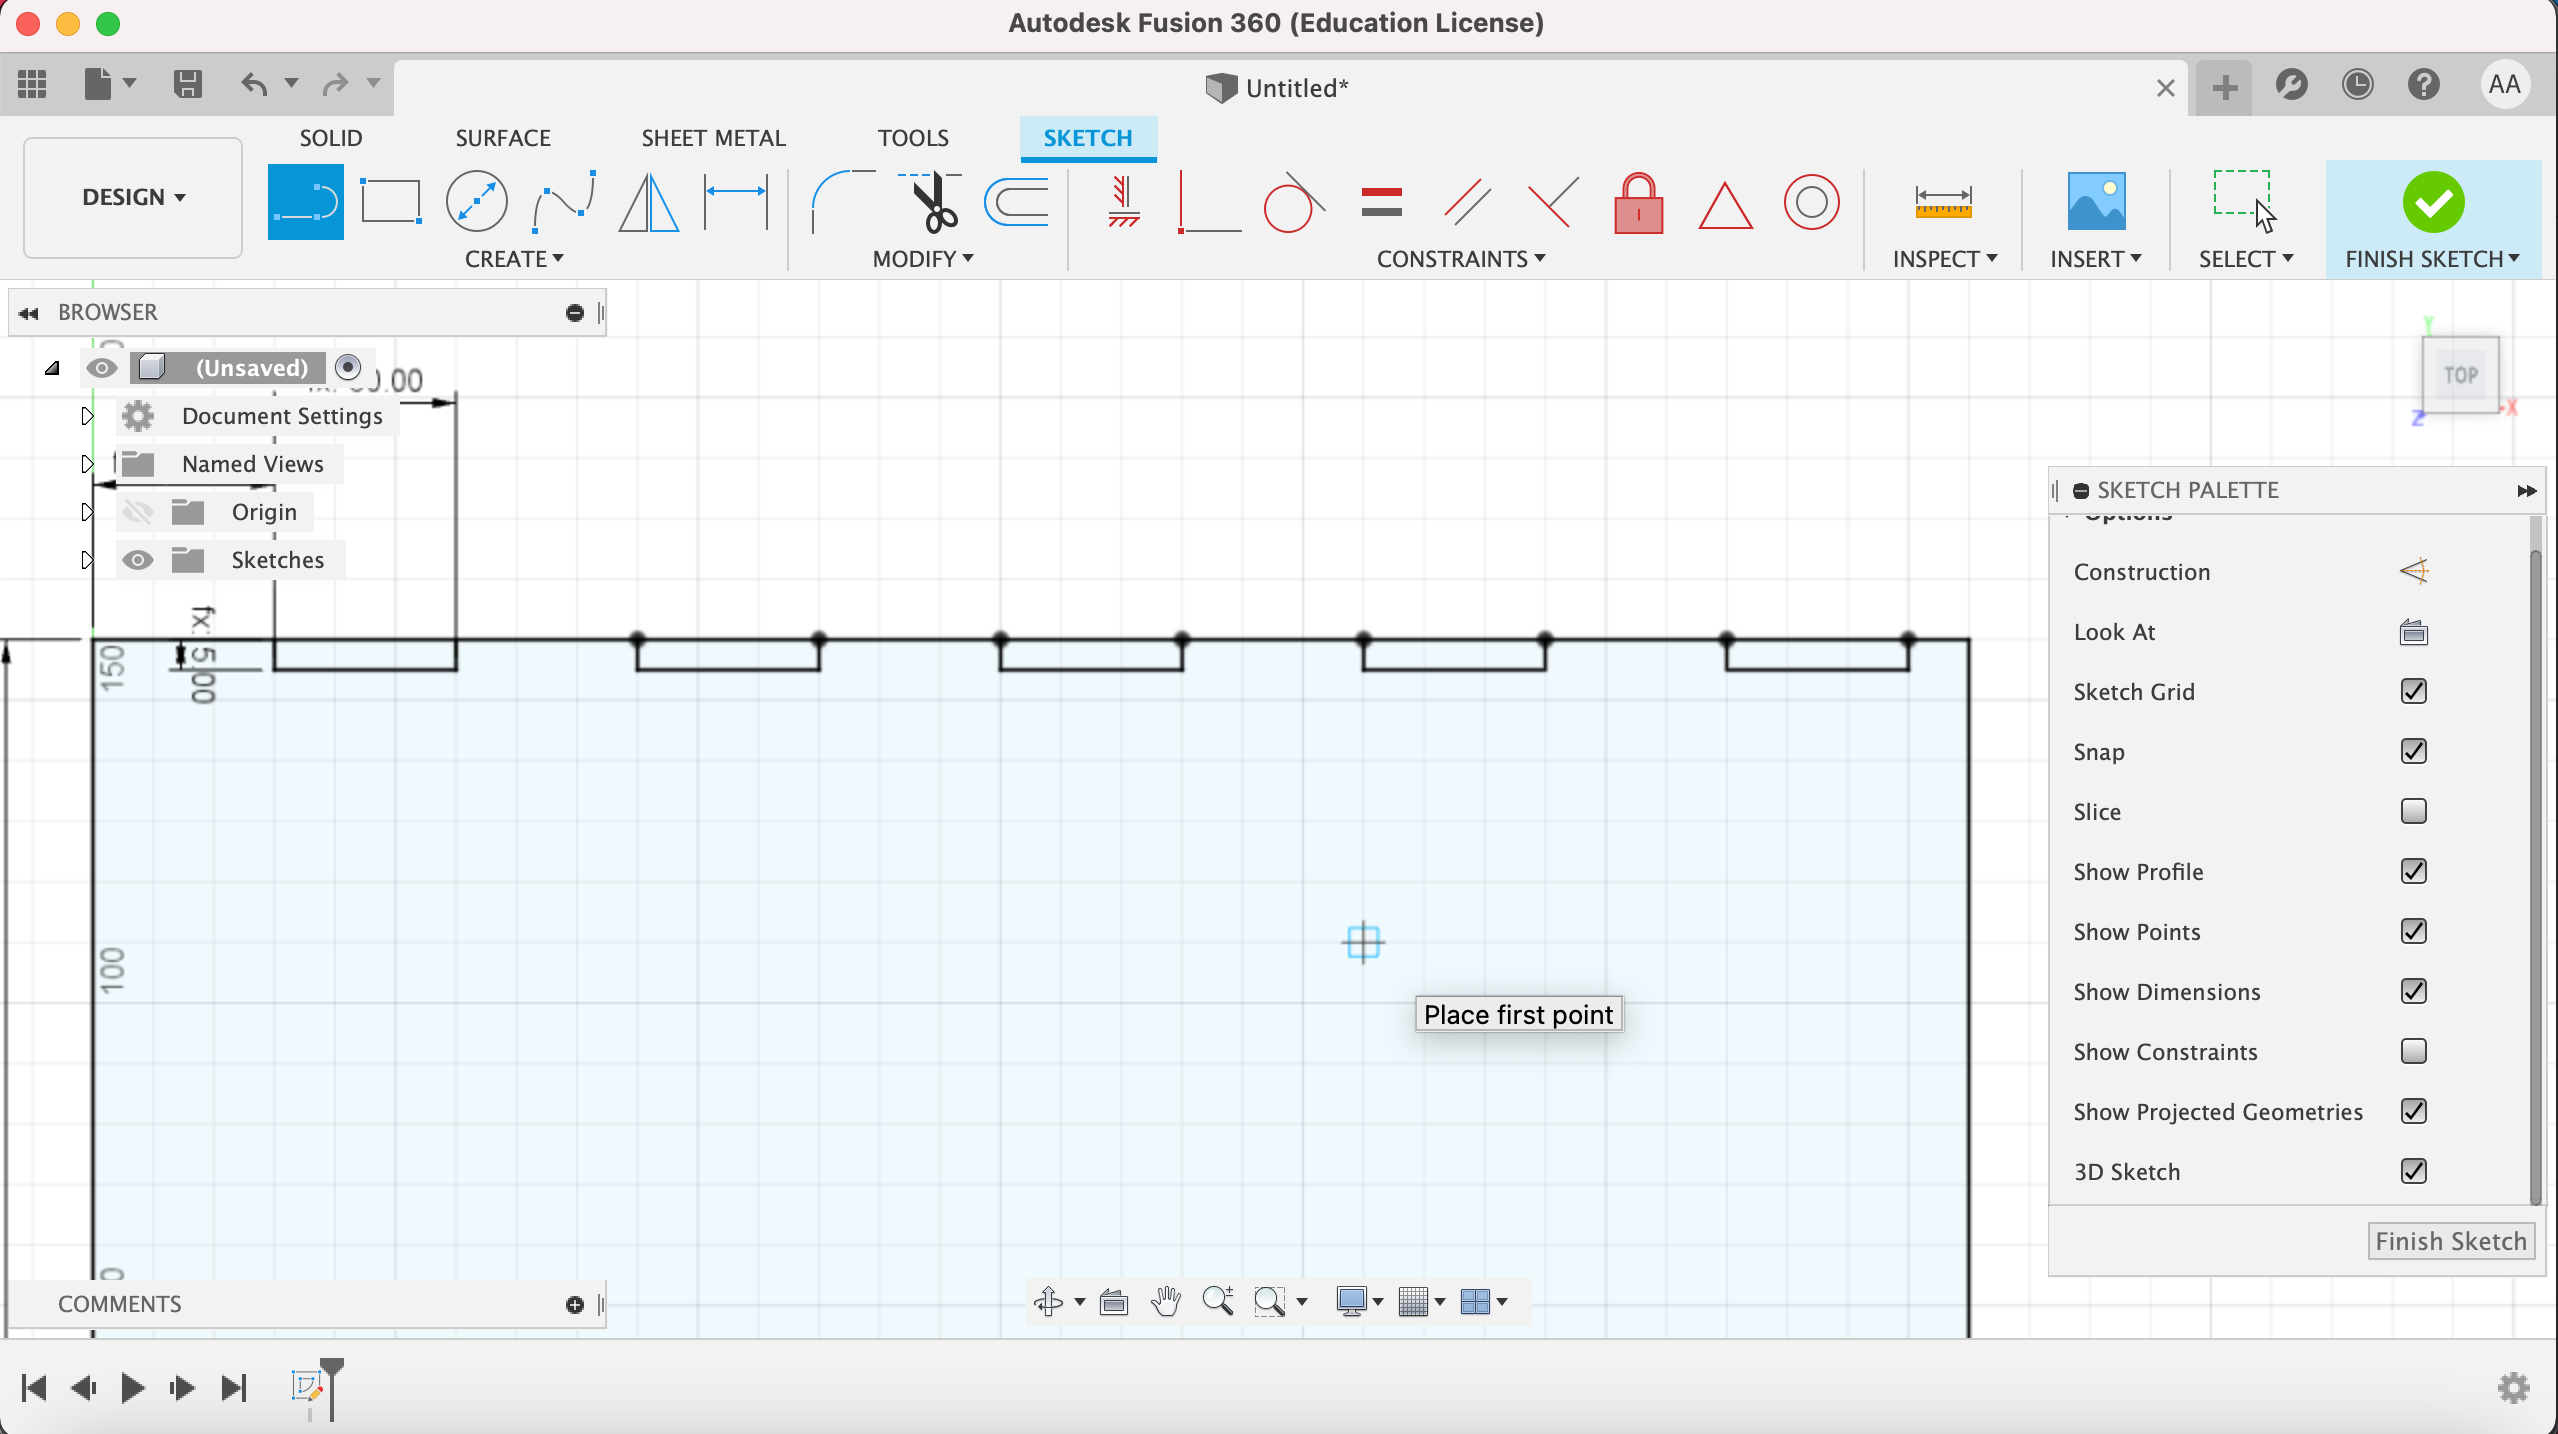
2D Design (Using LibreCAD)
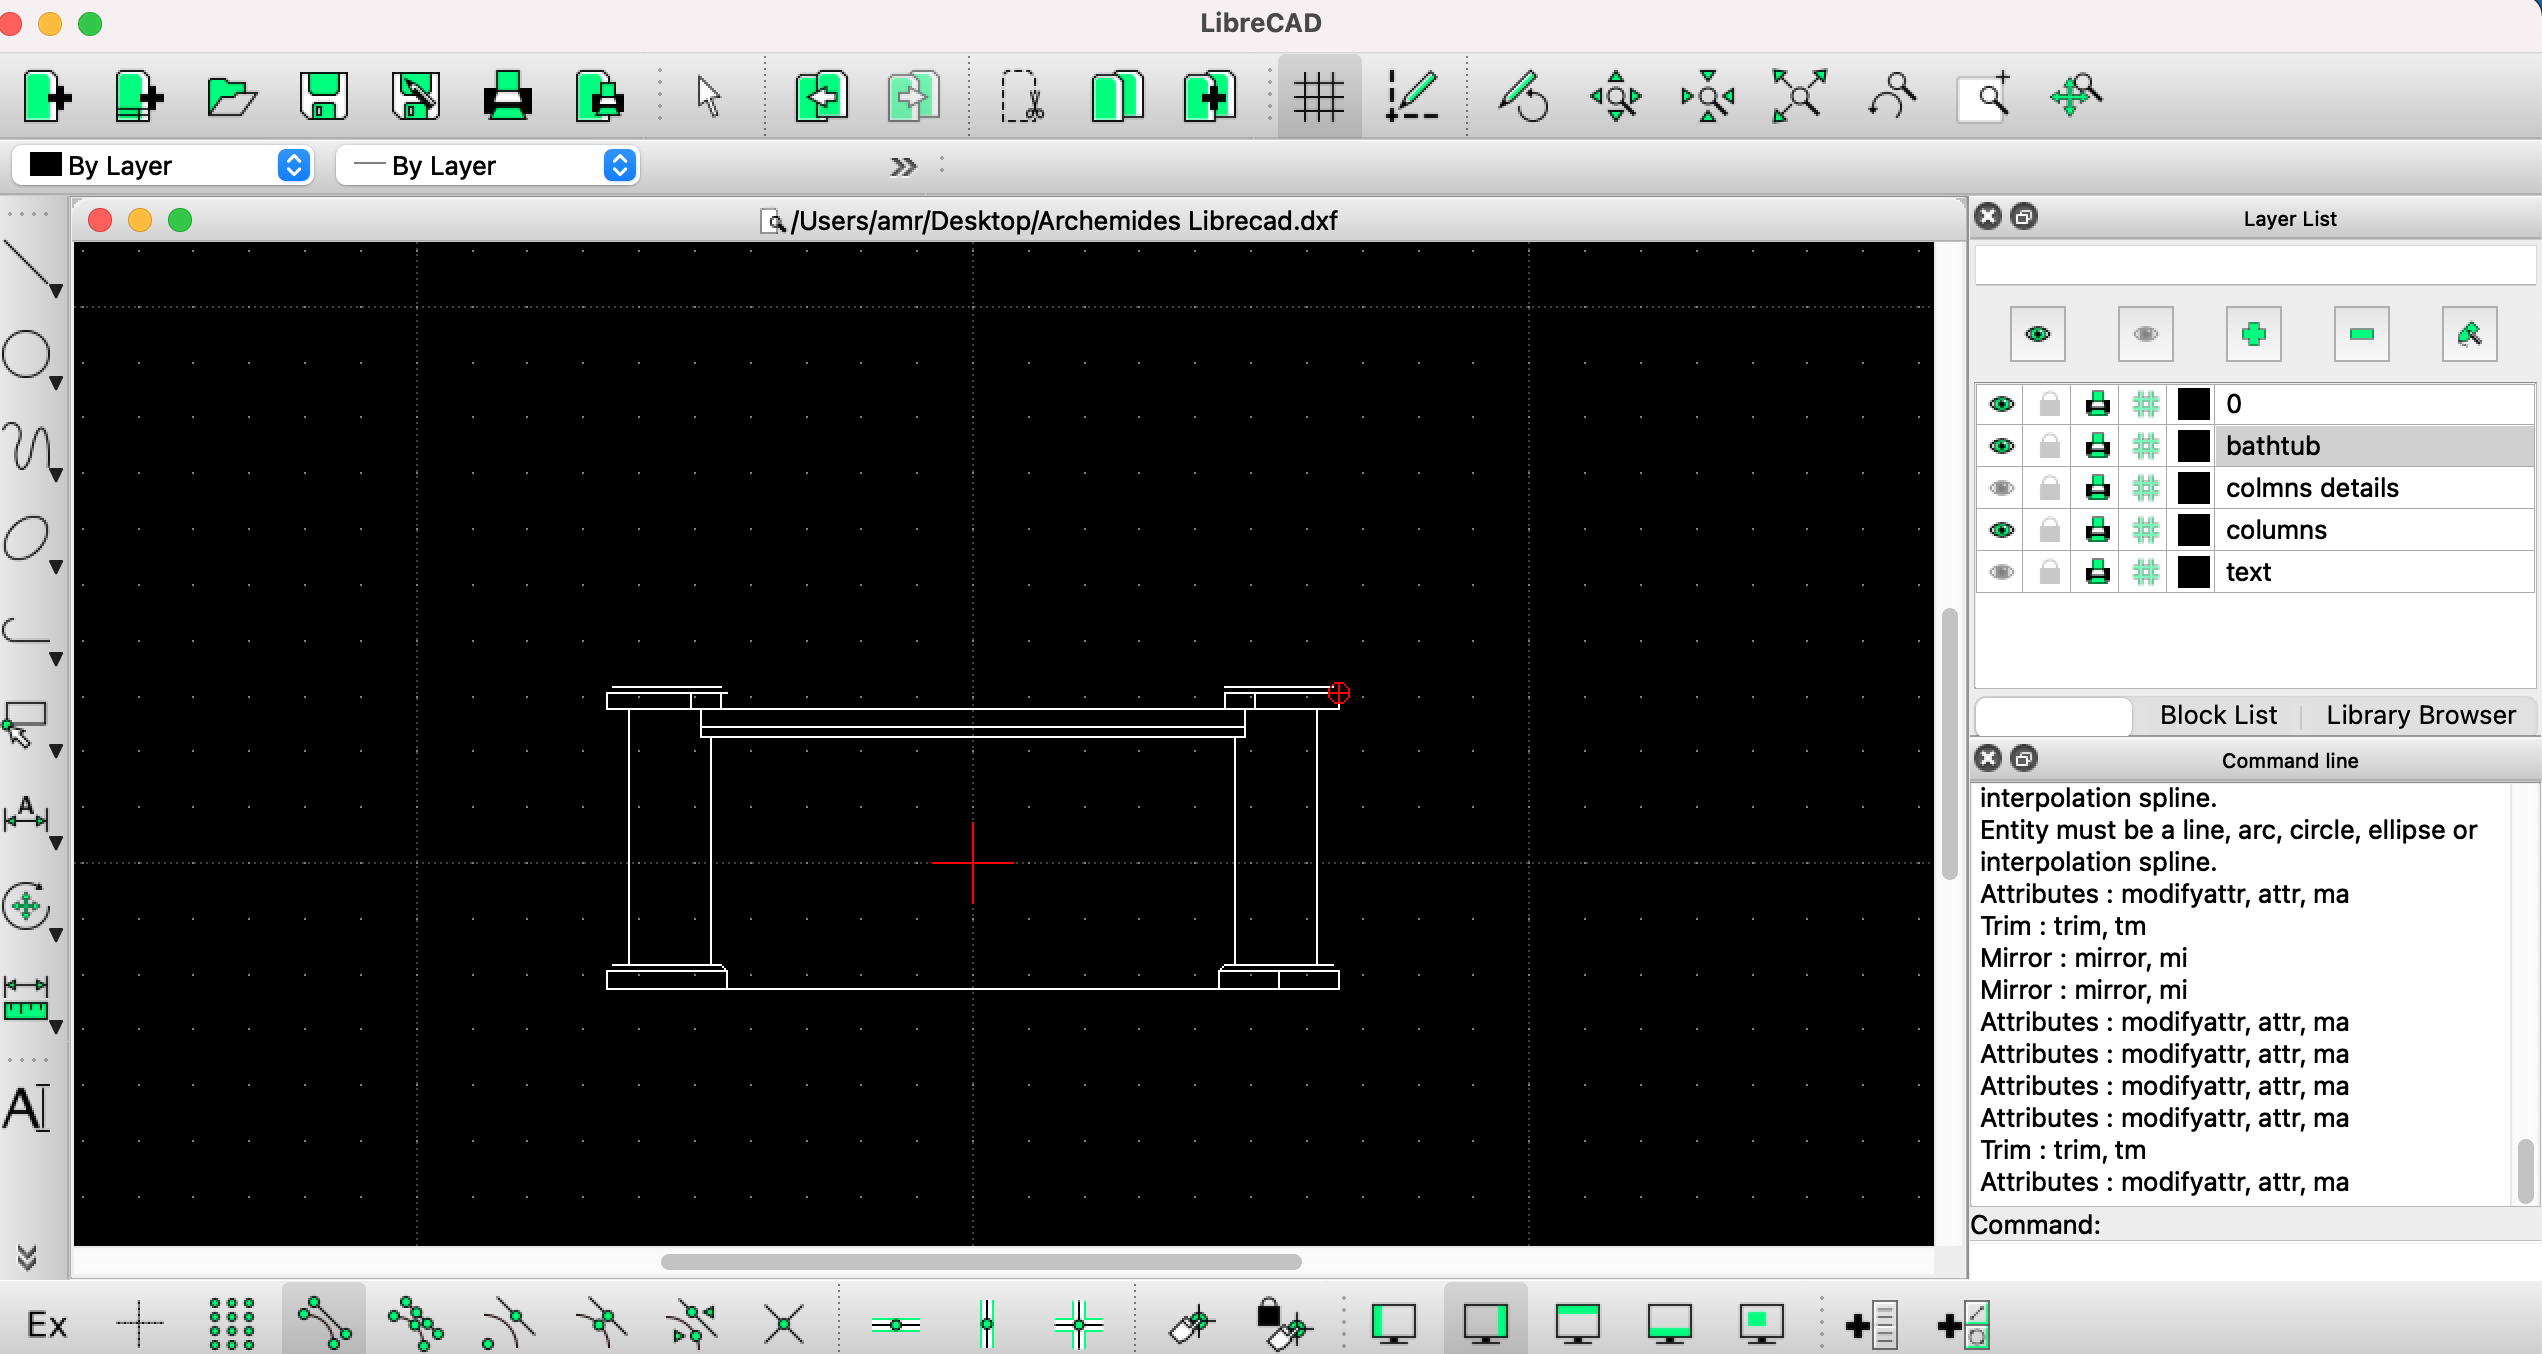
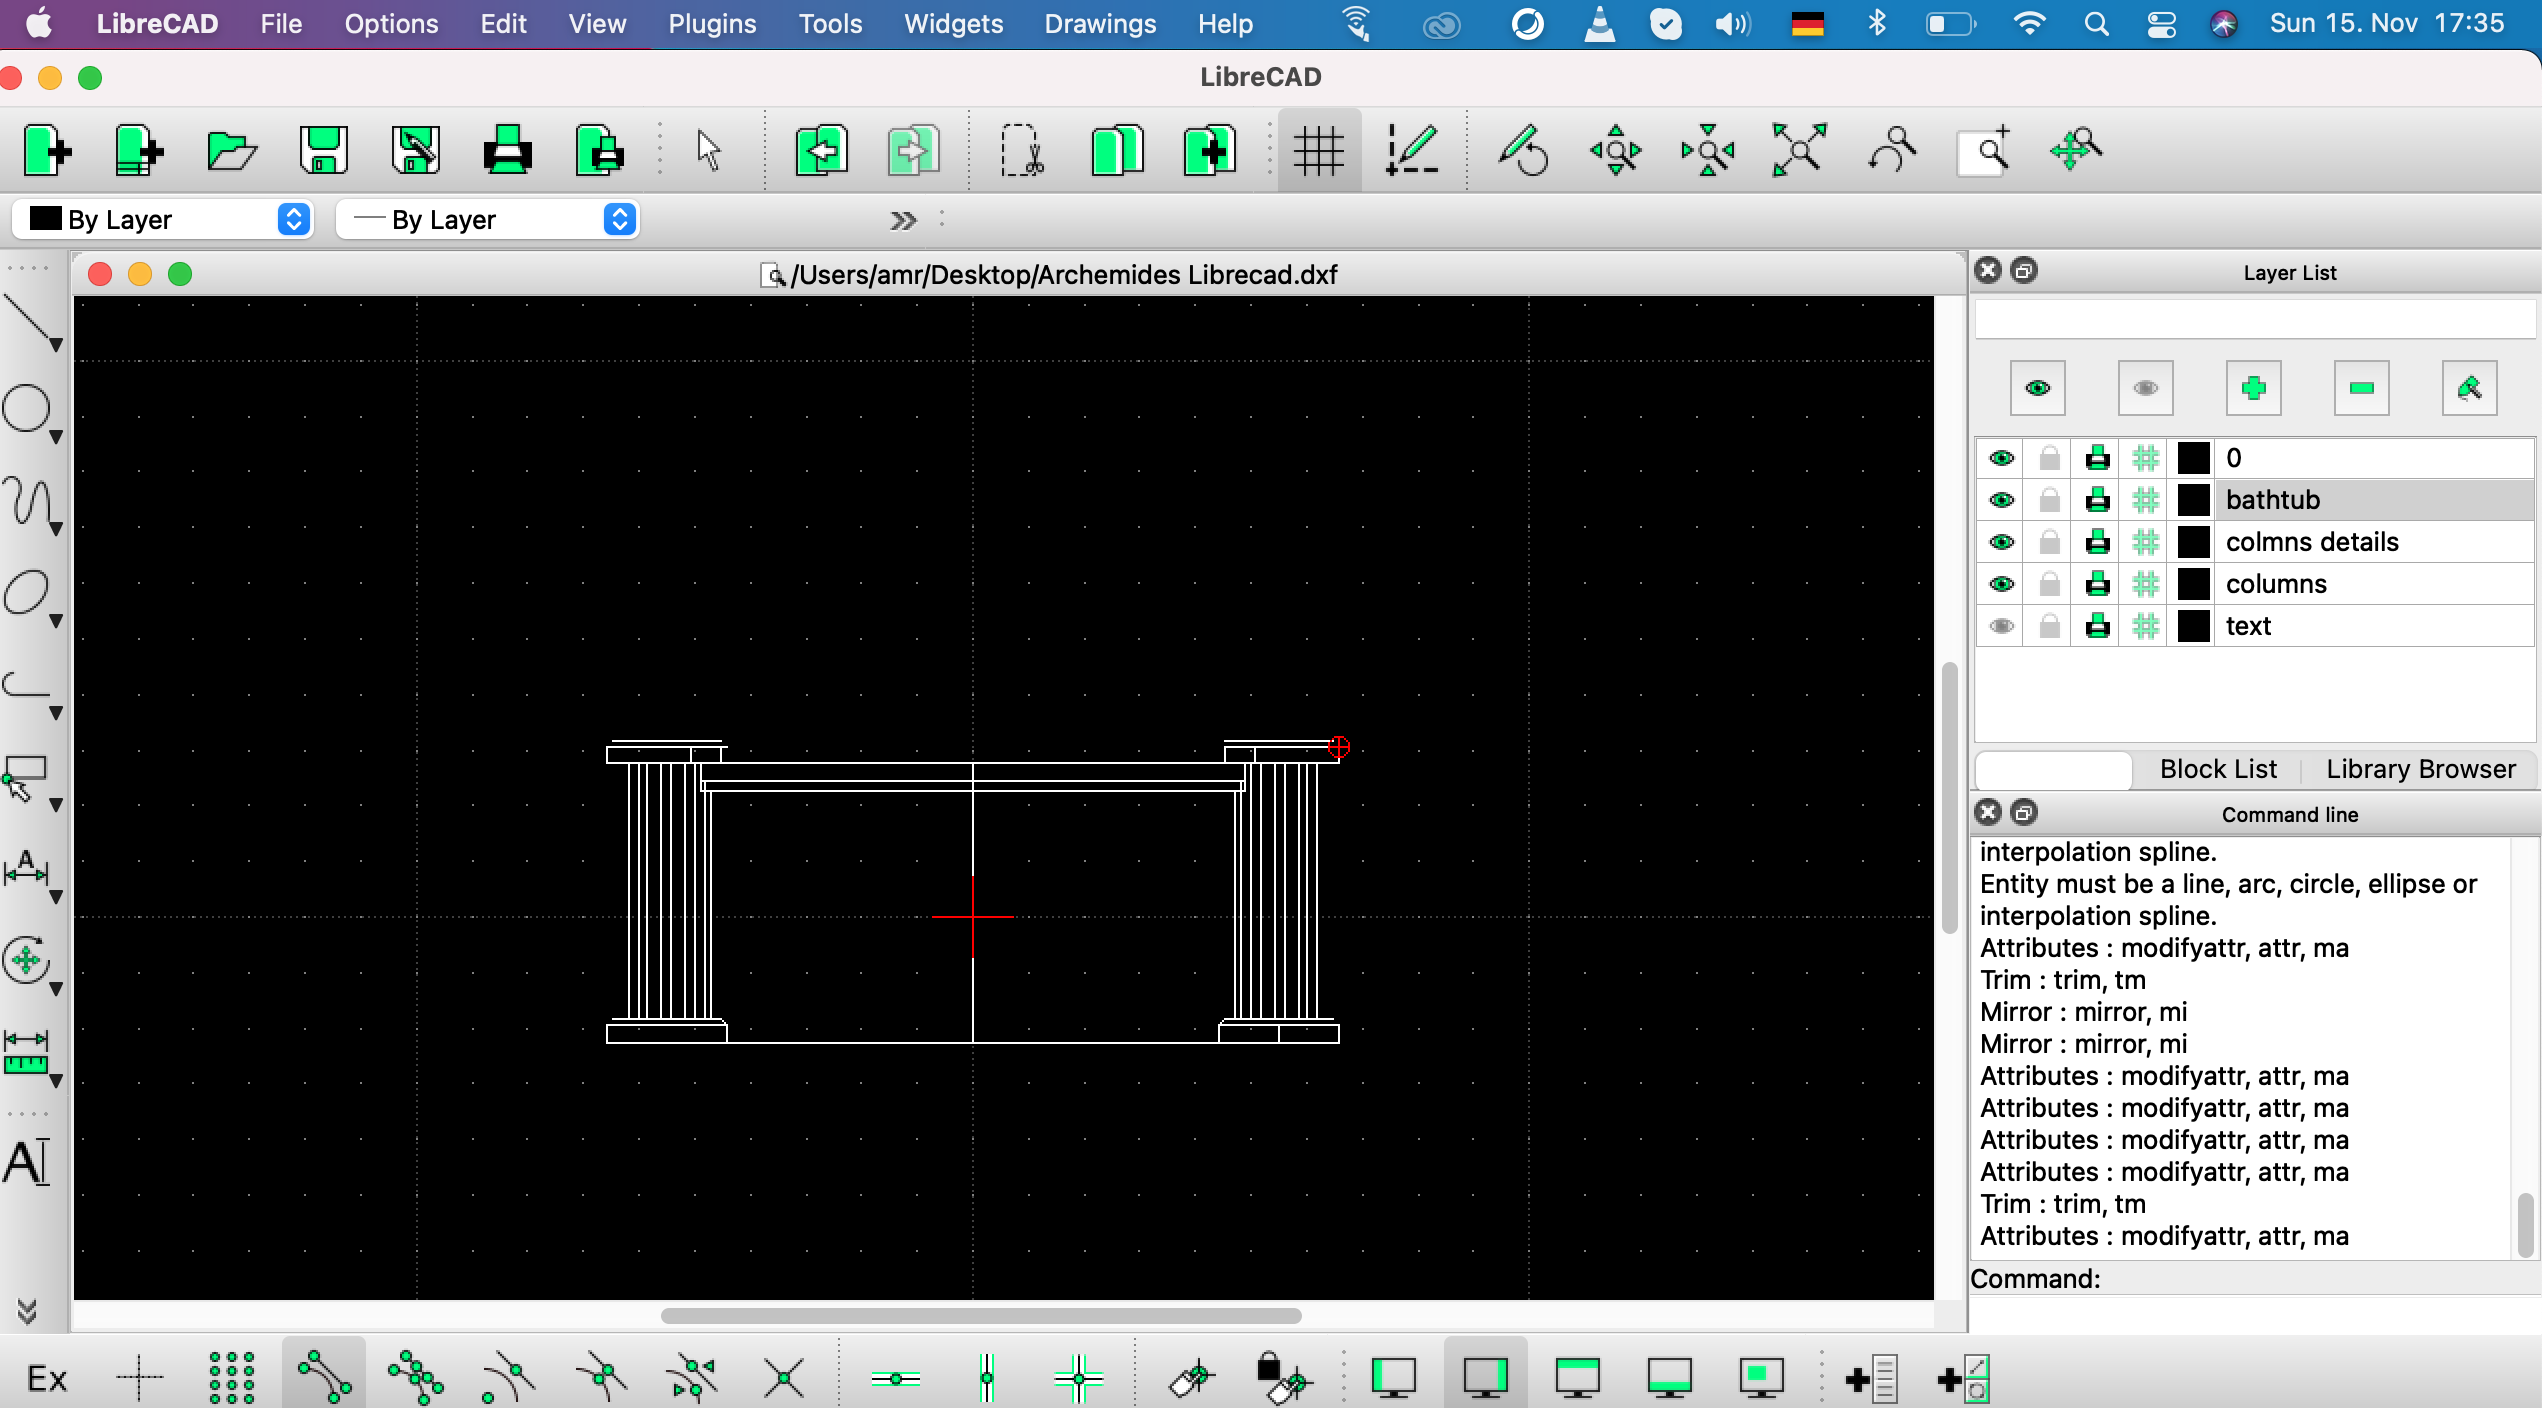
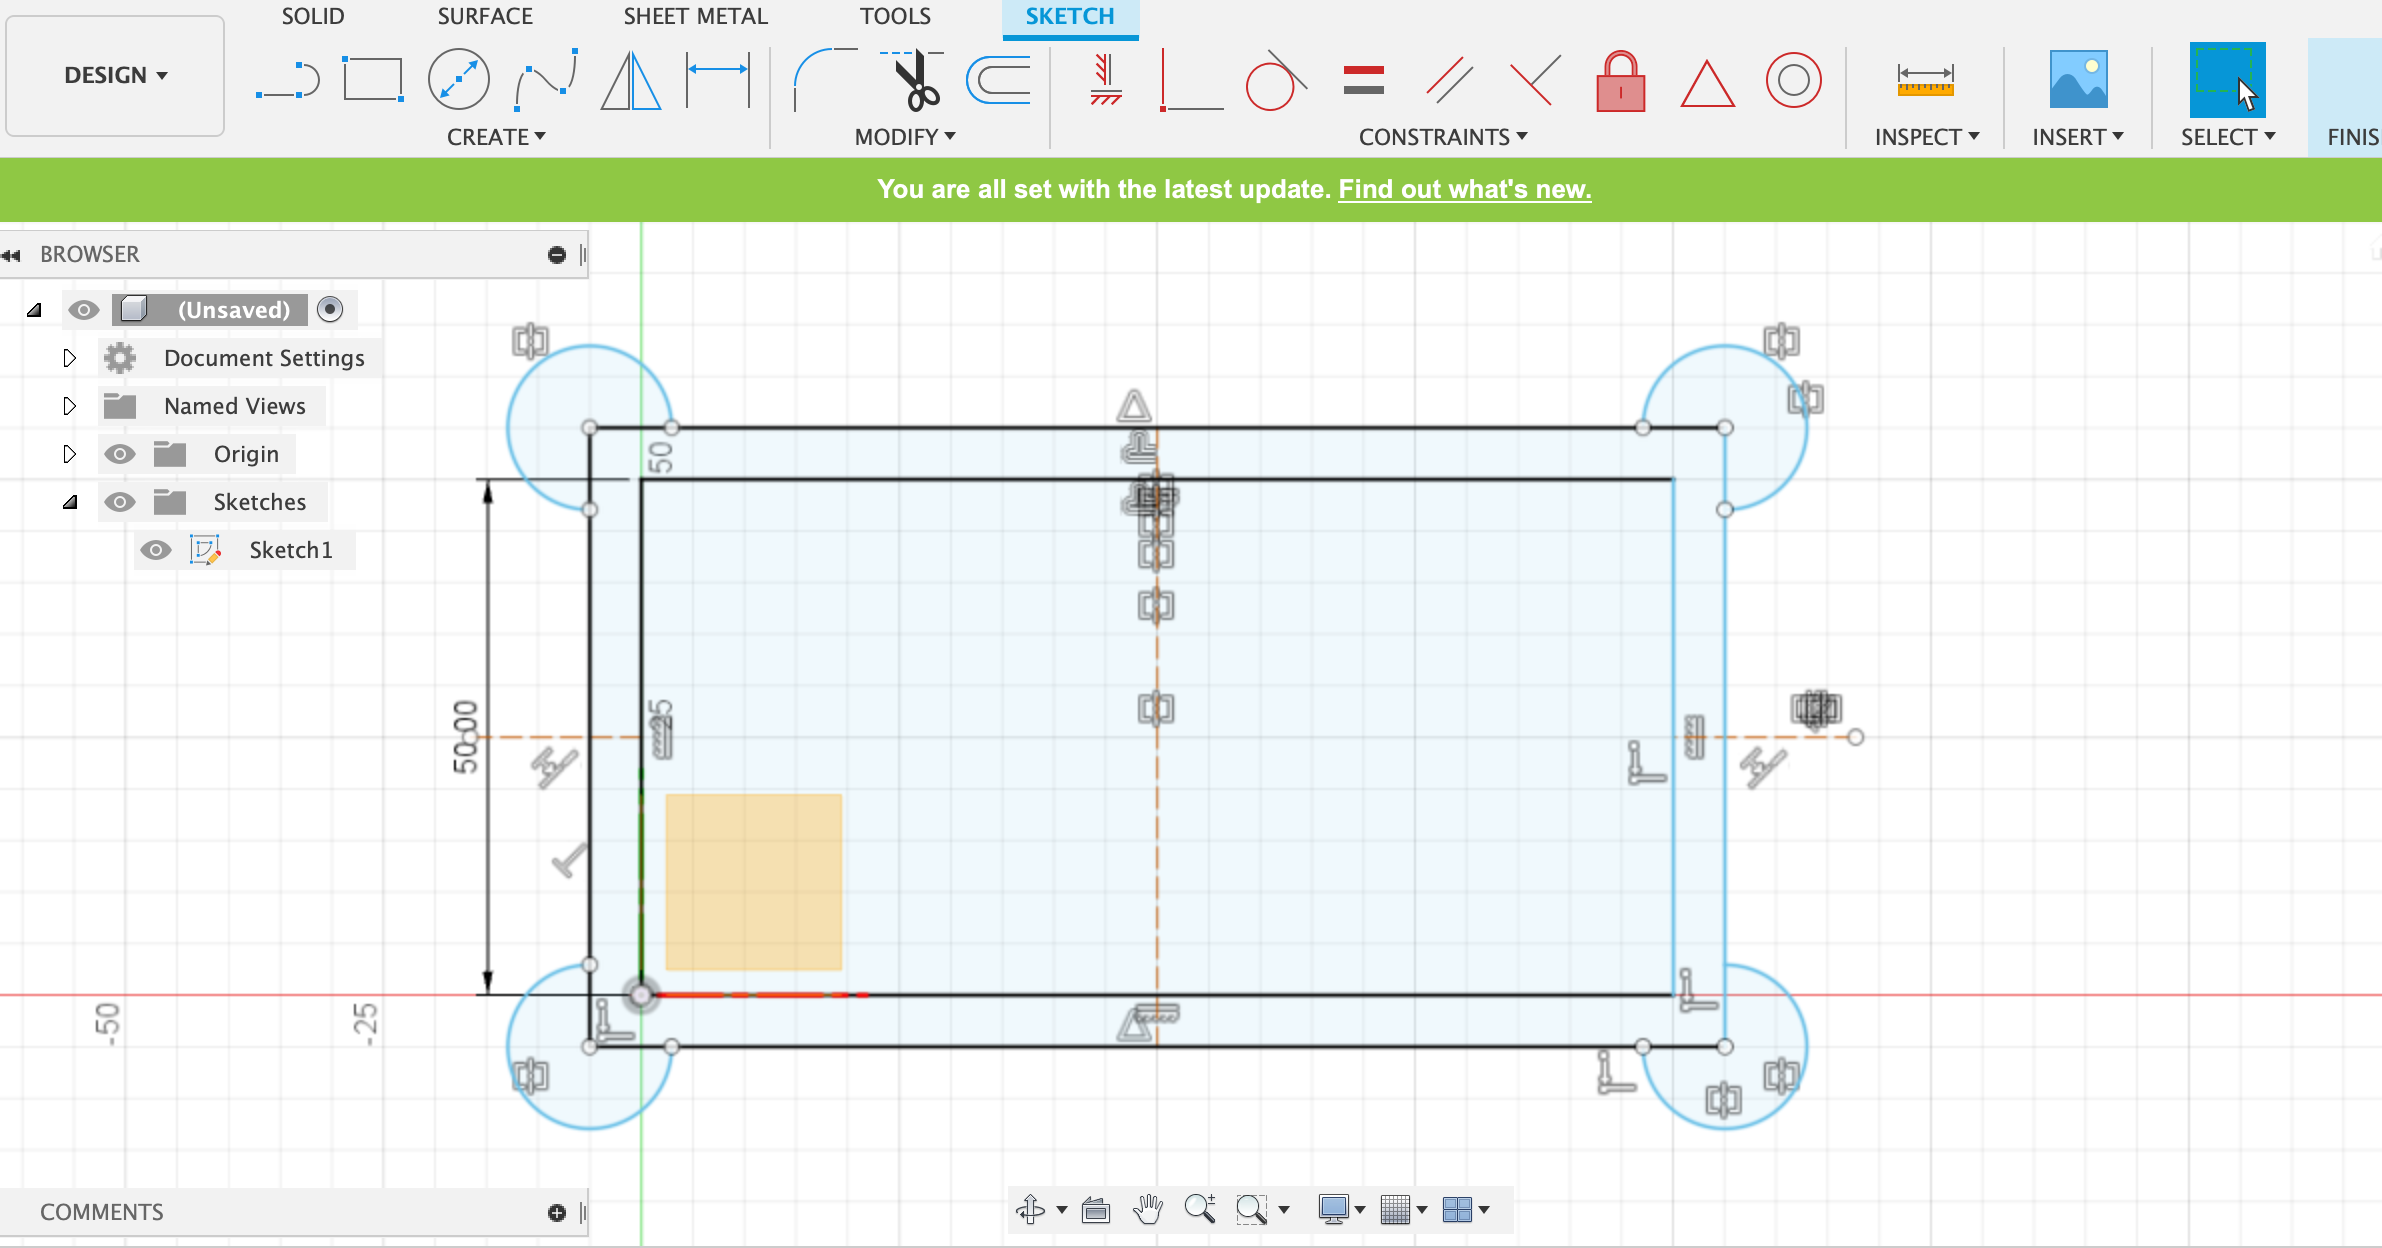
Modelling the profile of the "Bathtub" using the rectangle tool then basic lines tool for the rim decoration:
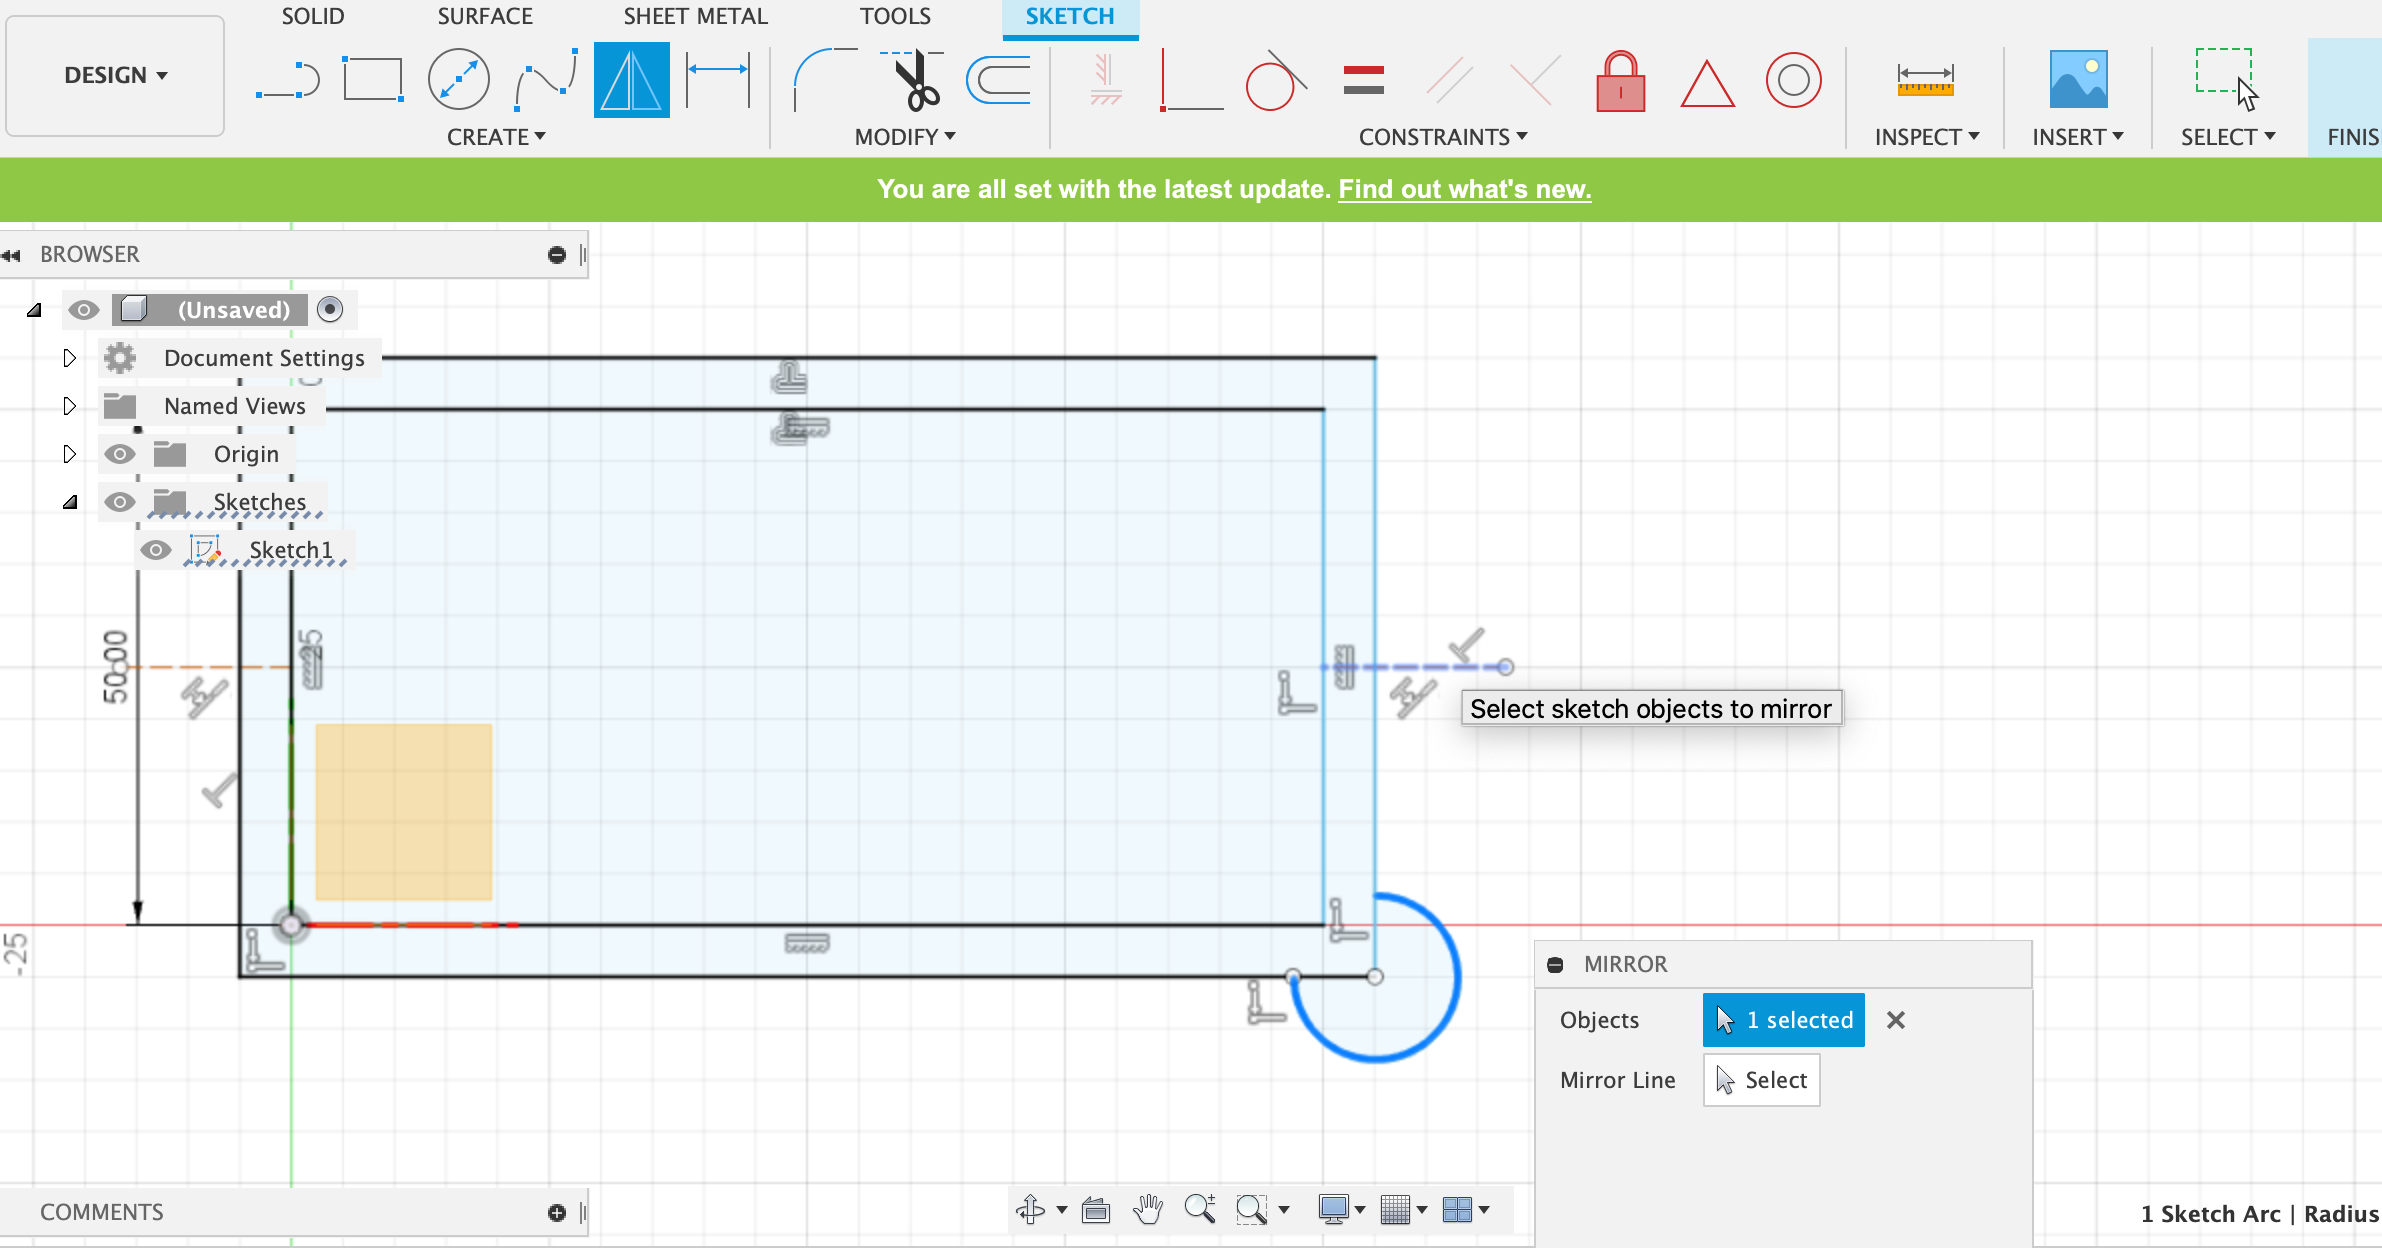
Then the columns are modelled using the lines tool, after that it is mirrored using the mirror tool:
And then adding the column details using the lines tool, after that it is mirrored using the mirror tool:
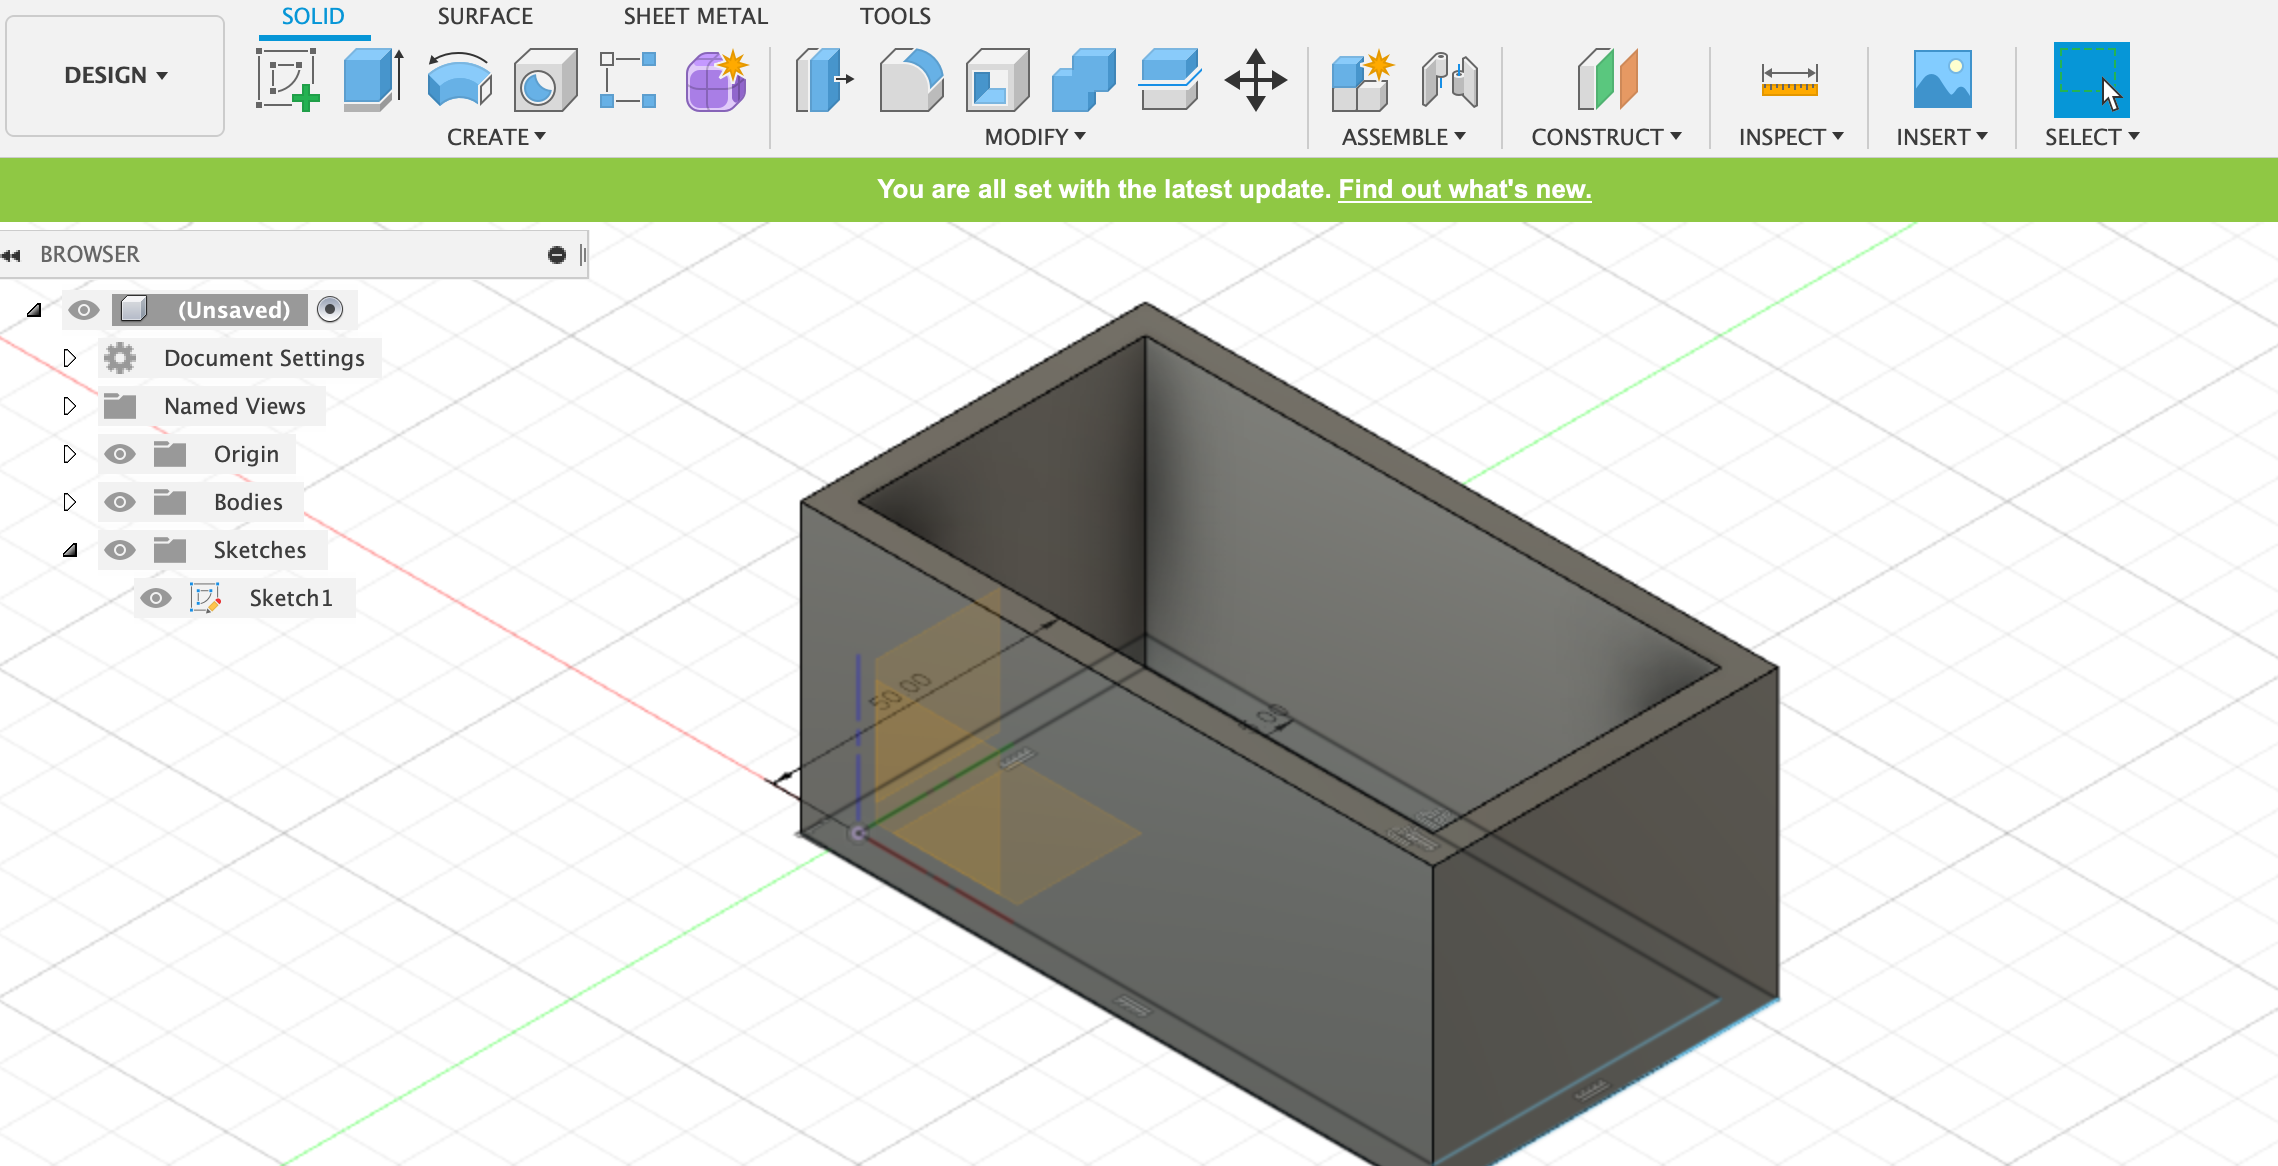
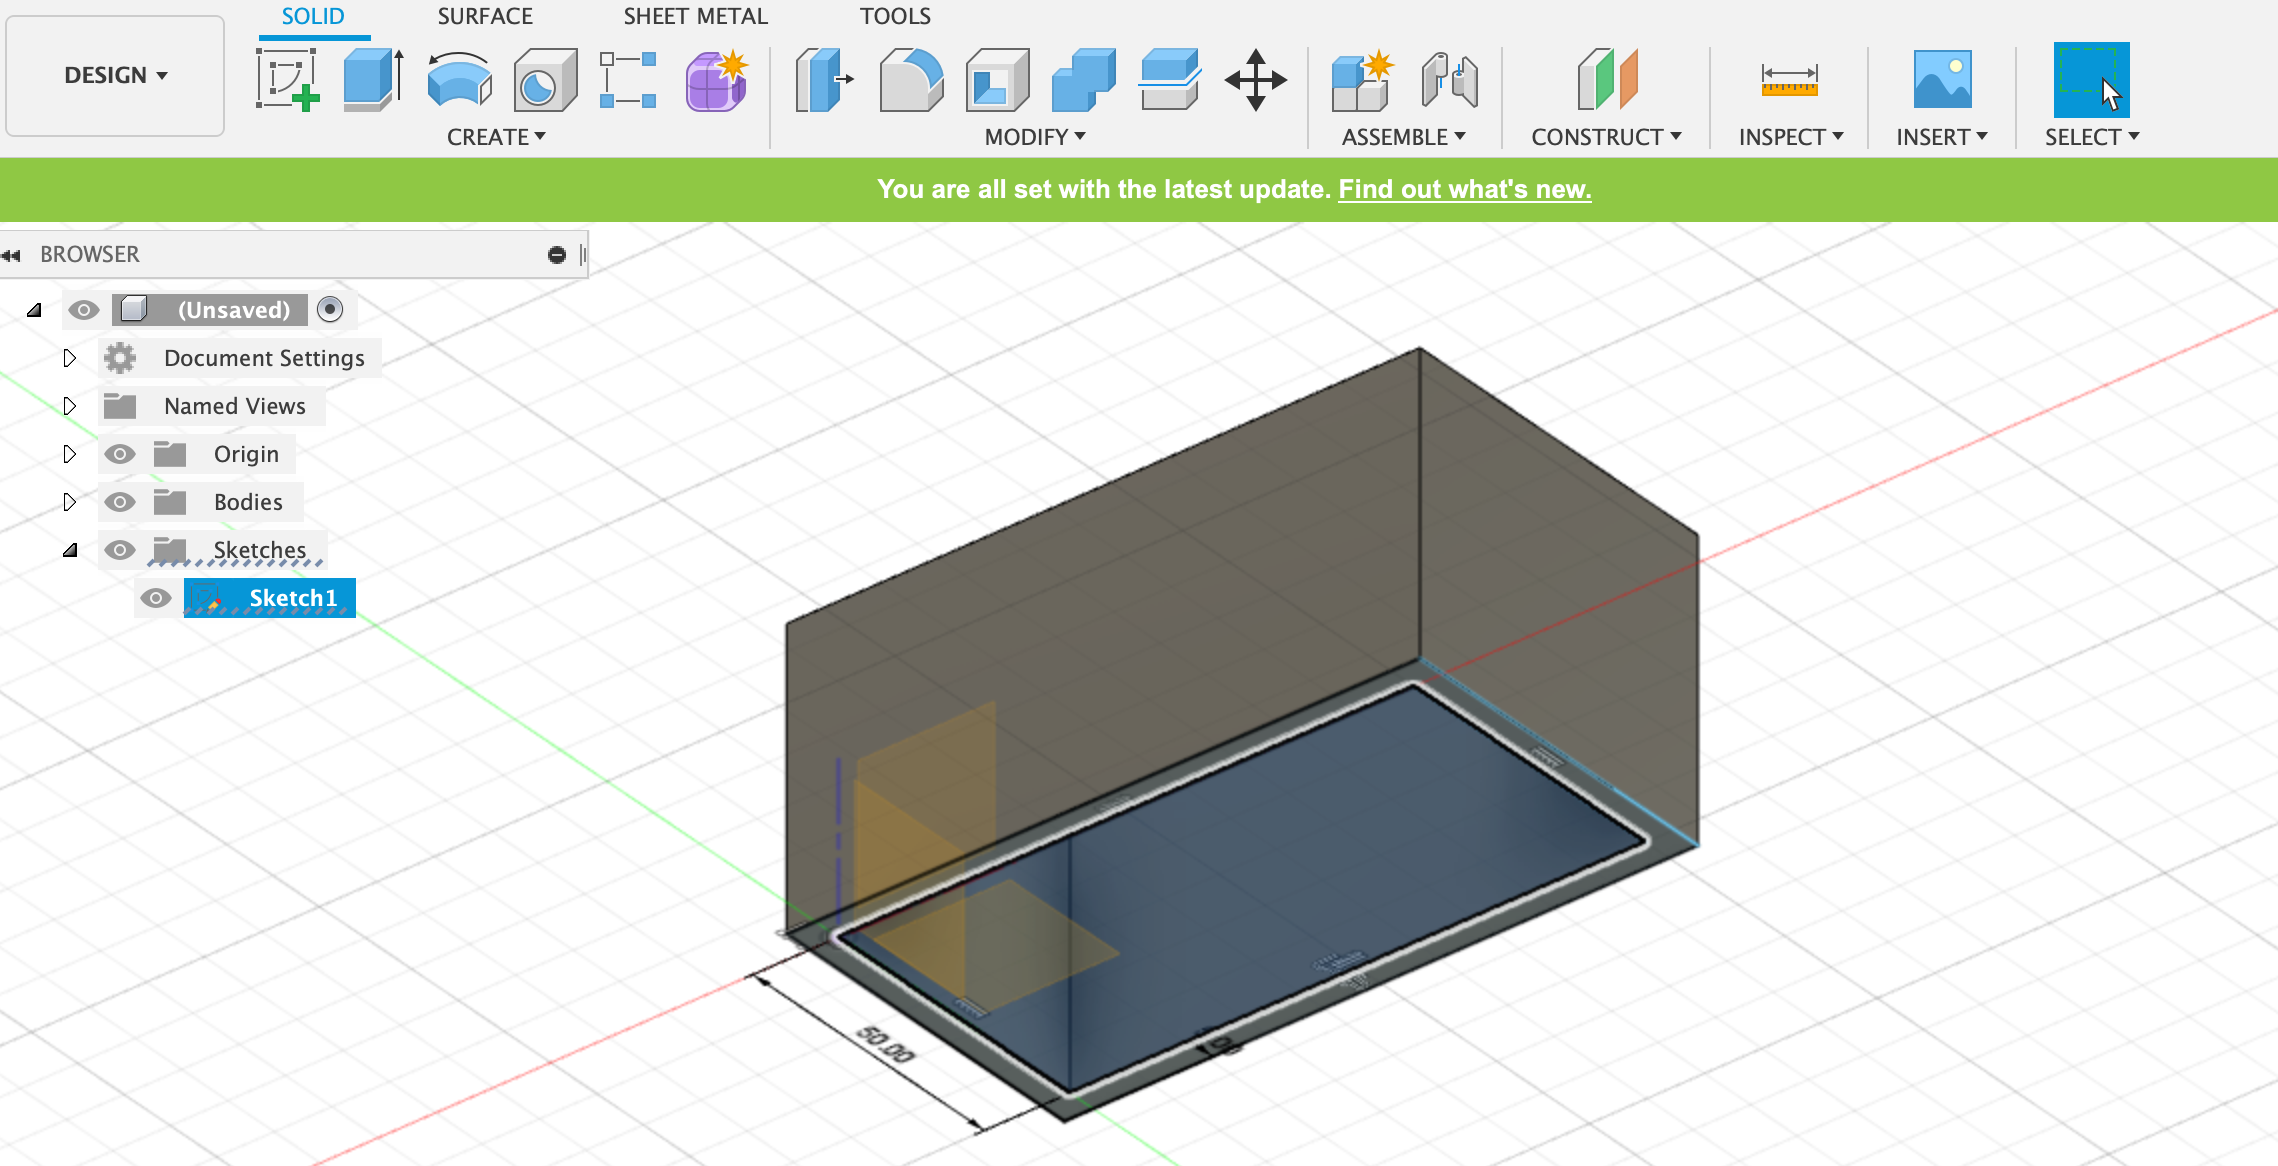
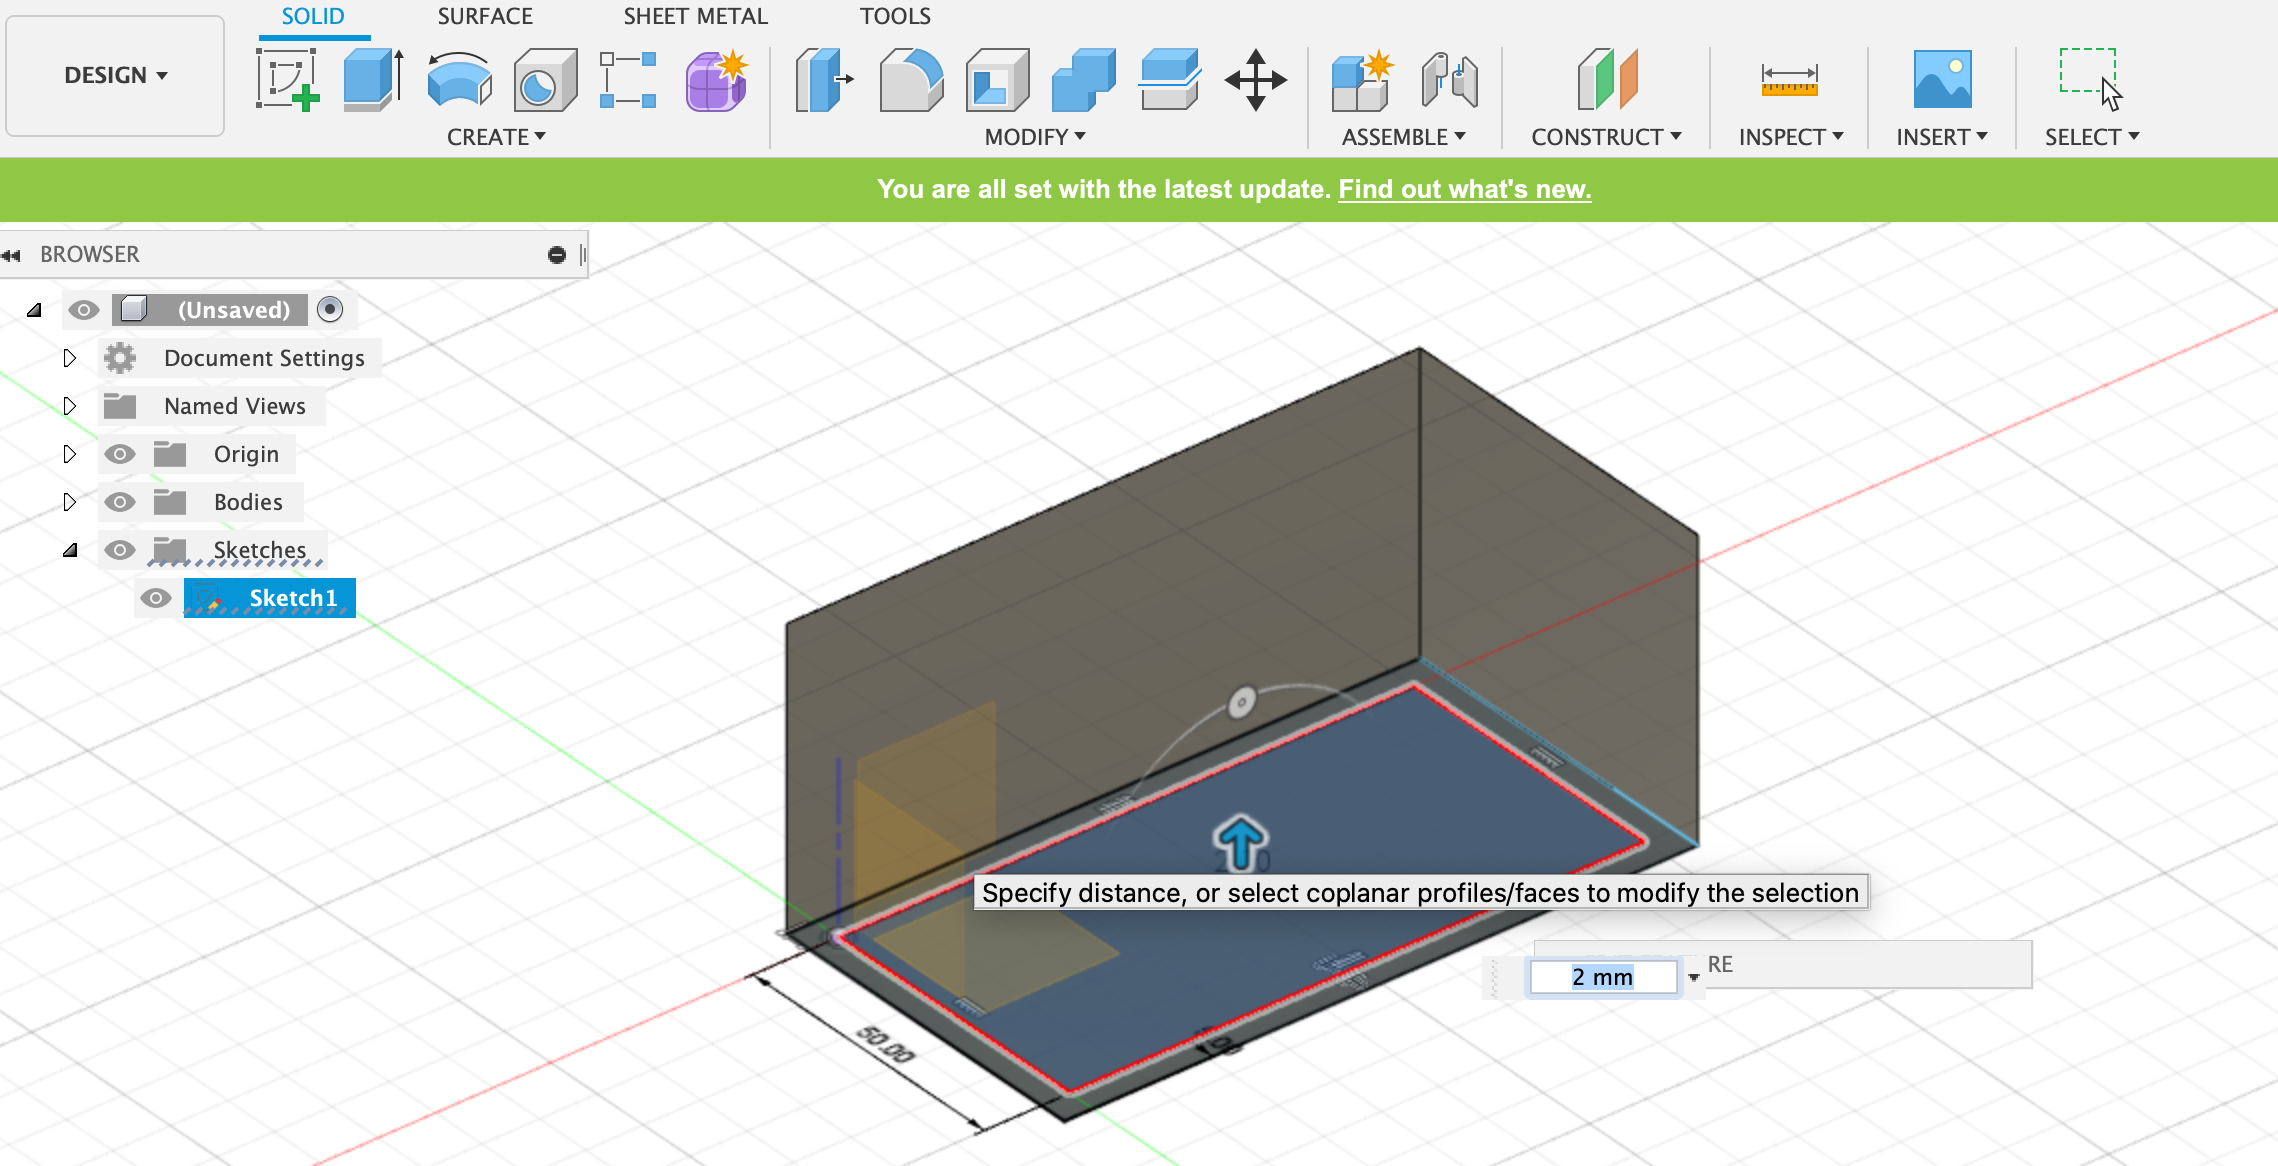
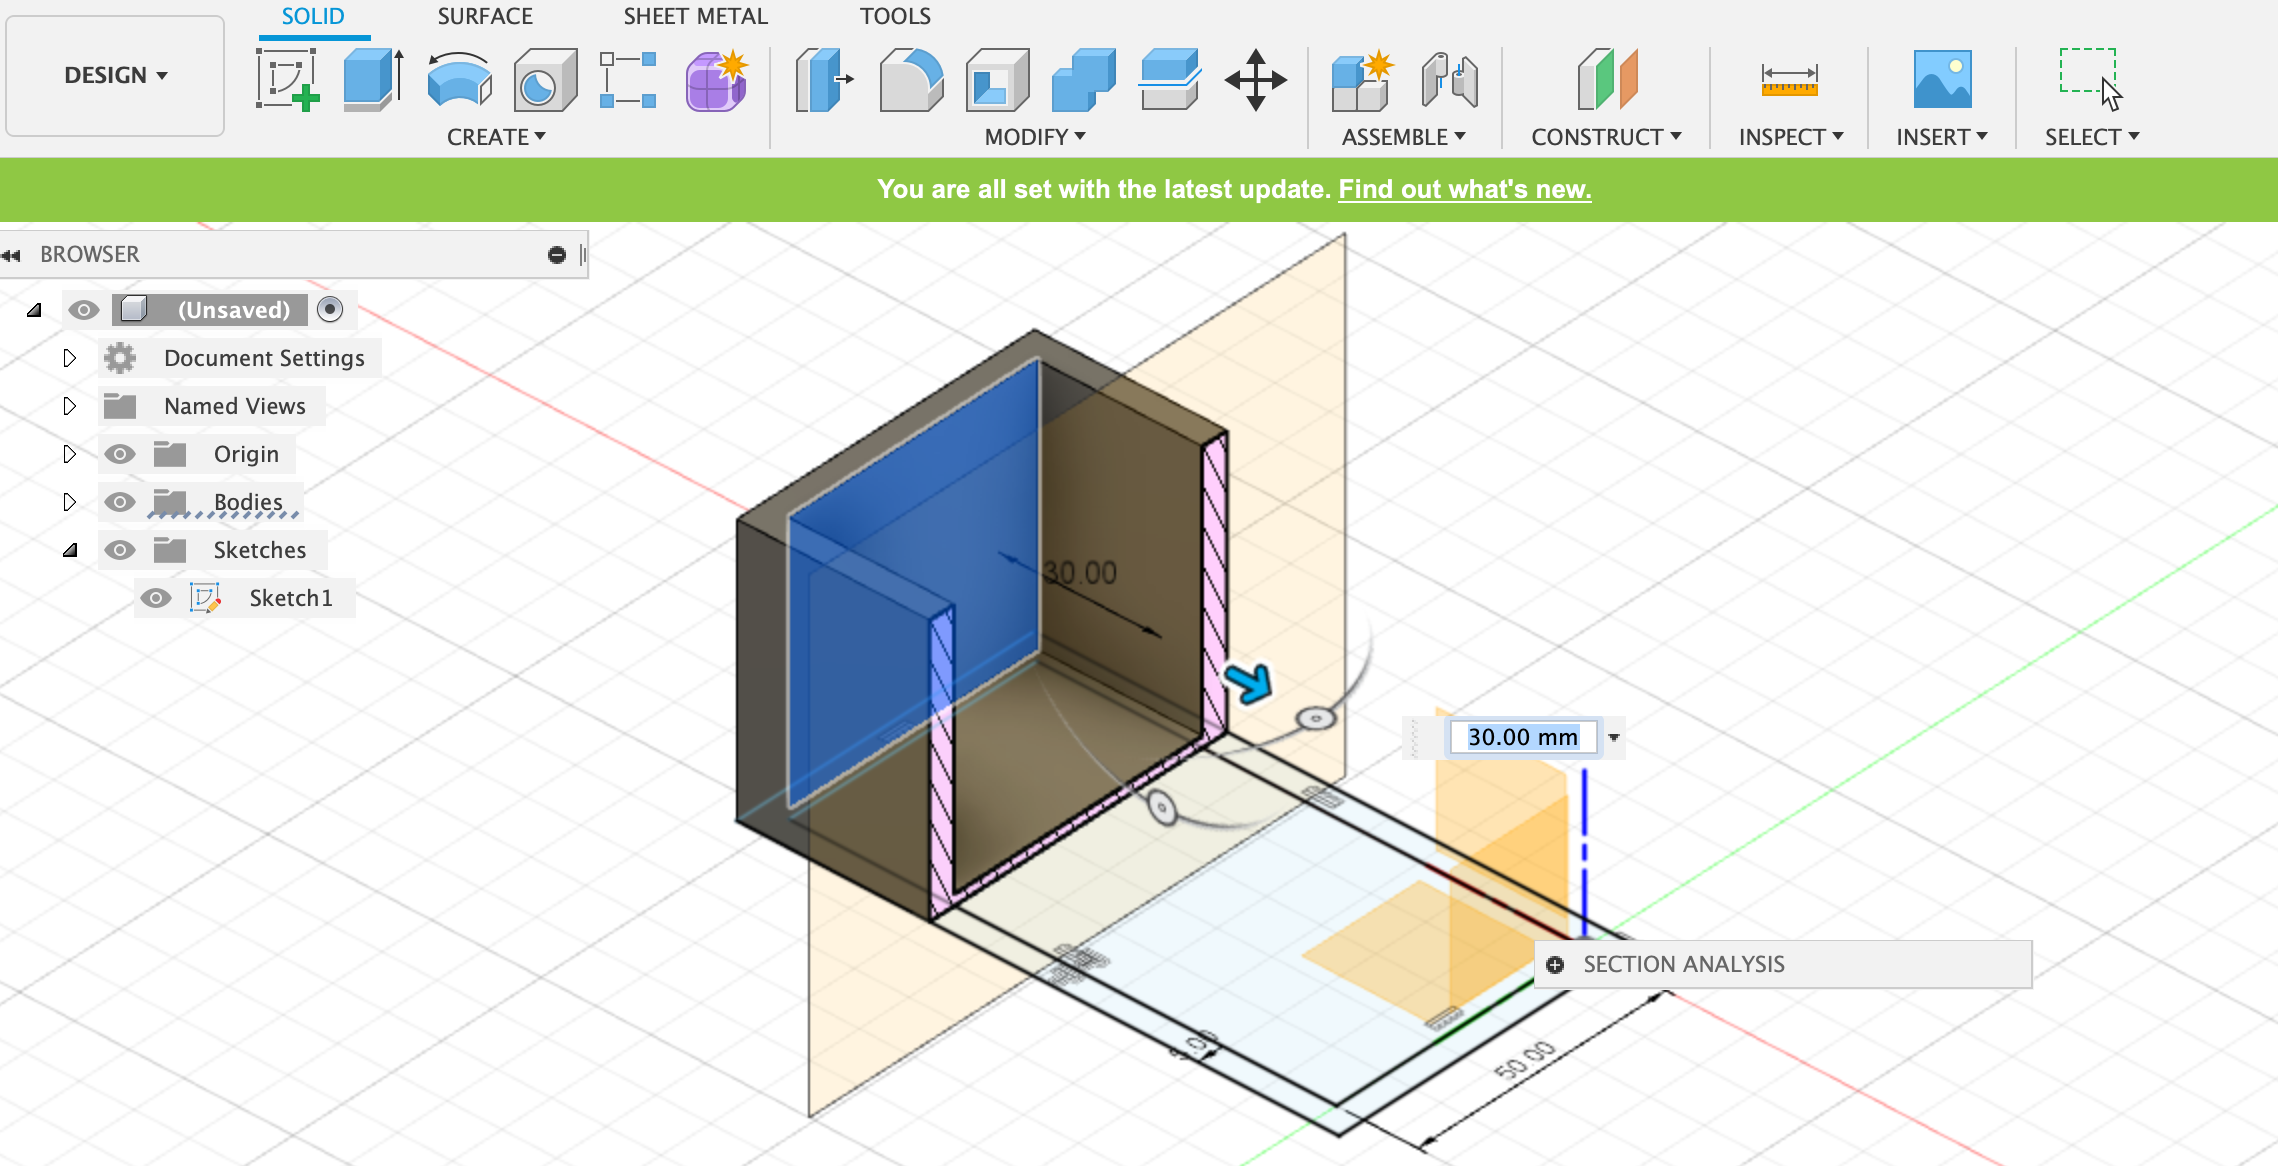
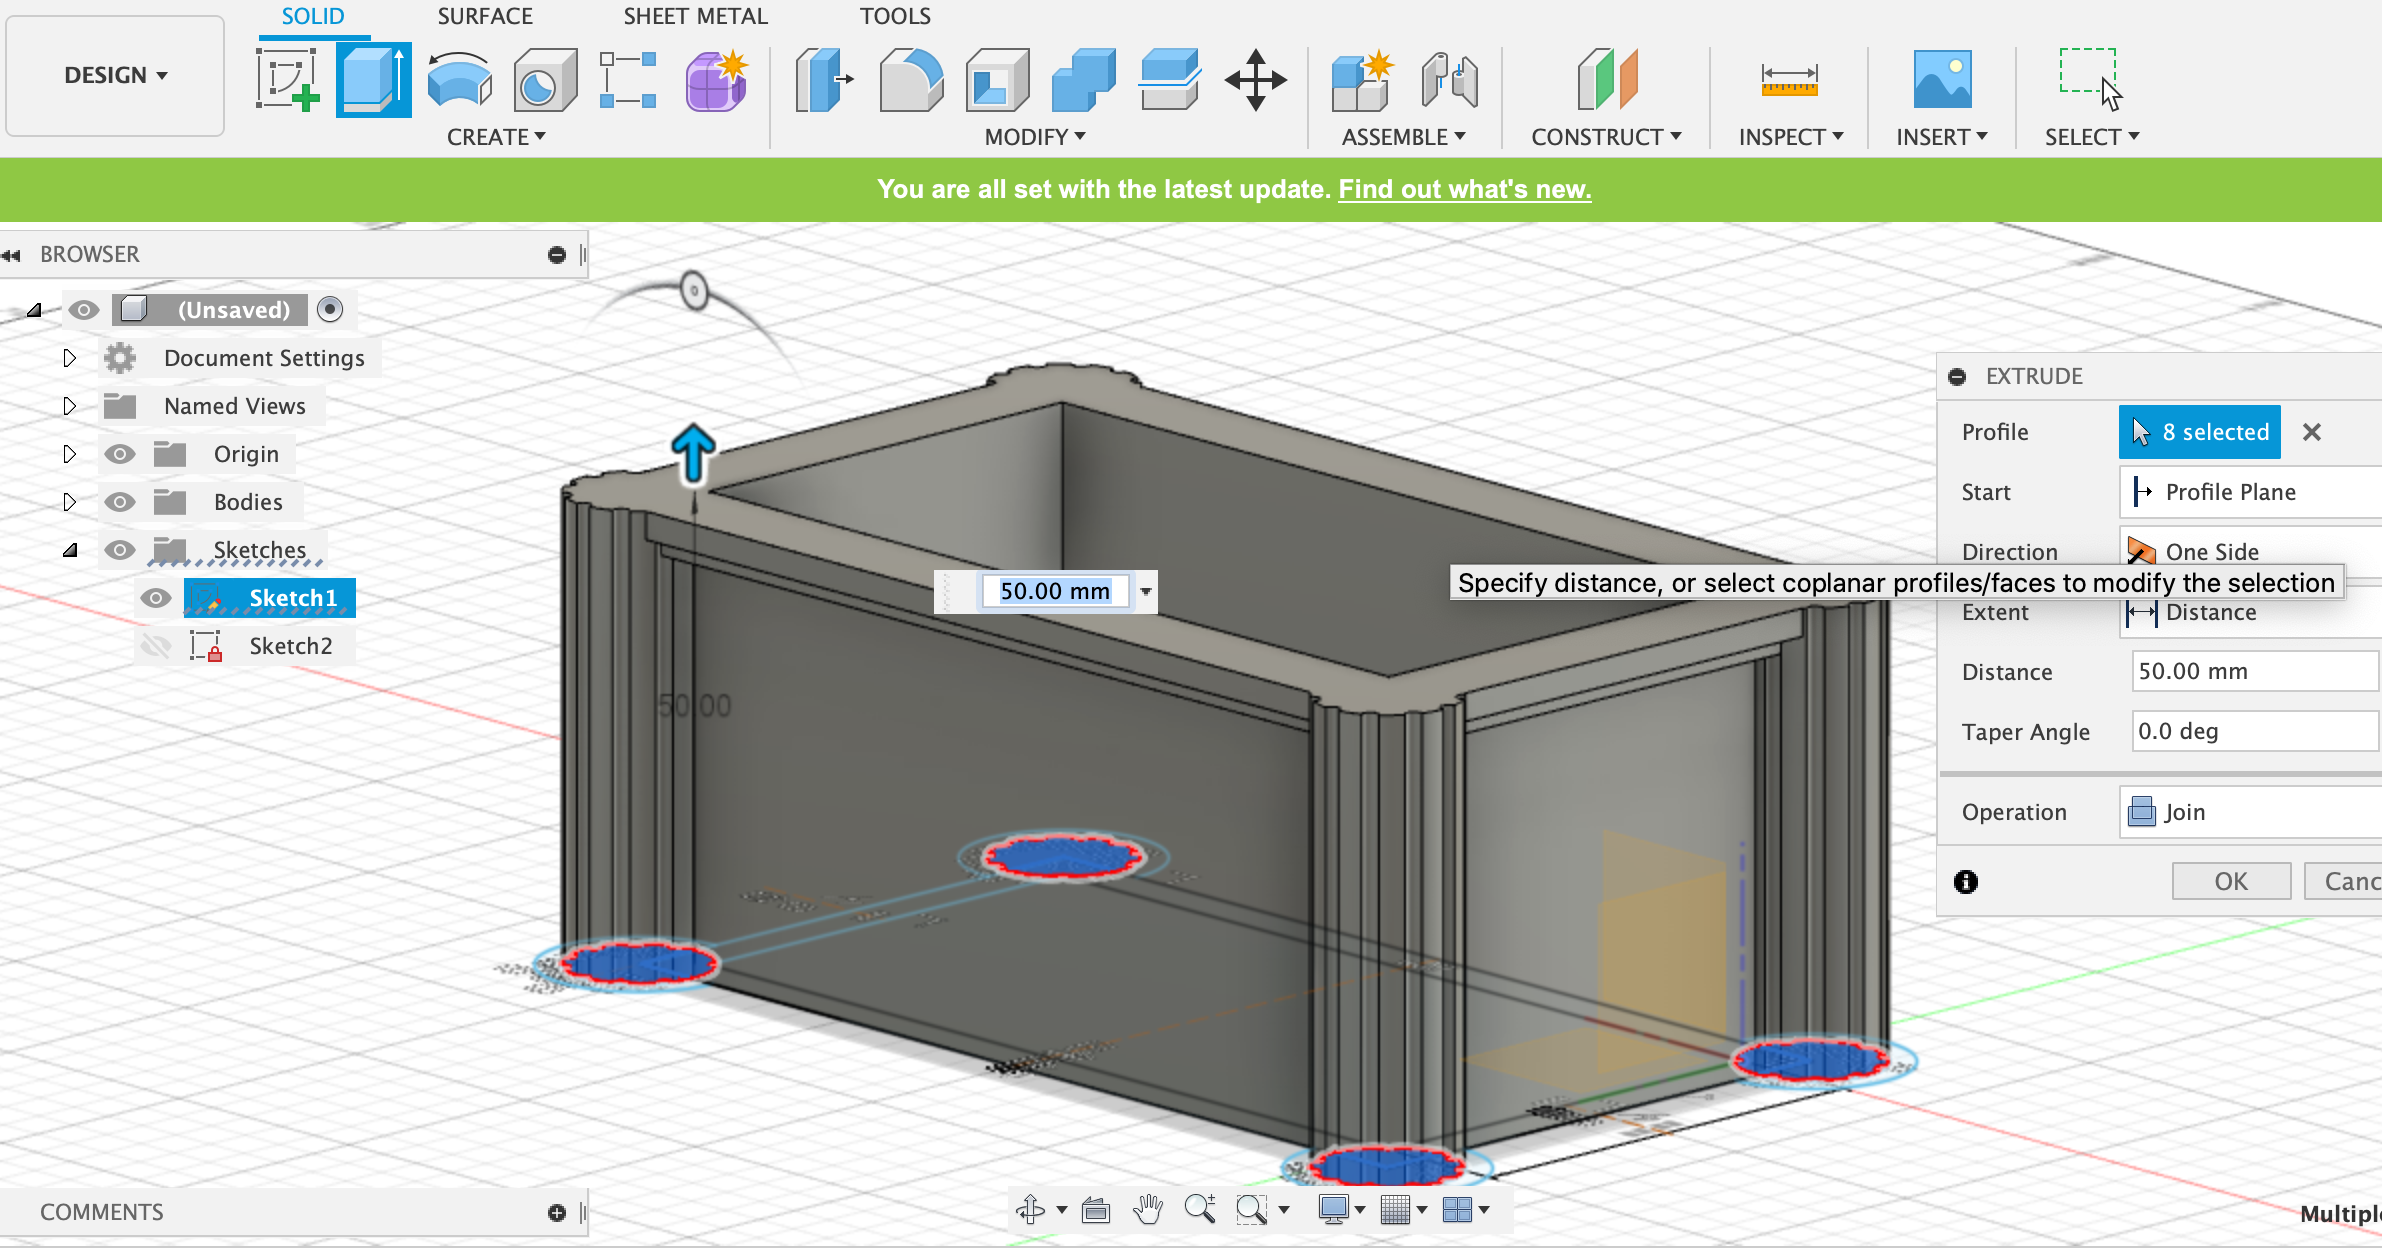
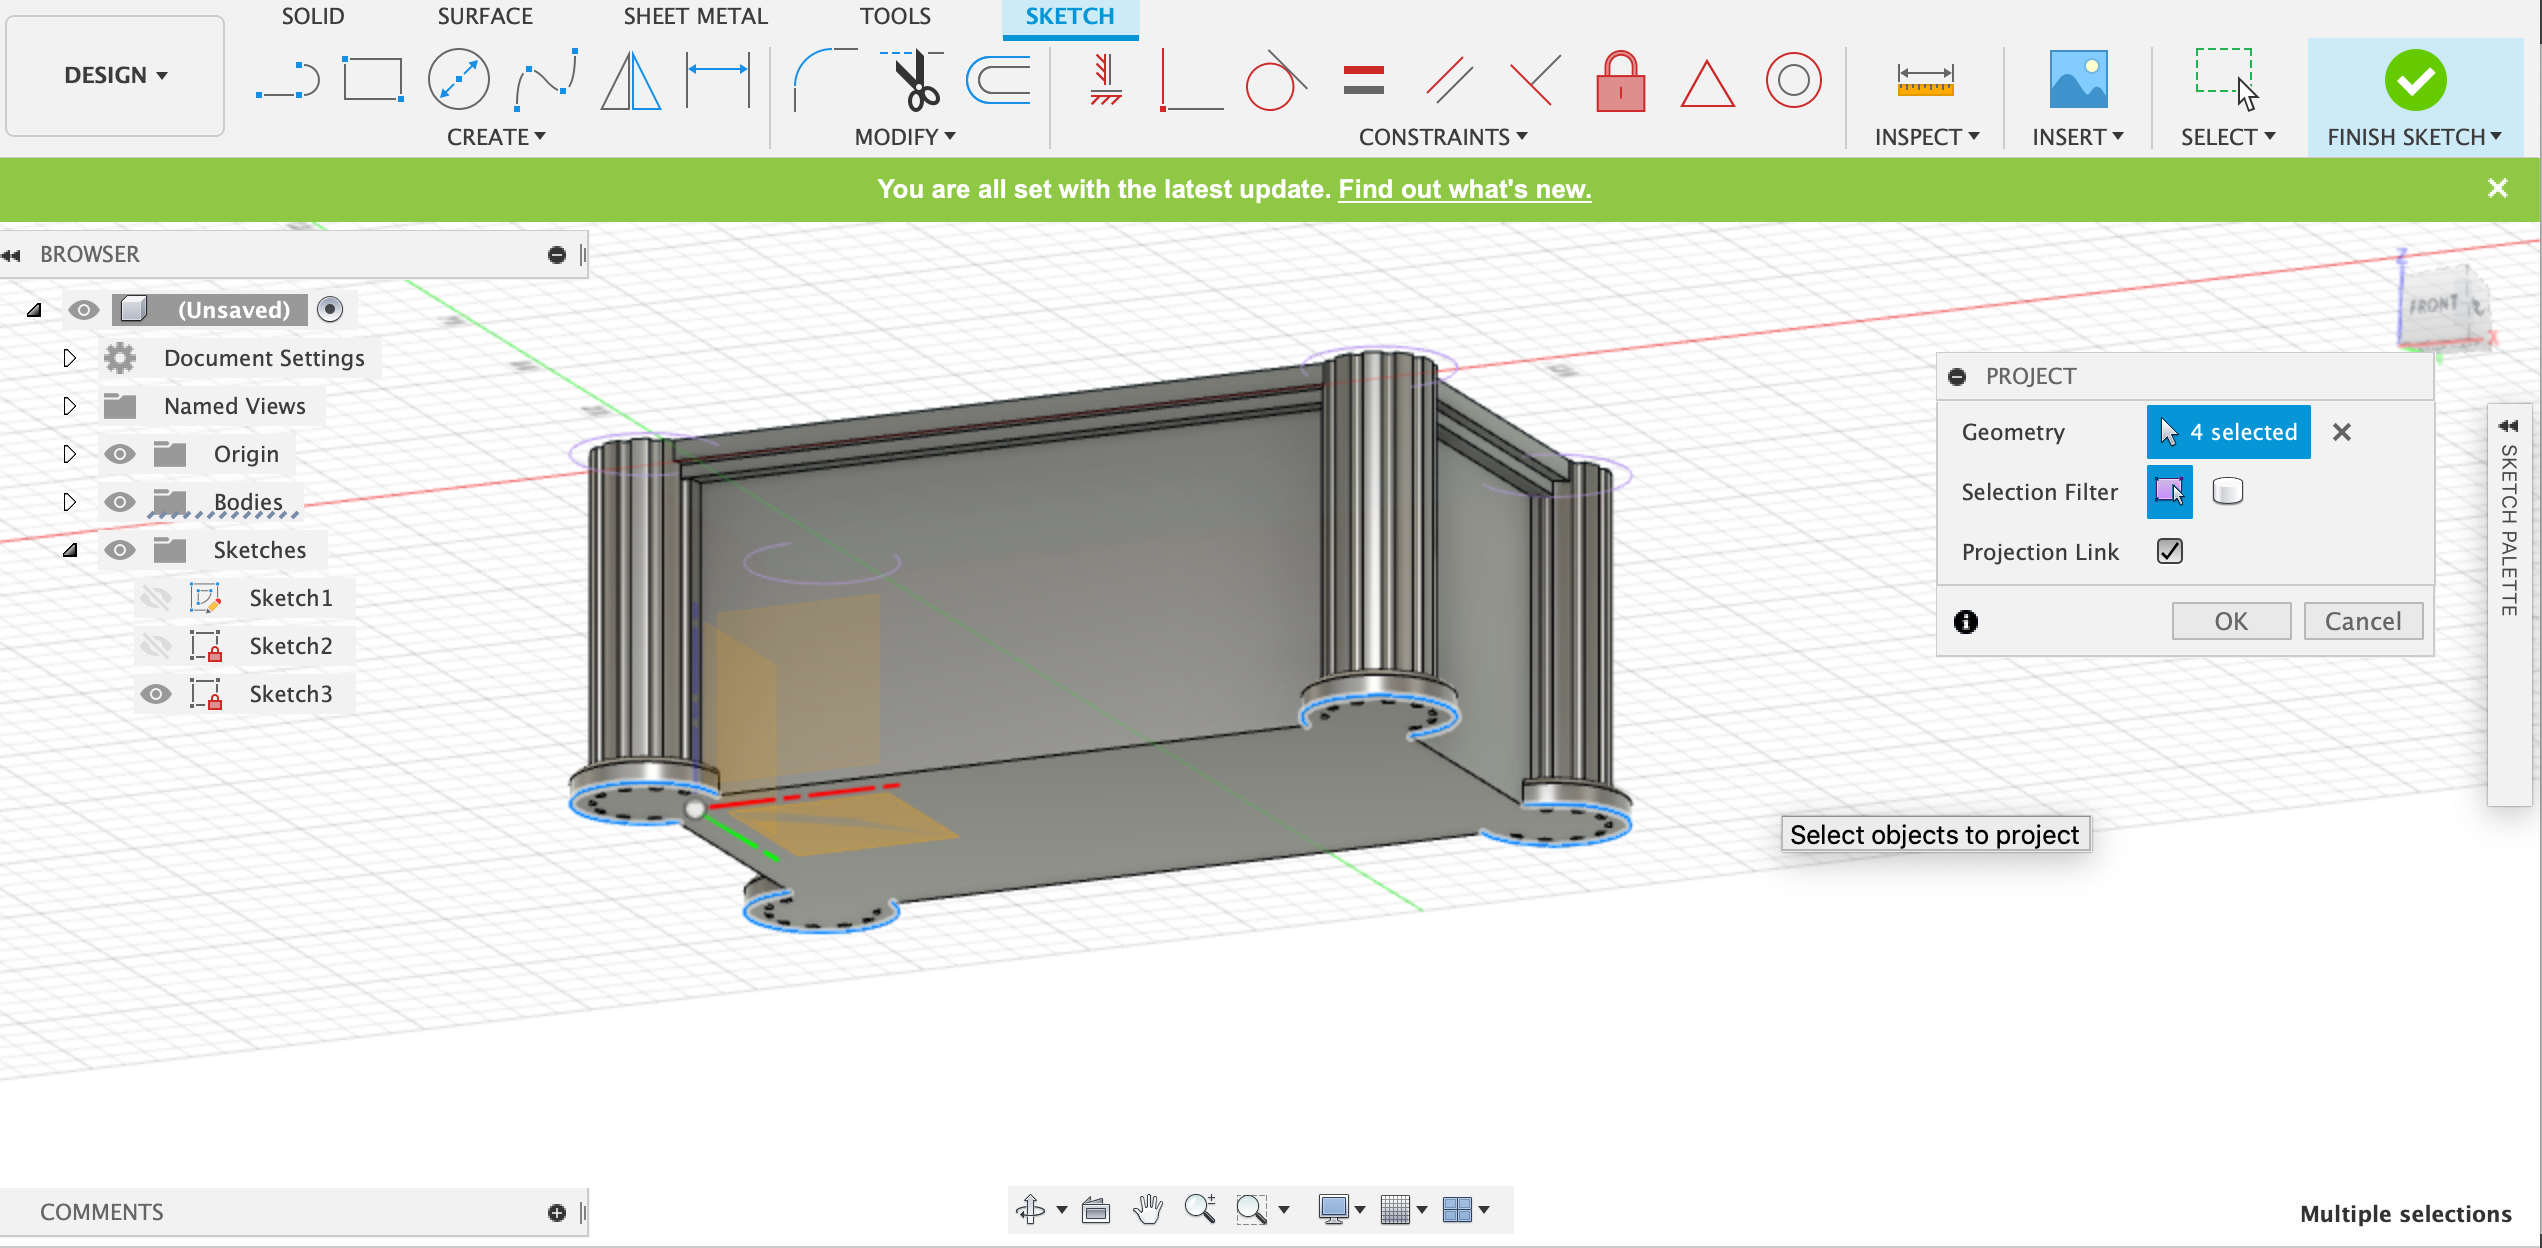
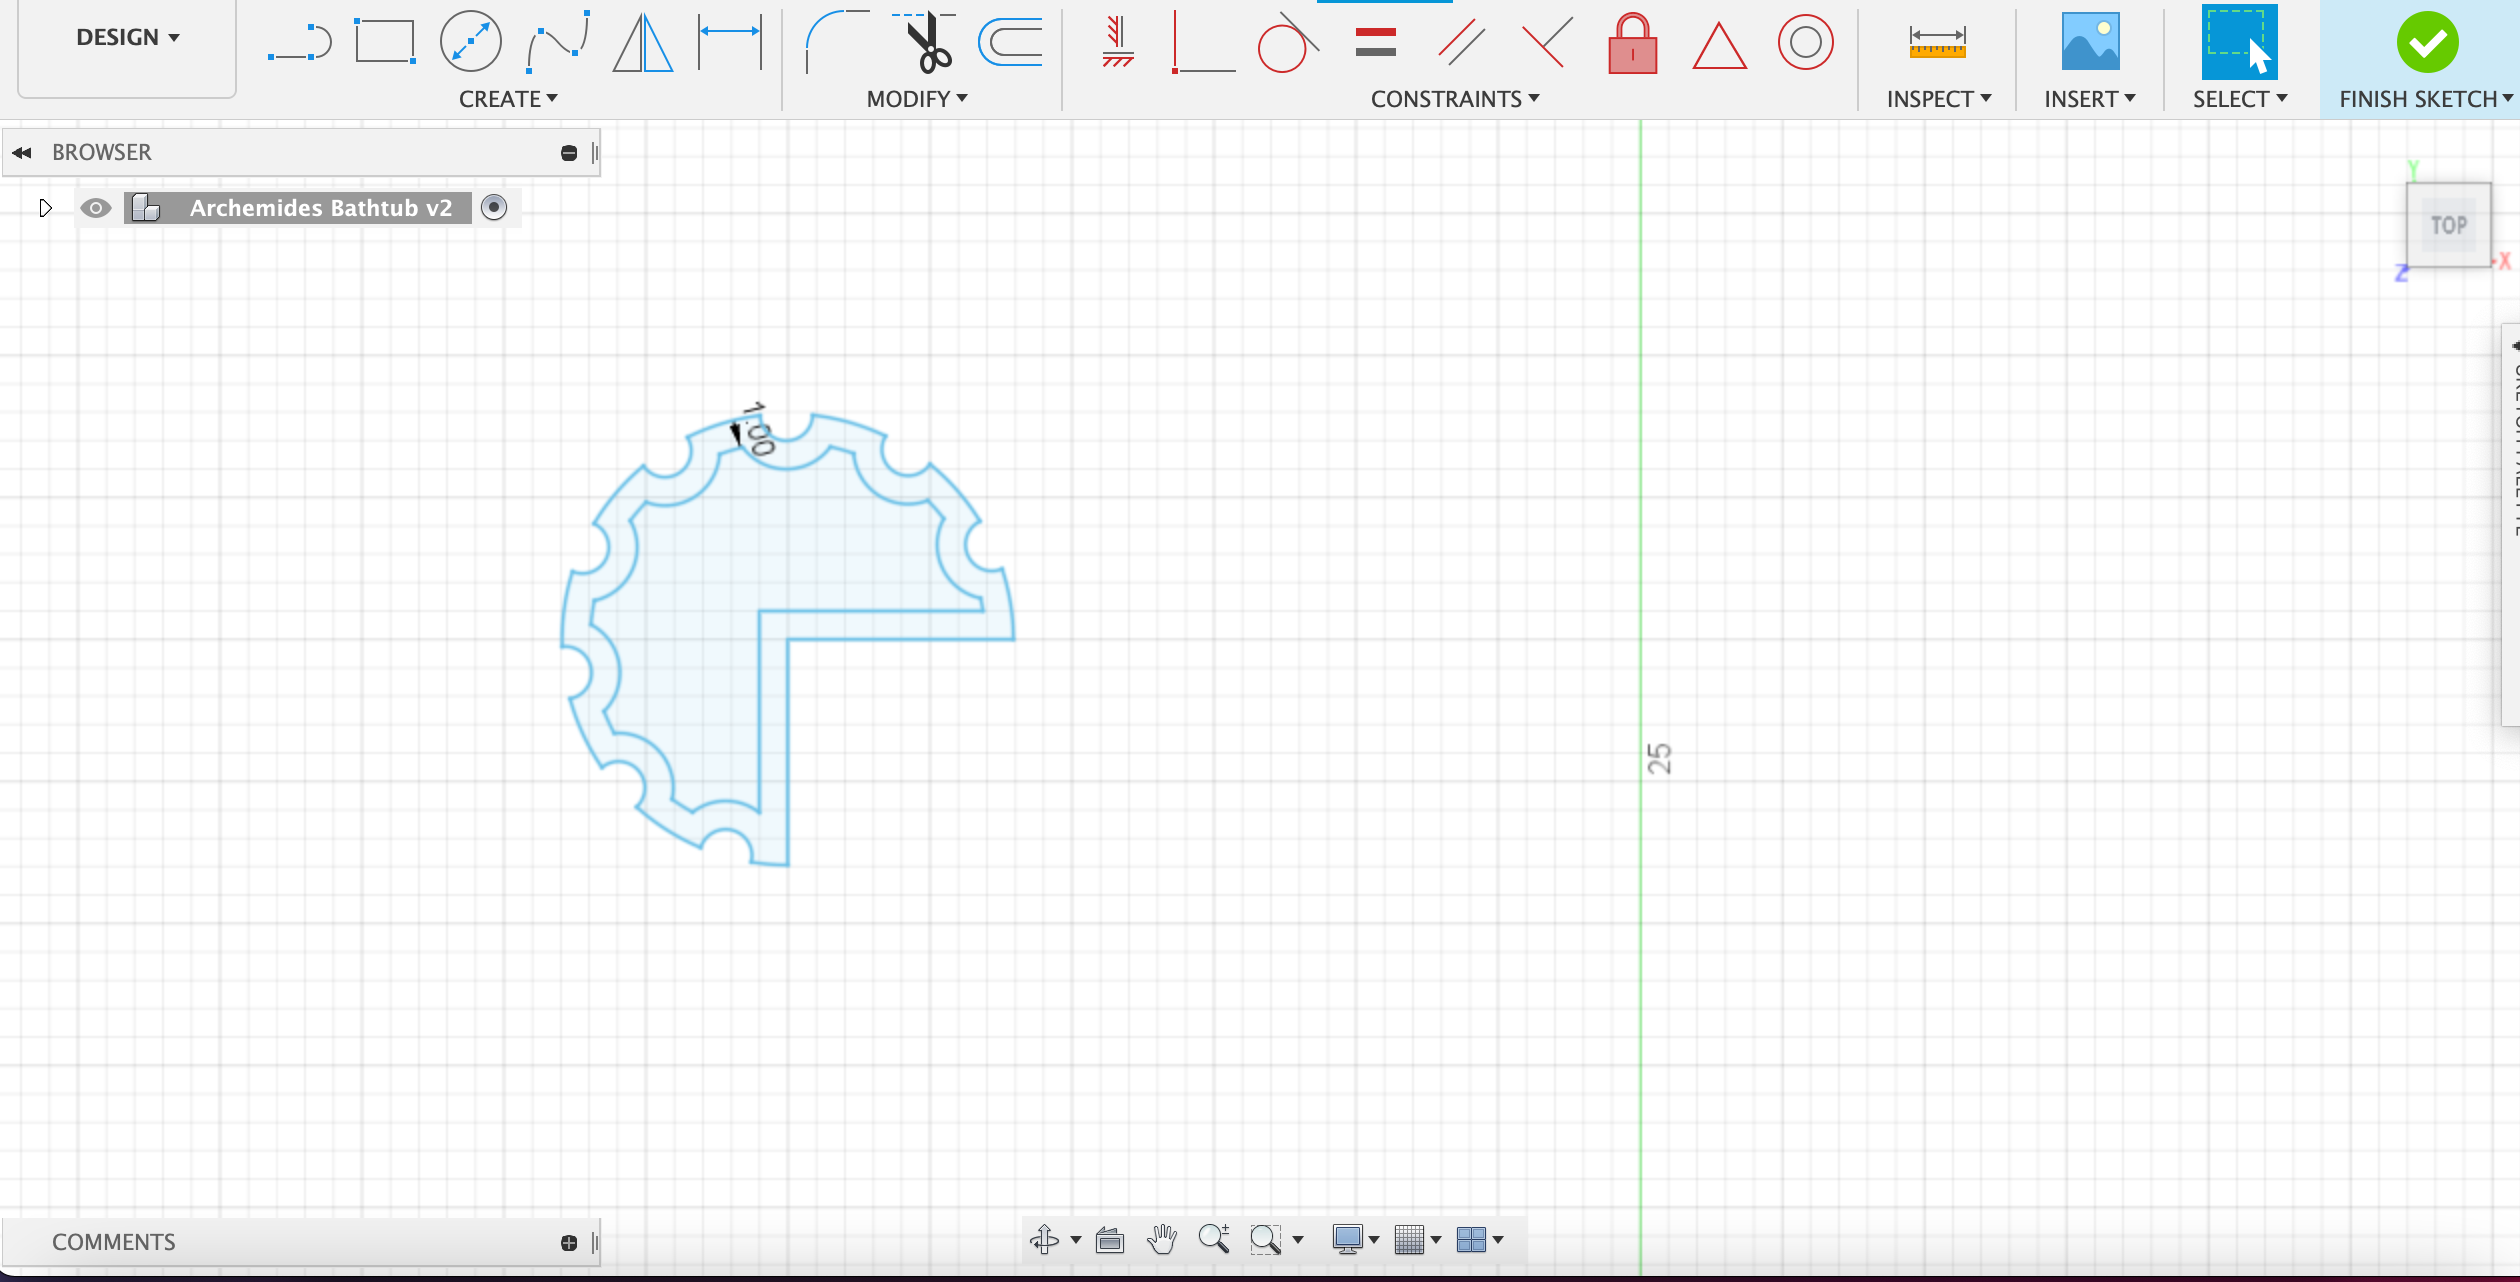
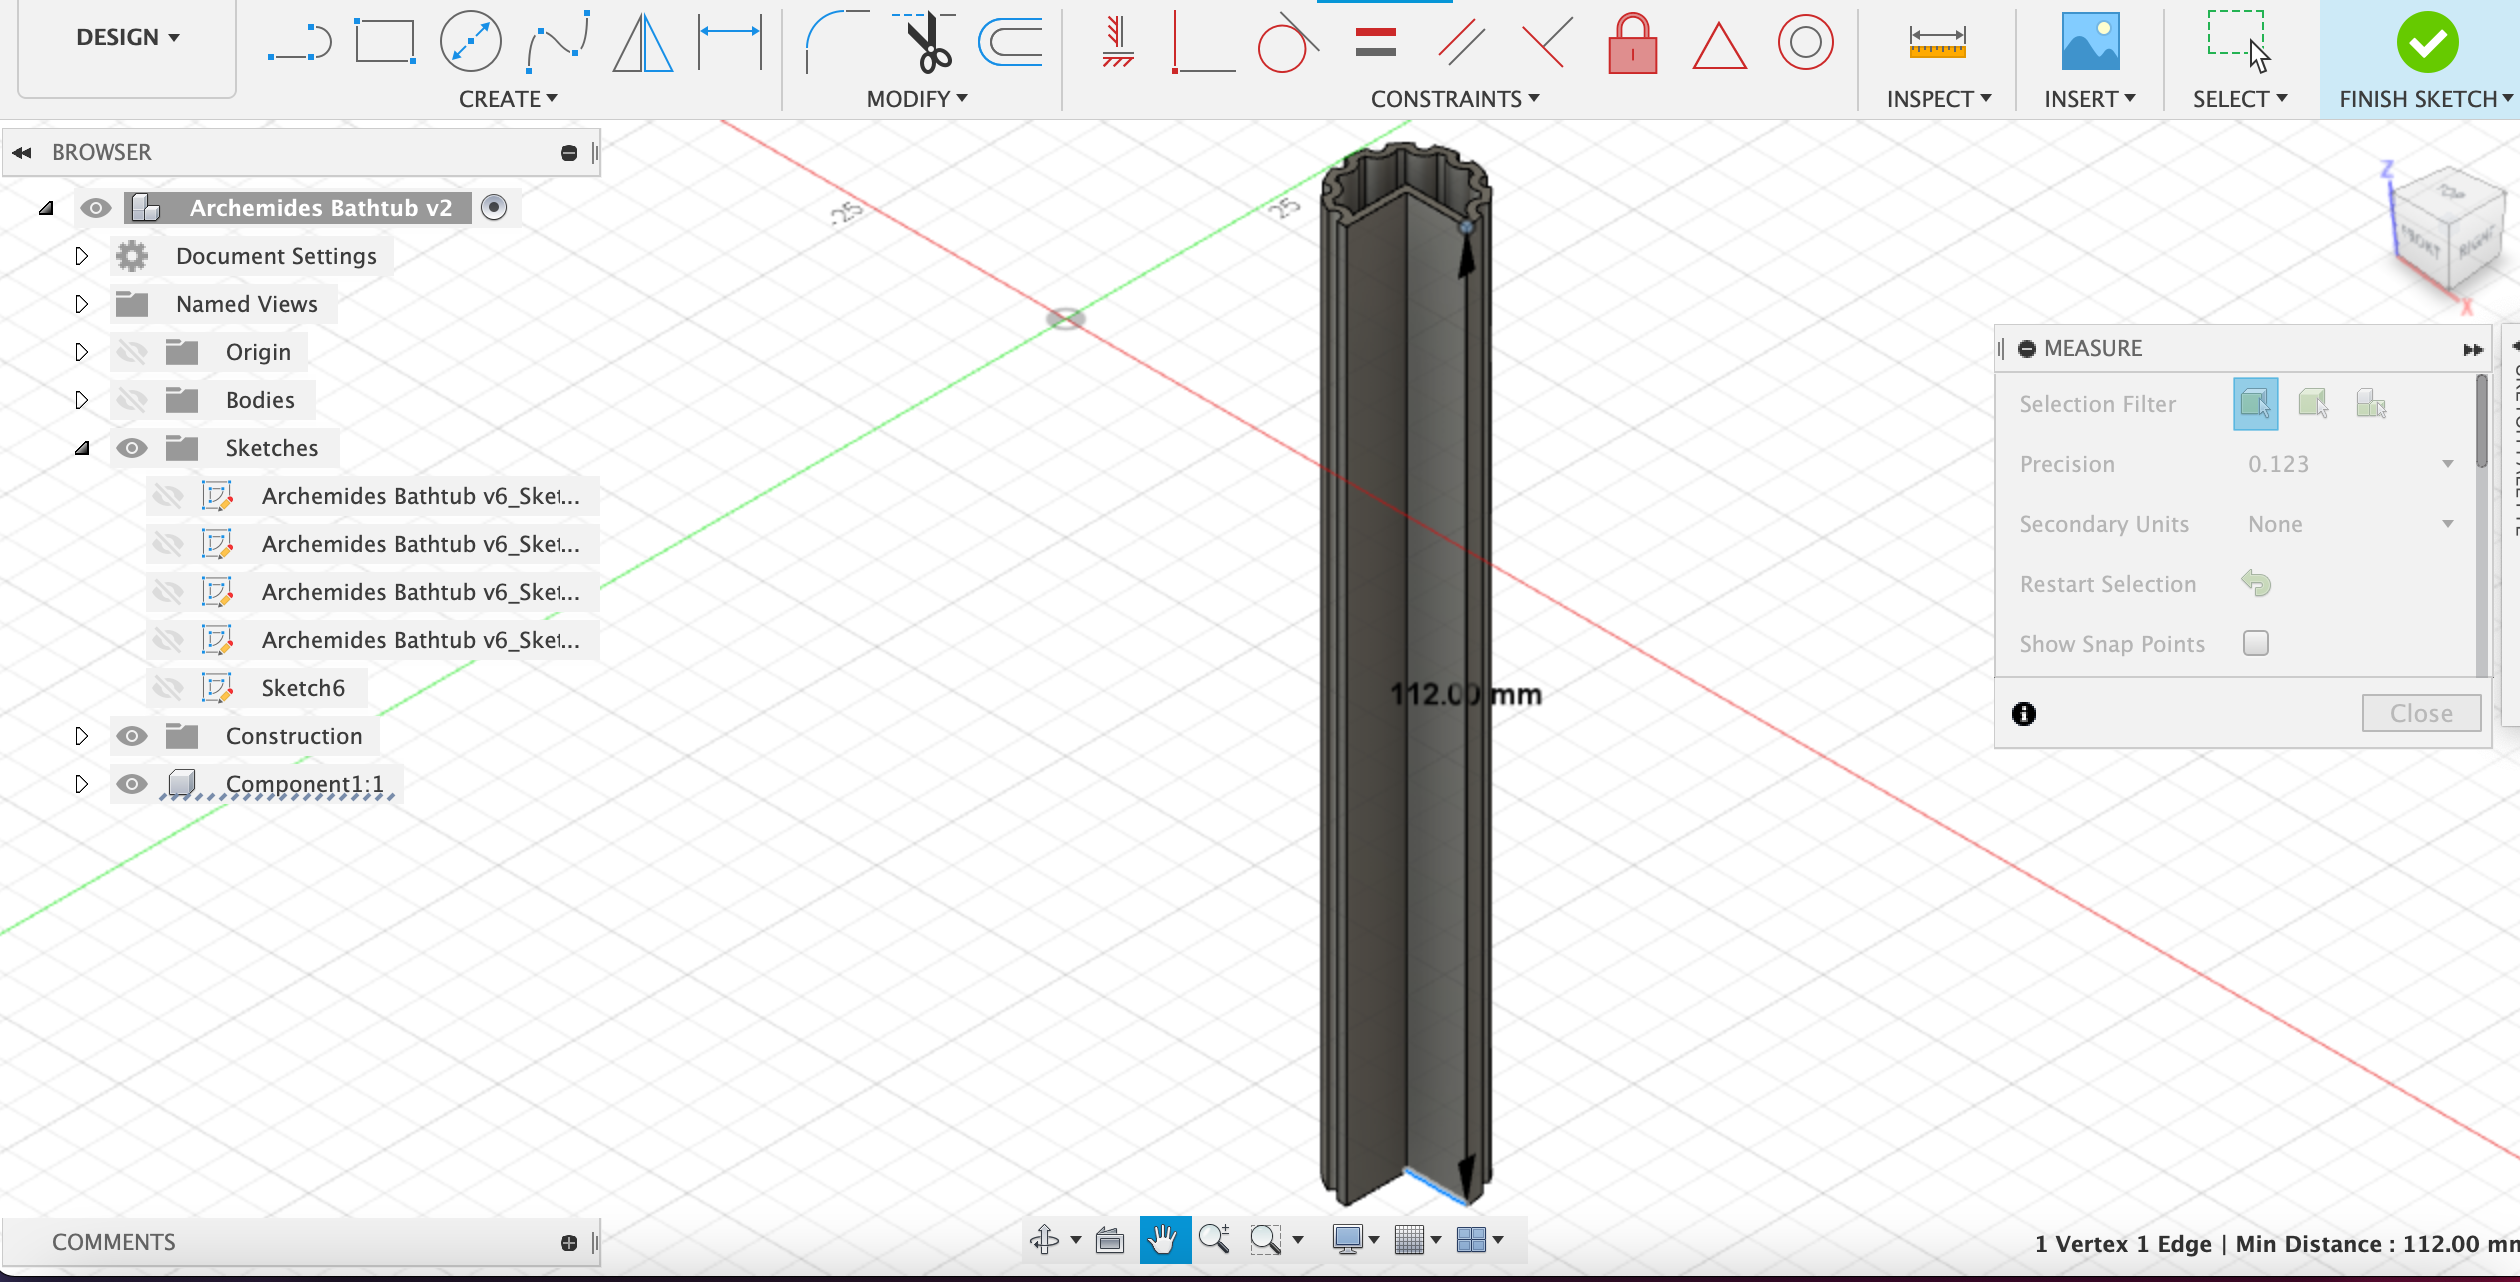
Modelling the "Bathtub" basic shape by first sketching the profile, then extruding:
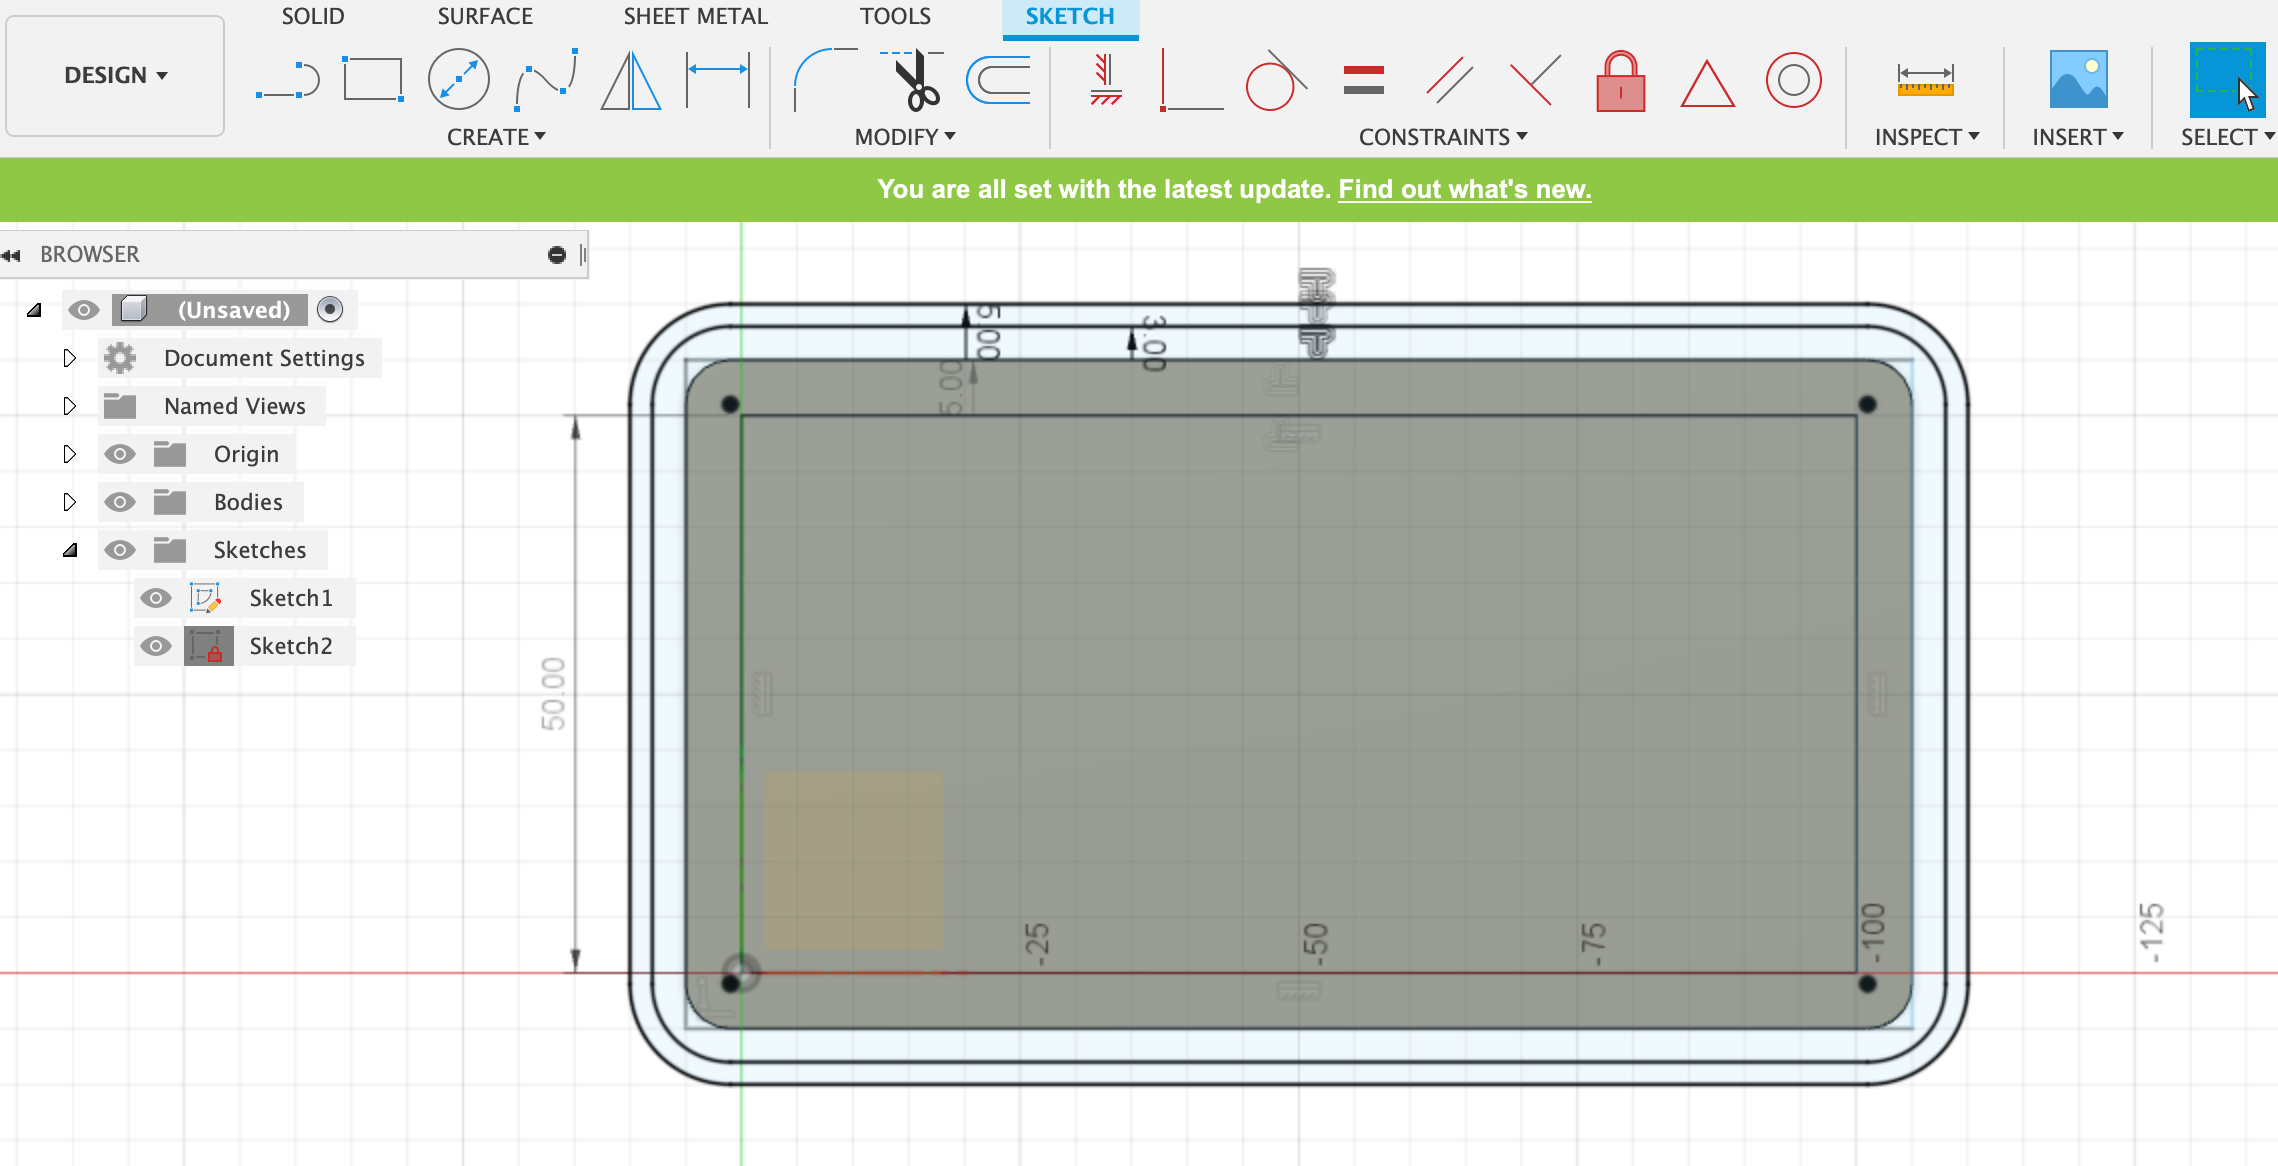
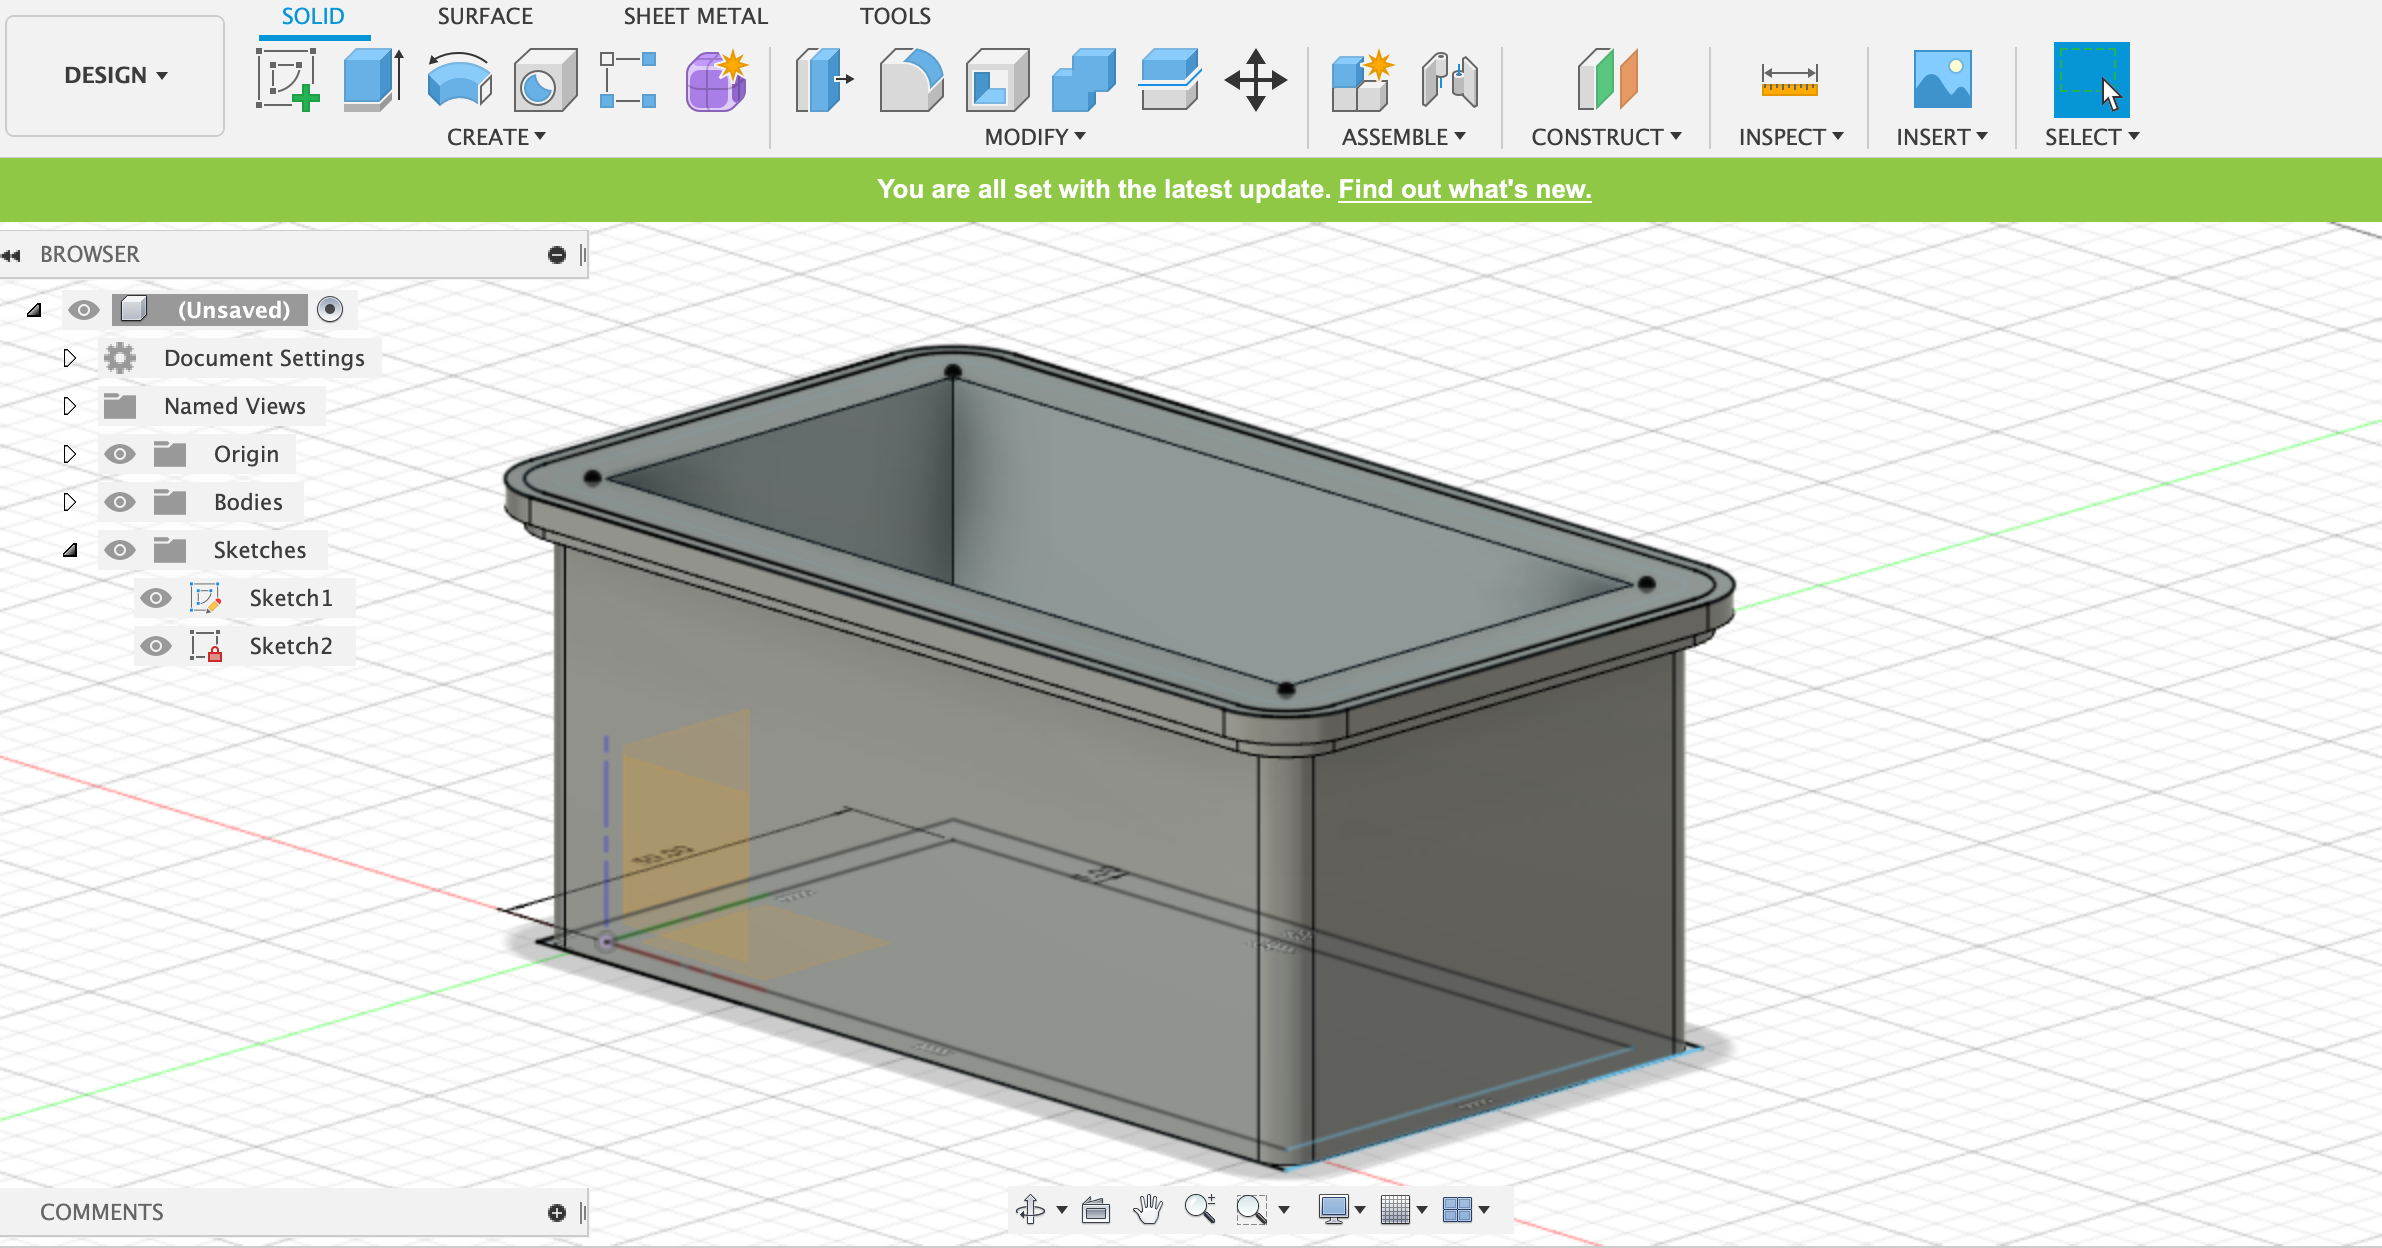
Then closing the bottom of the bathtub by extruding the inner base rectangular profile
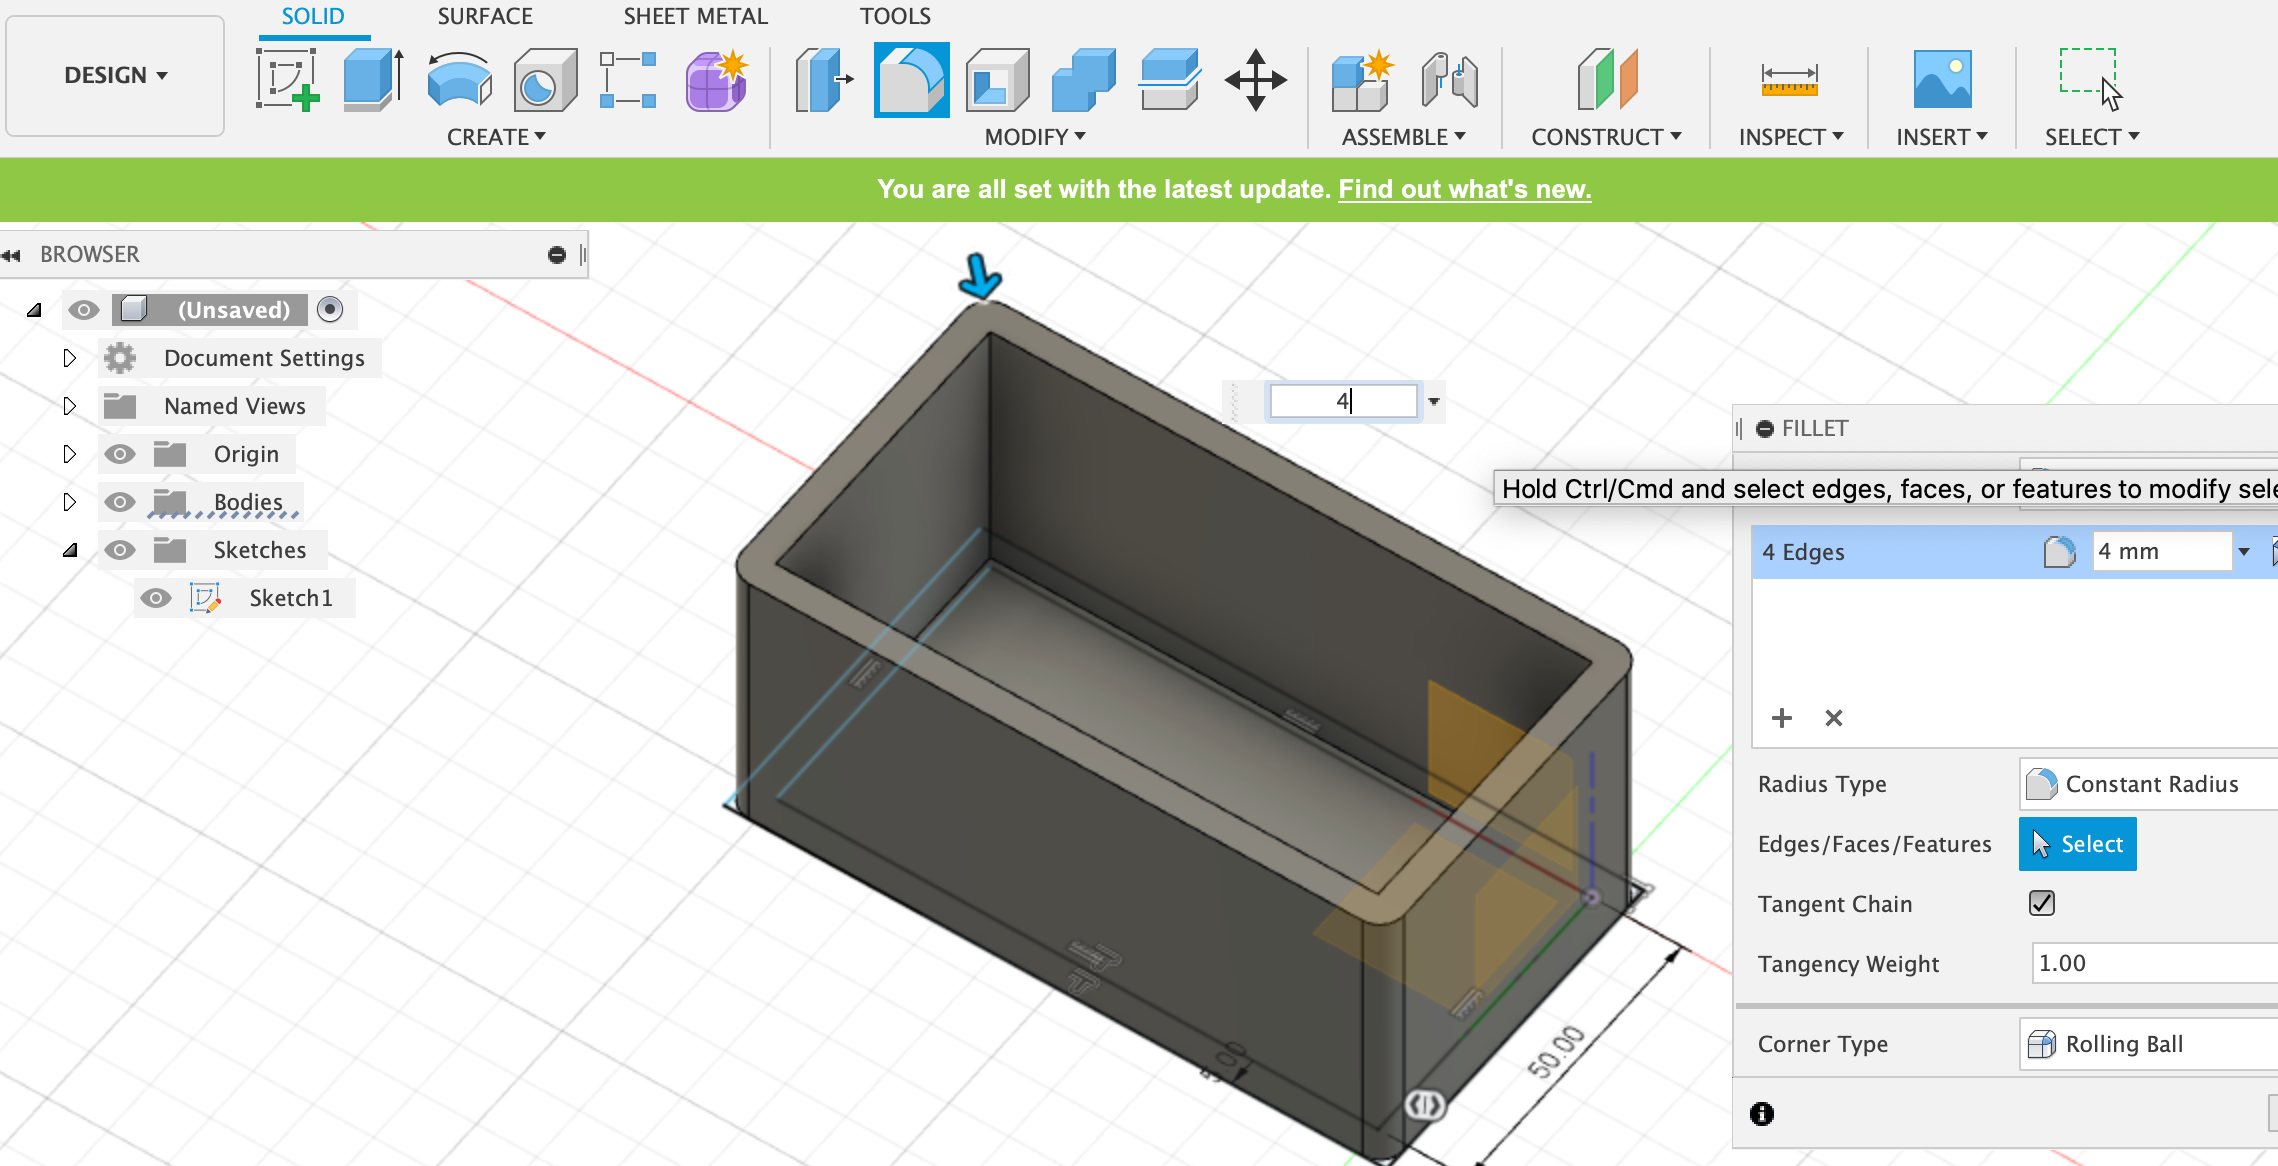
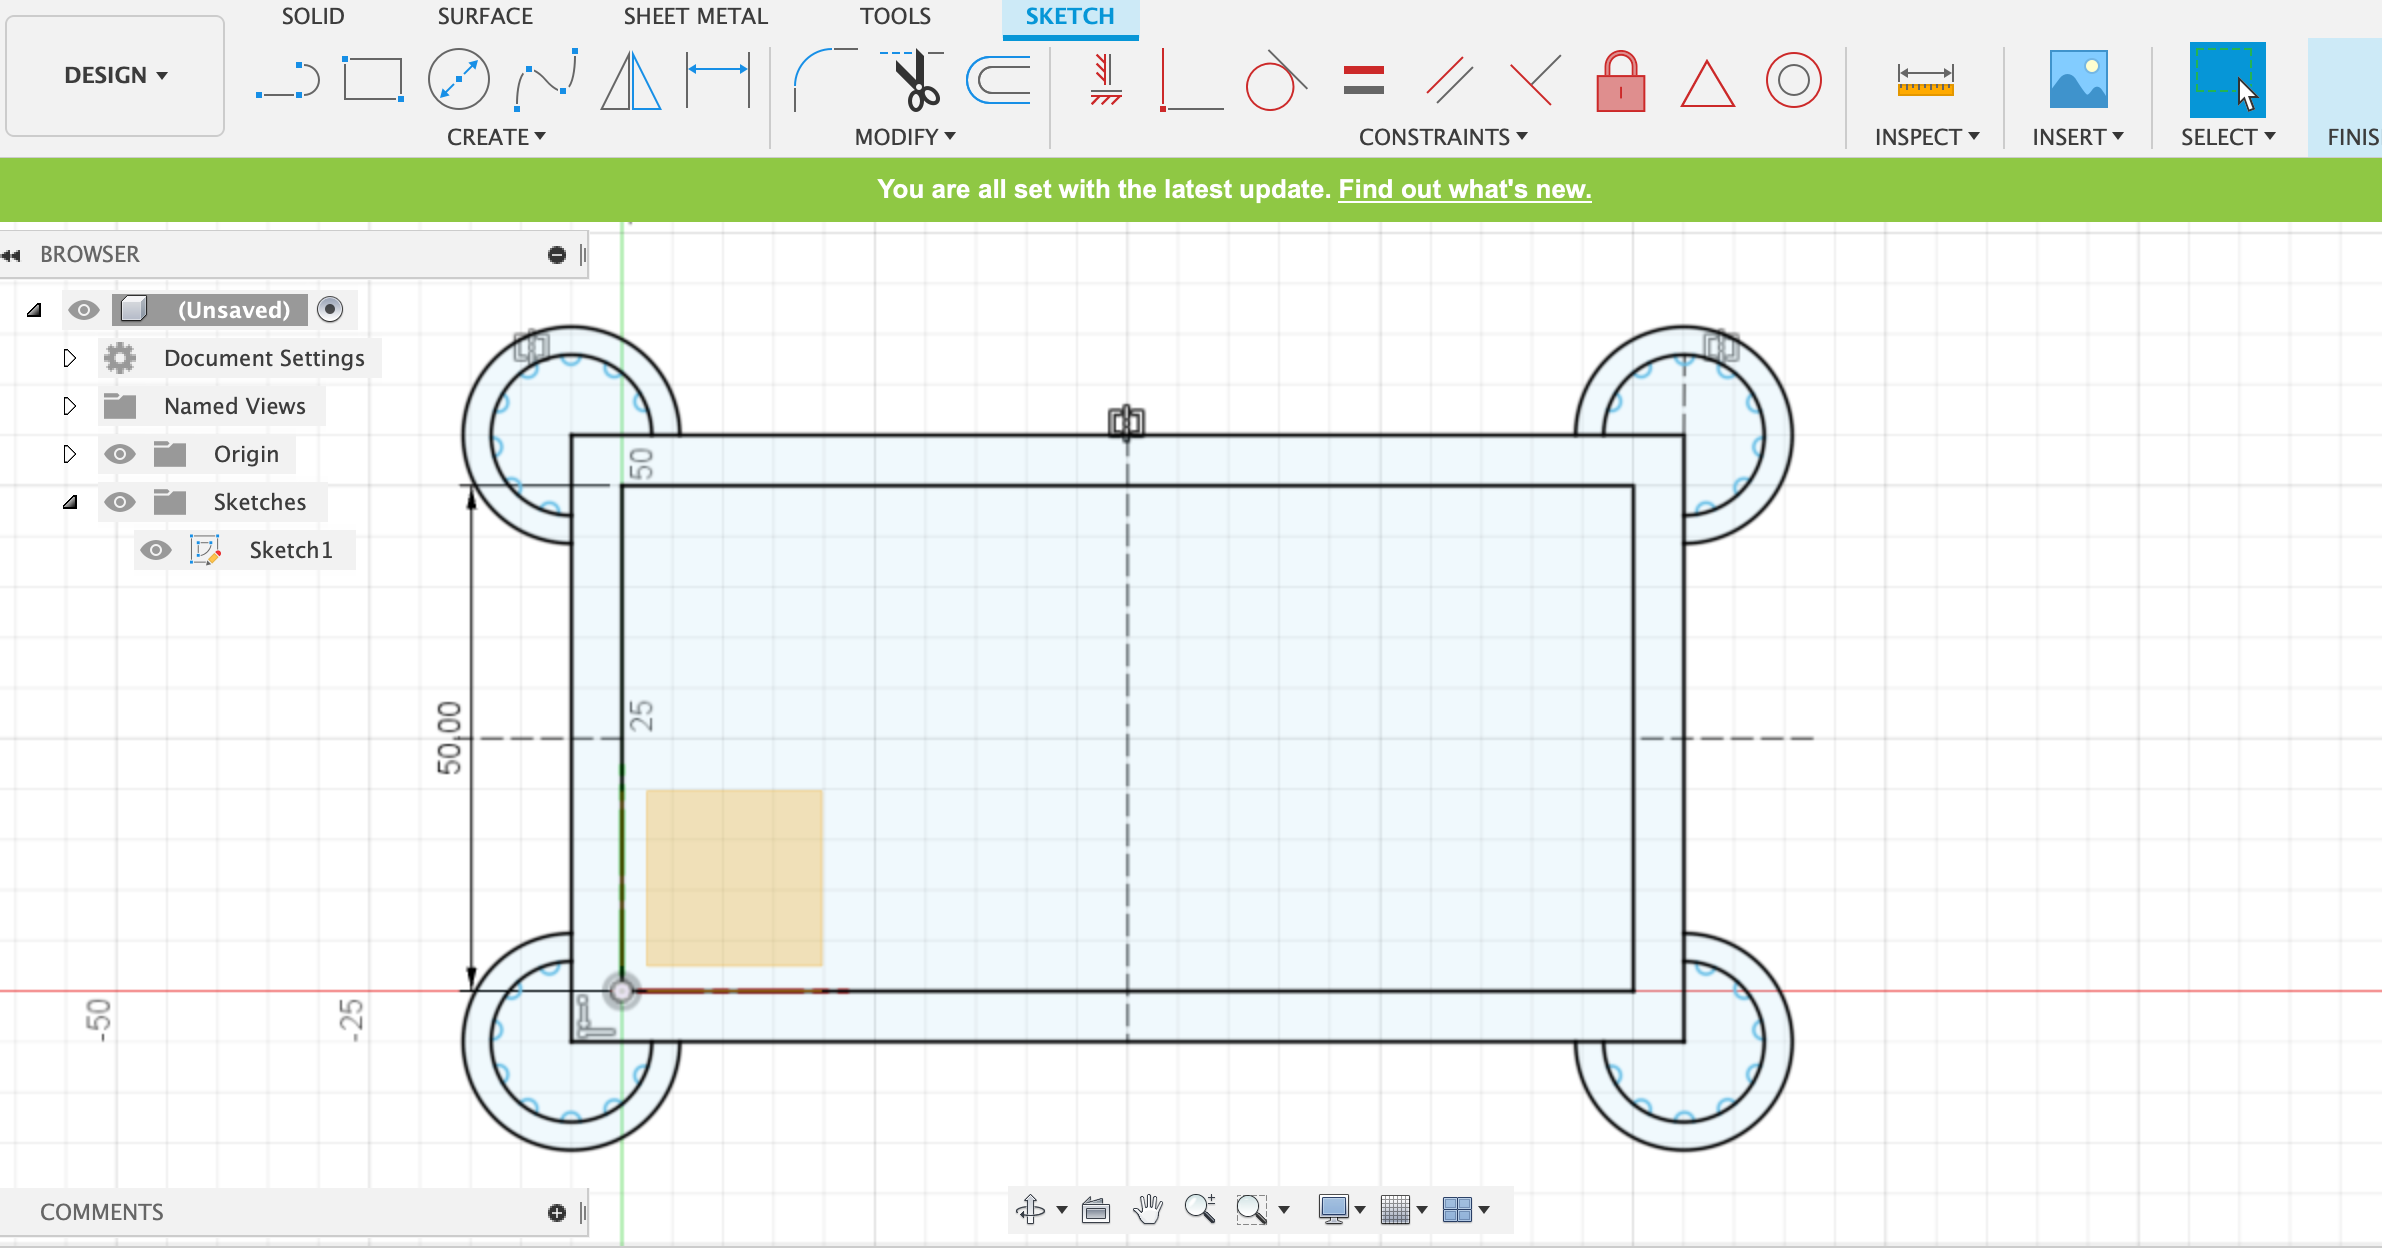
Then refinning the shape by using the fillet tool on the four side edges, after that, creating a decoration for the rim by first sketching the profile then extruding
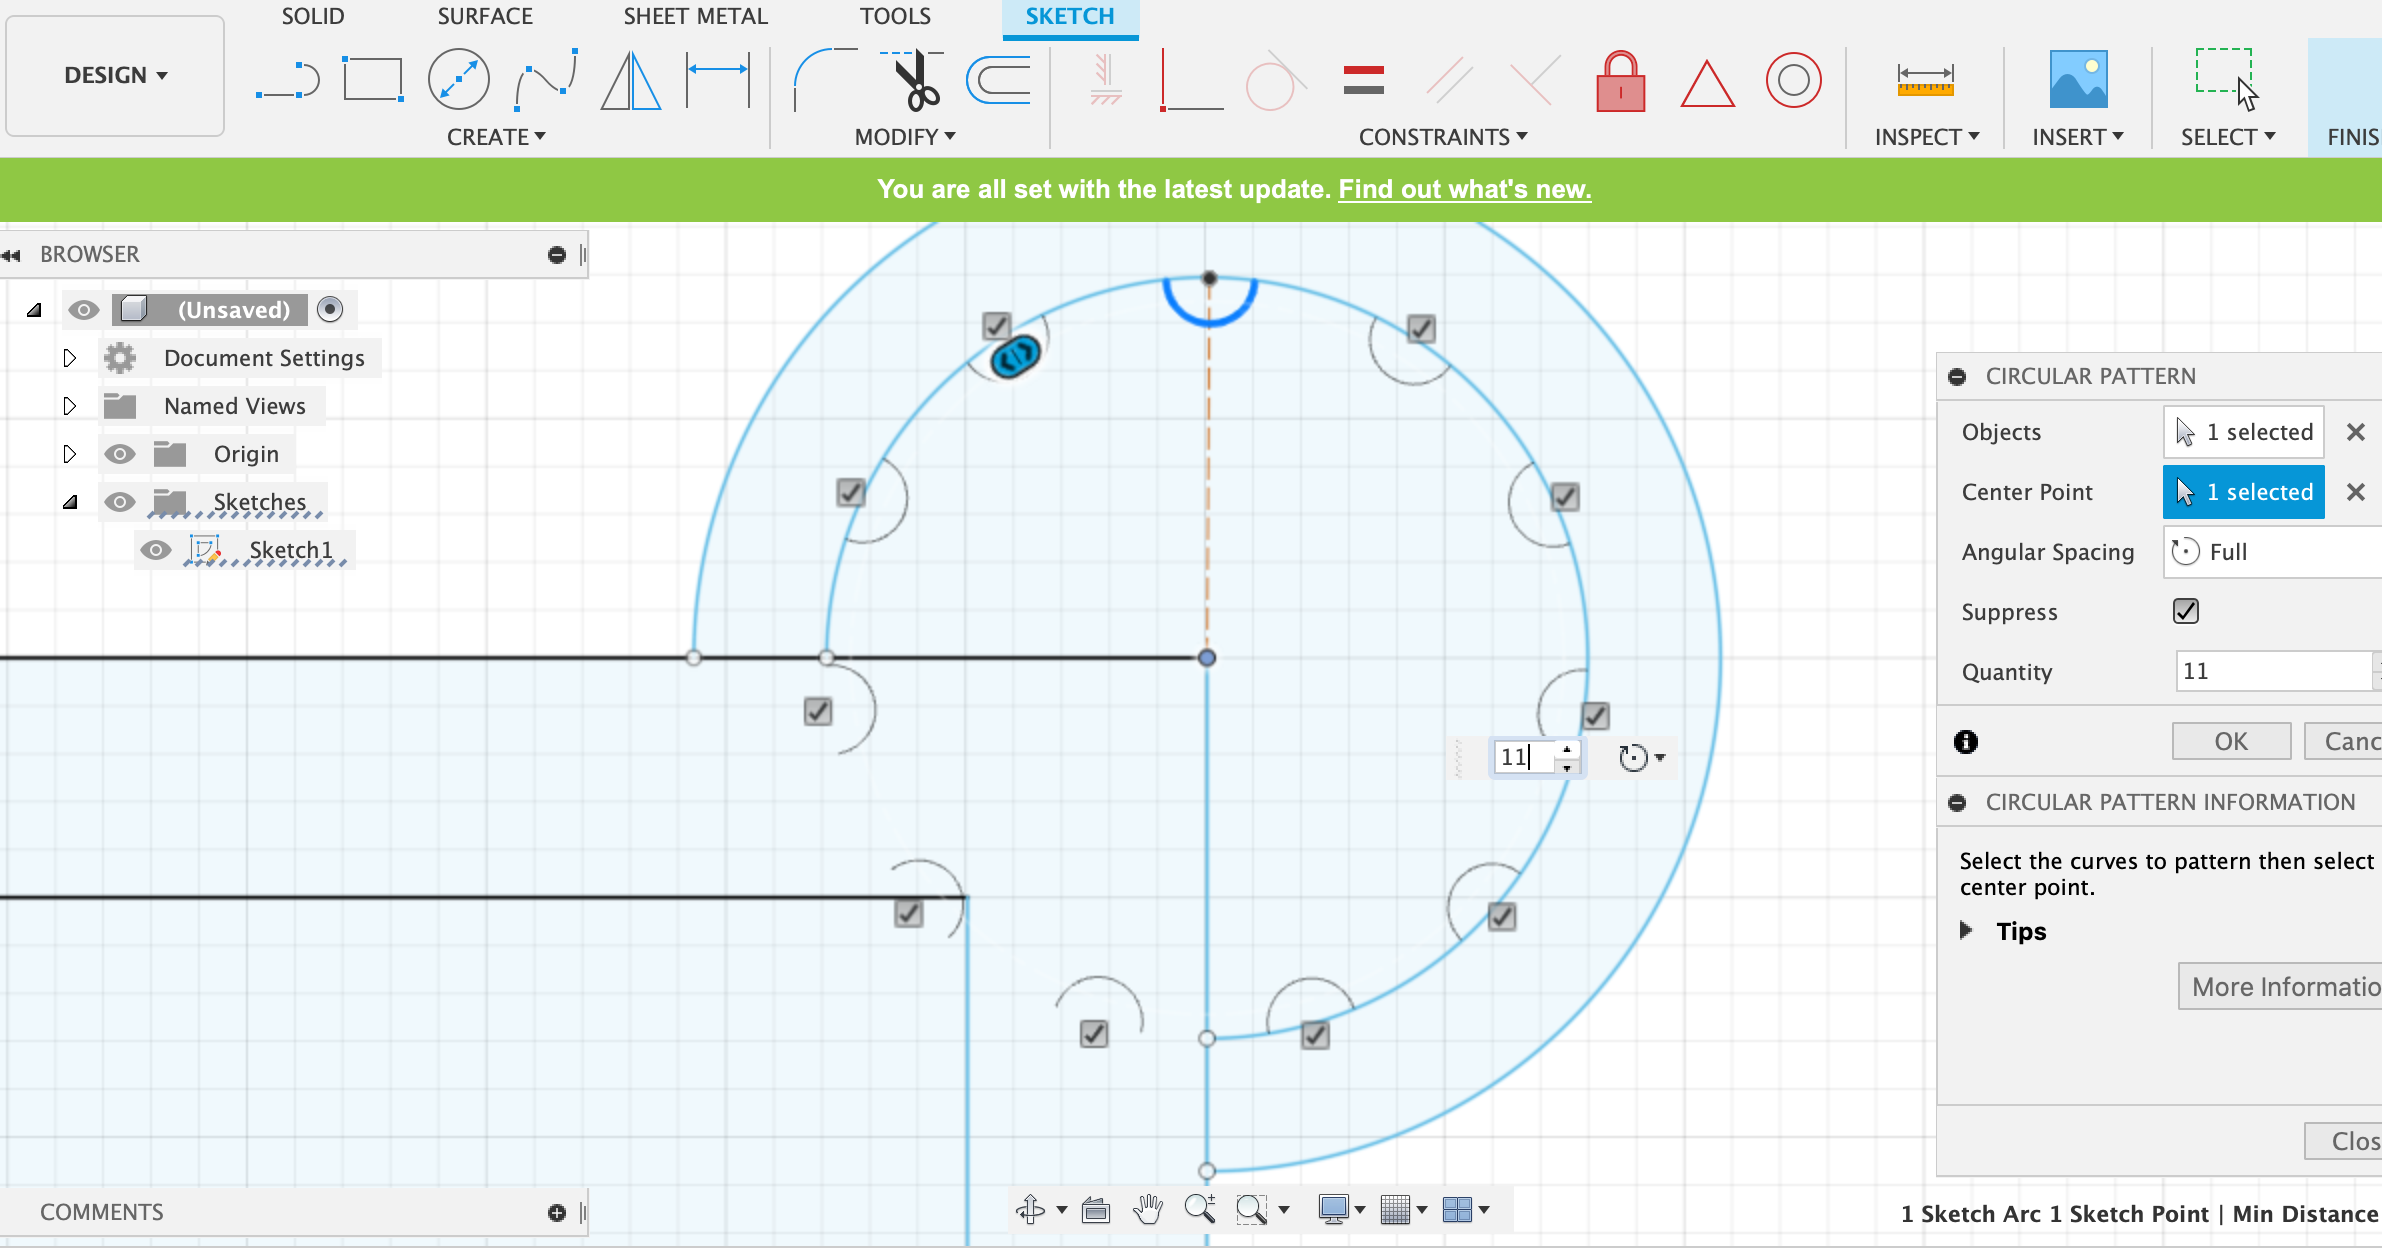
Sketching the profile for the columns bases, and mirroring them to the four sides
Then modelling the columns details by first sketching the profile, then applying the rectangular pattern tool, and eventually extruding it:
Refinning the the columns tops and bottoms using the fillet tool
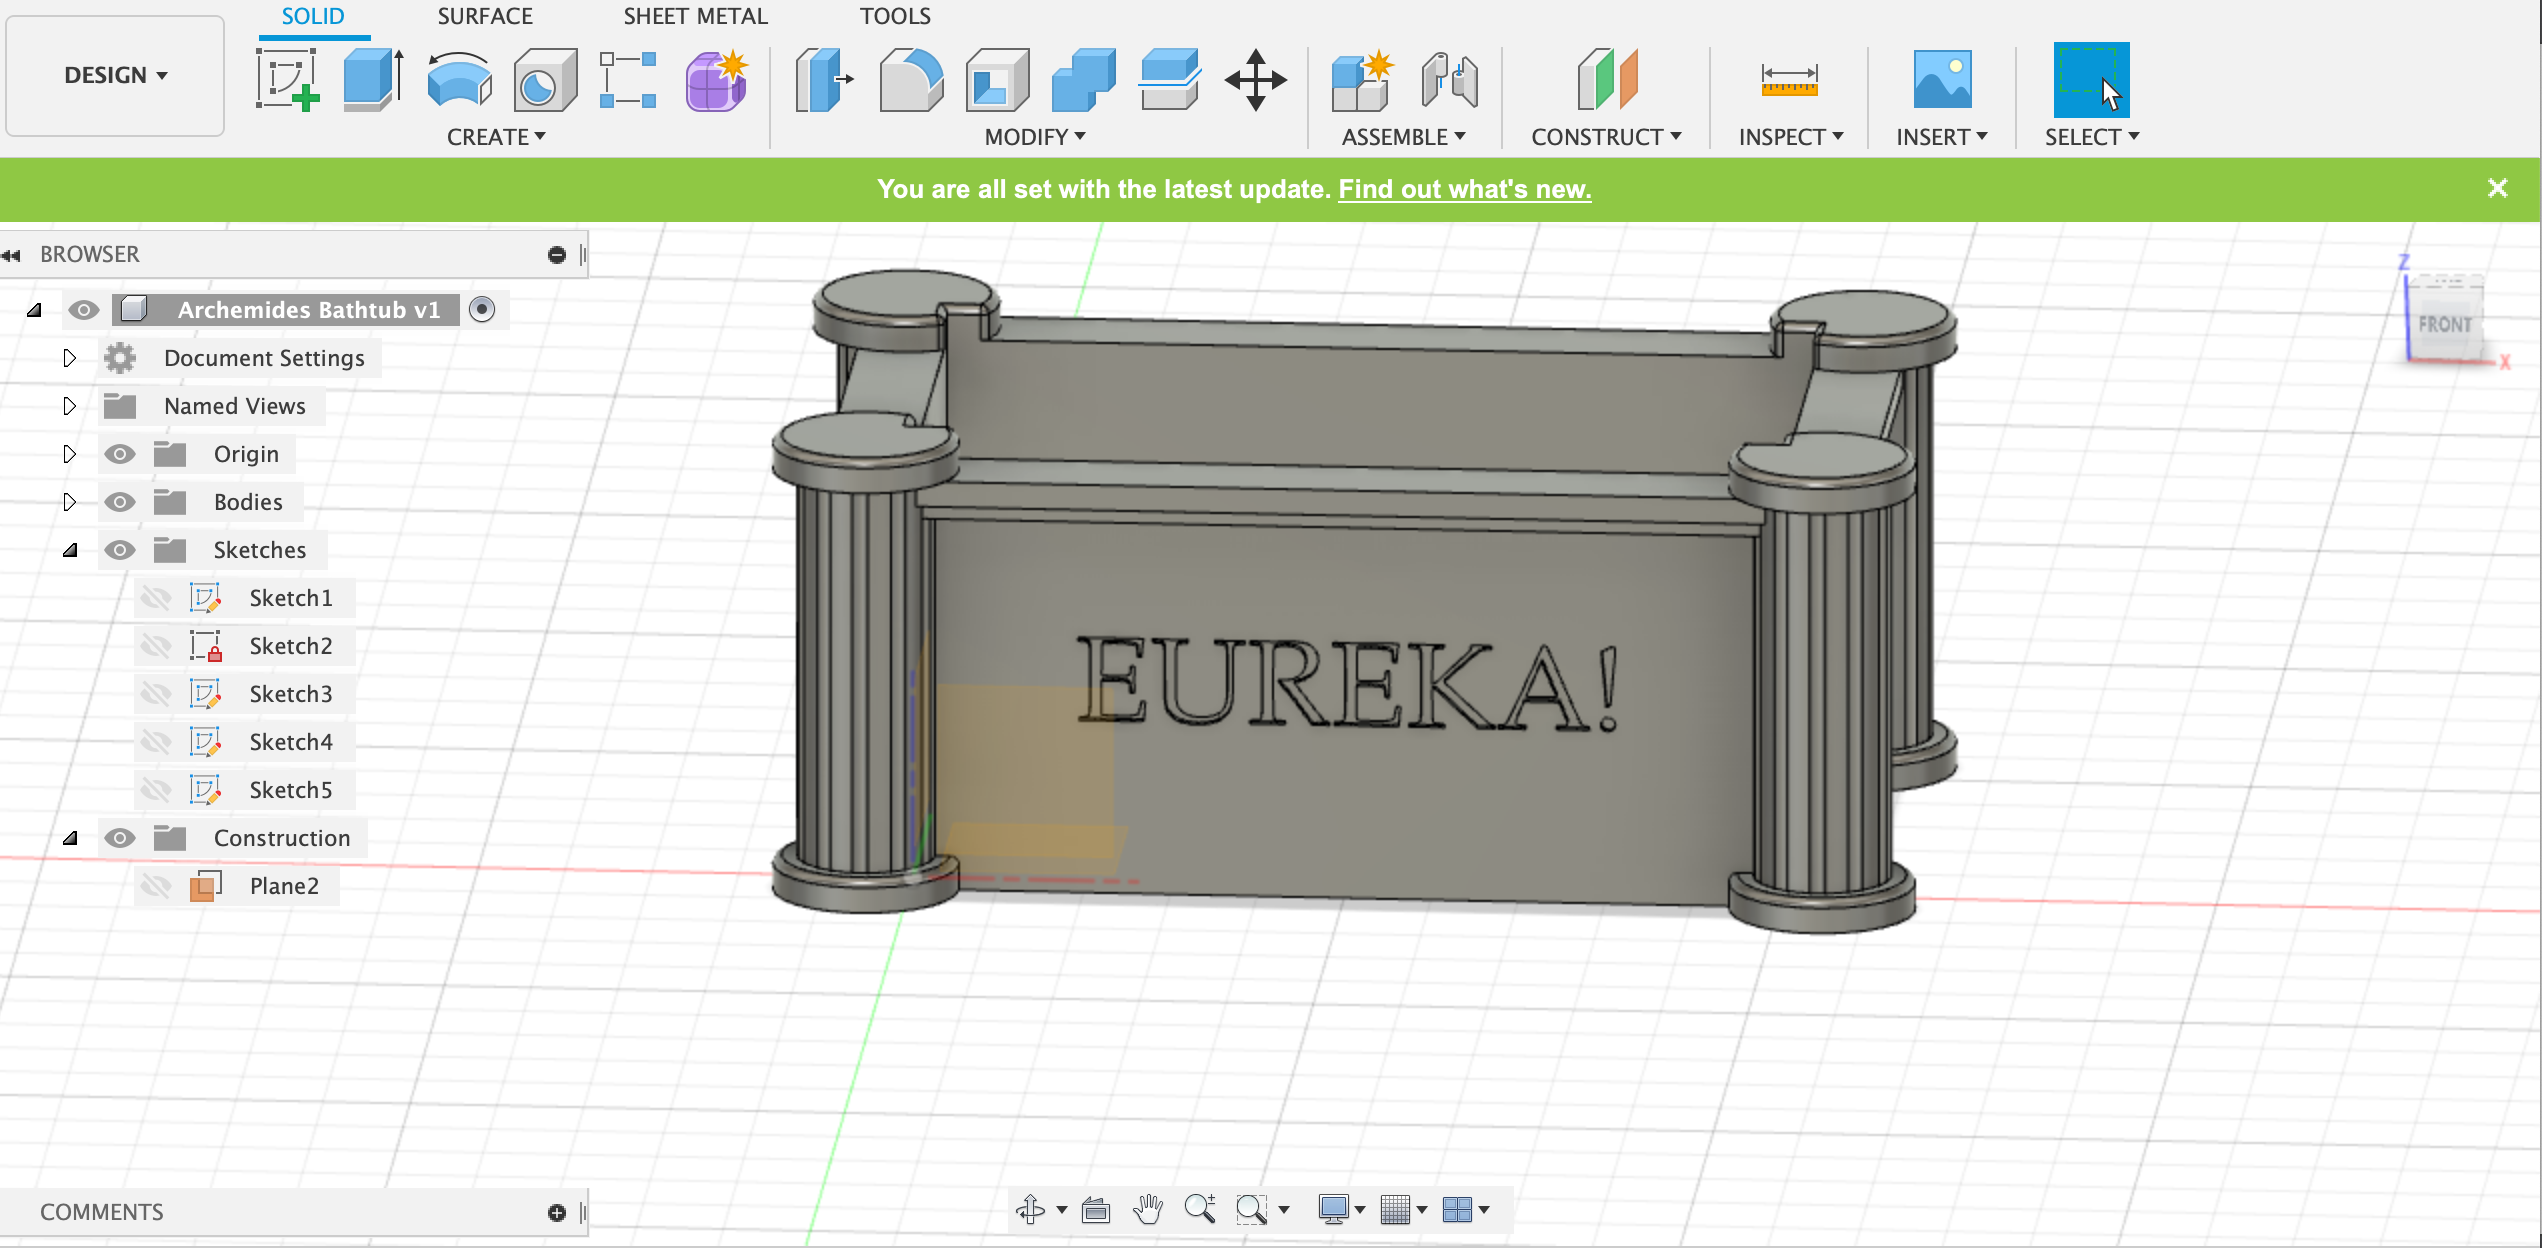
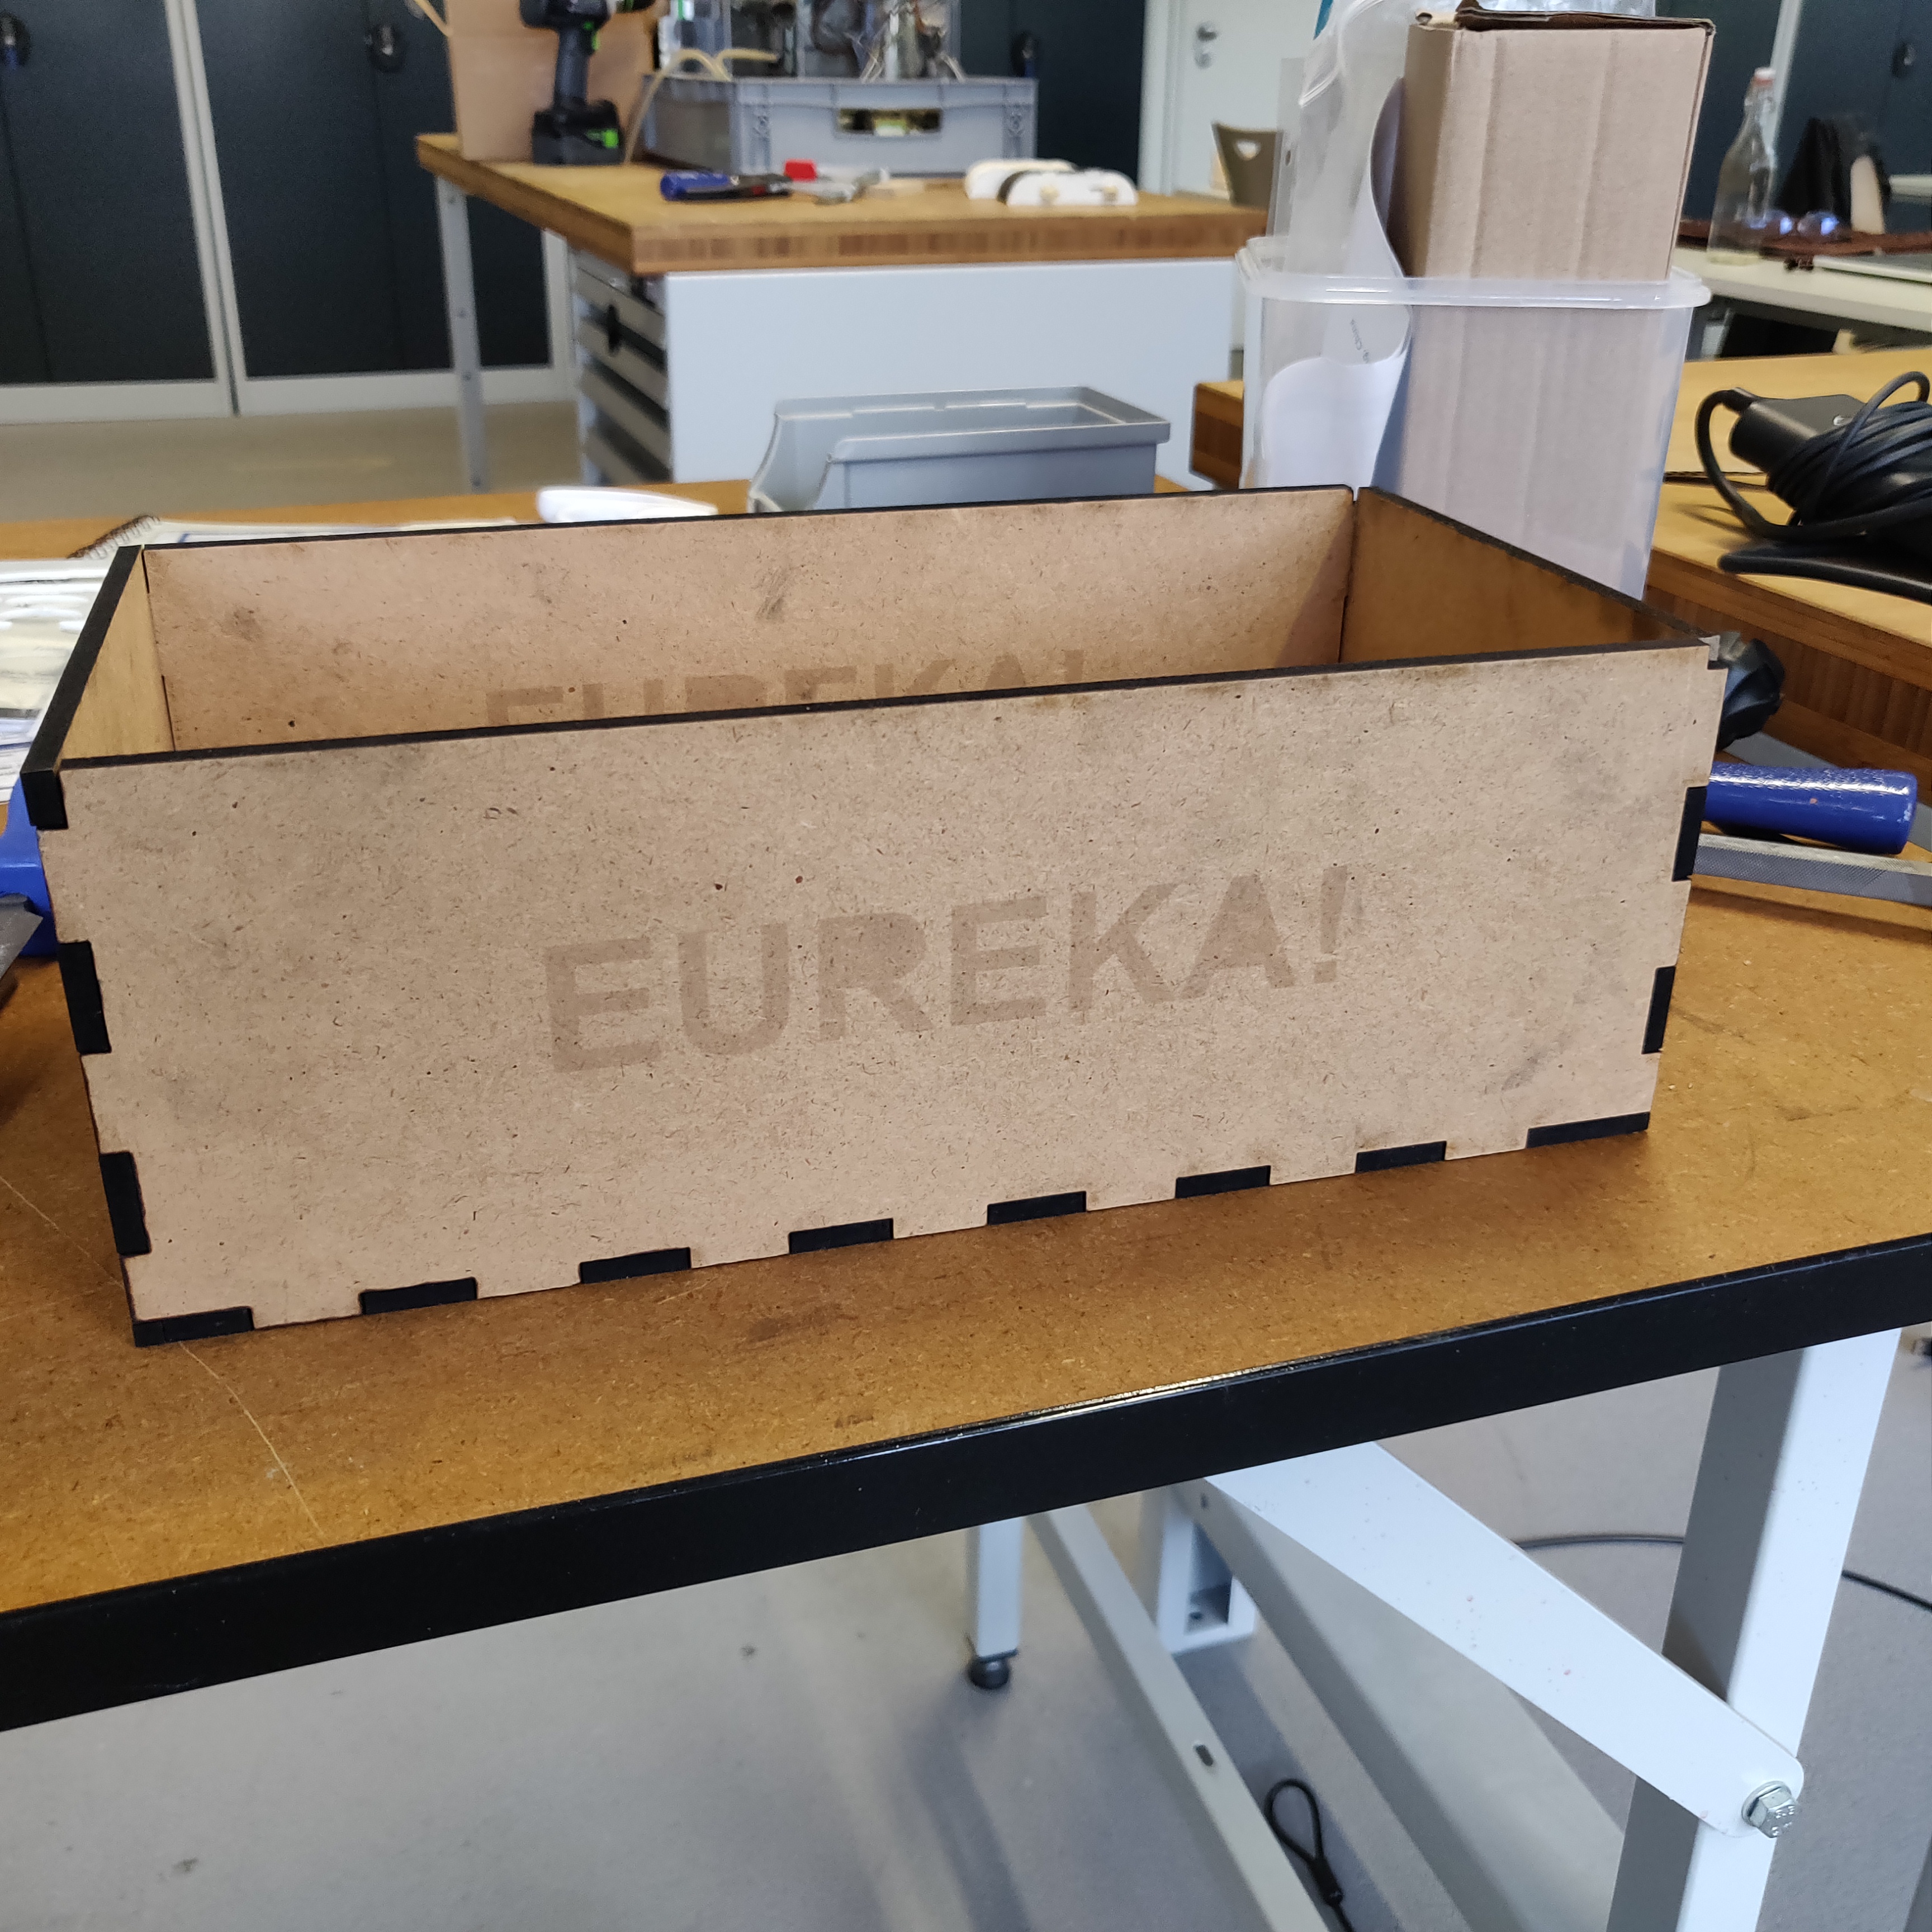
Then by using the text tool we can add the word "EUREKA!" after creating a sketch on one of the bathtub sides, then applying the option "Text Explode" to make the text engraved on the surface
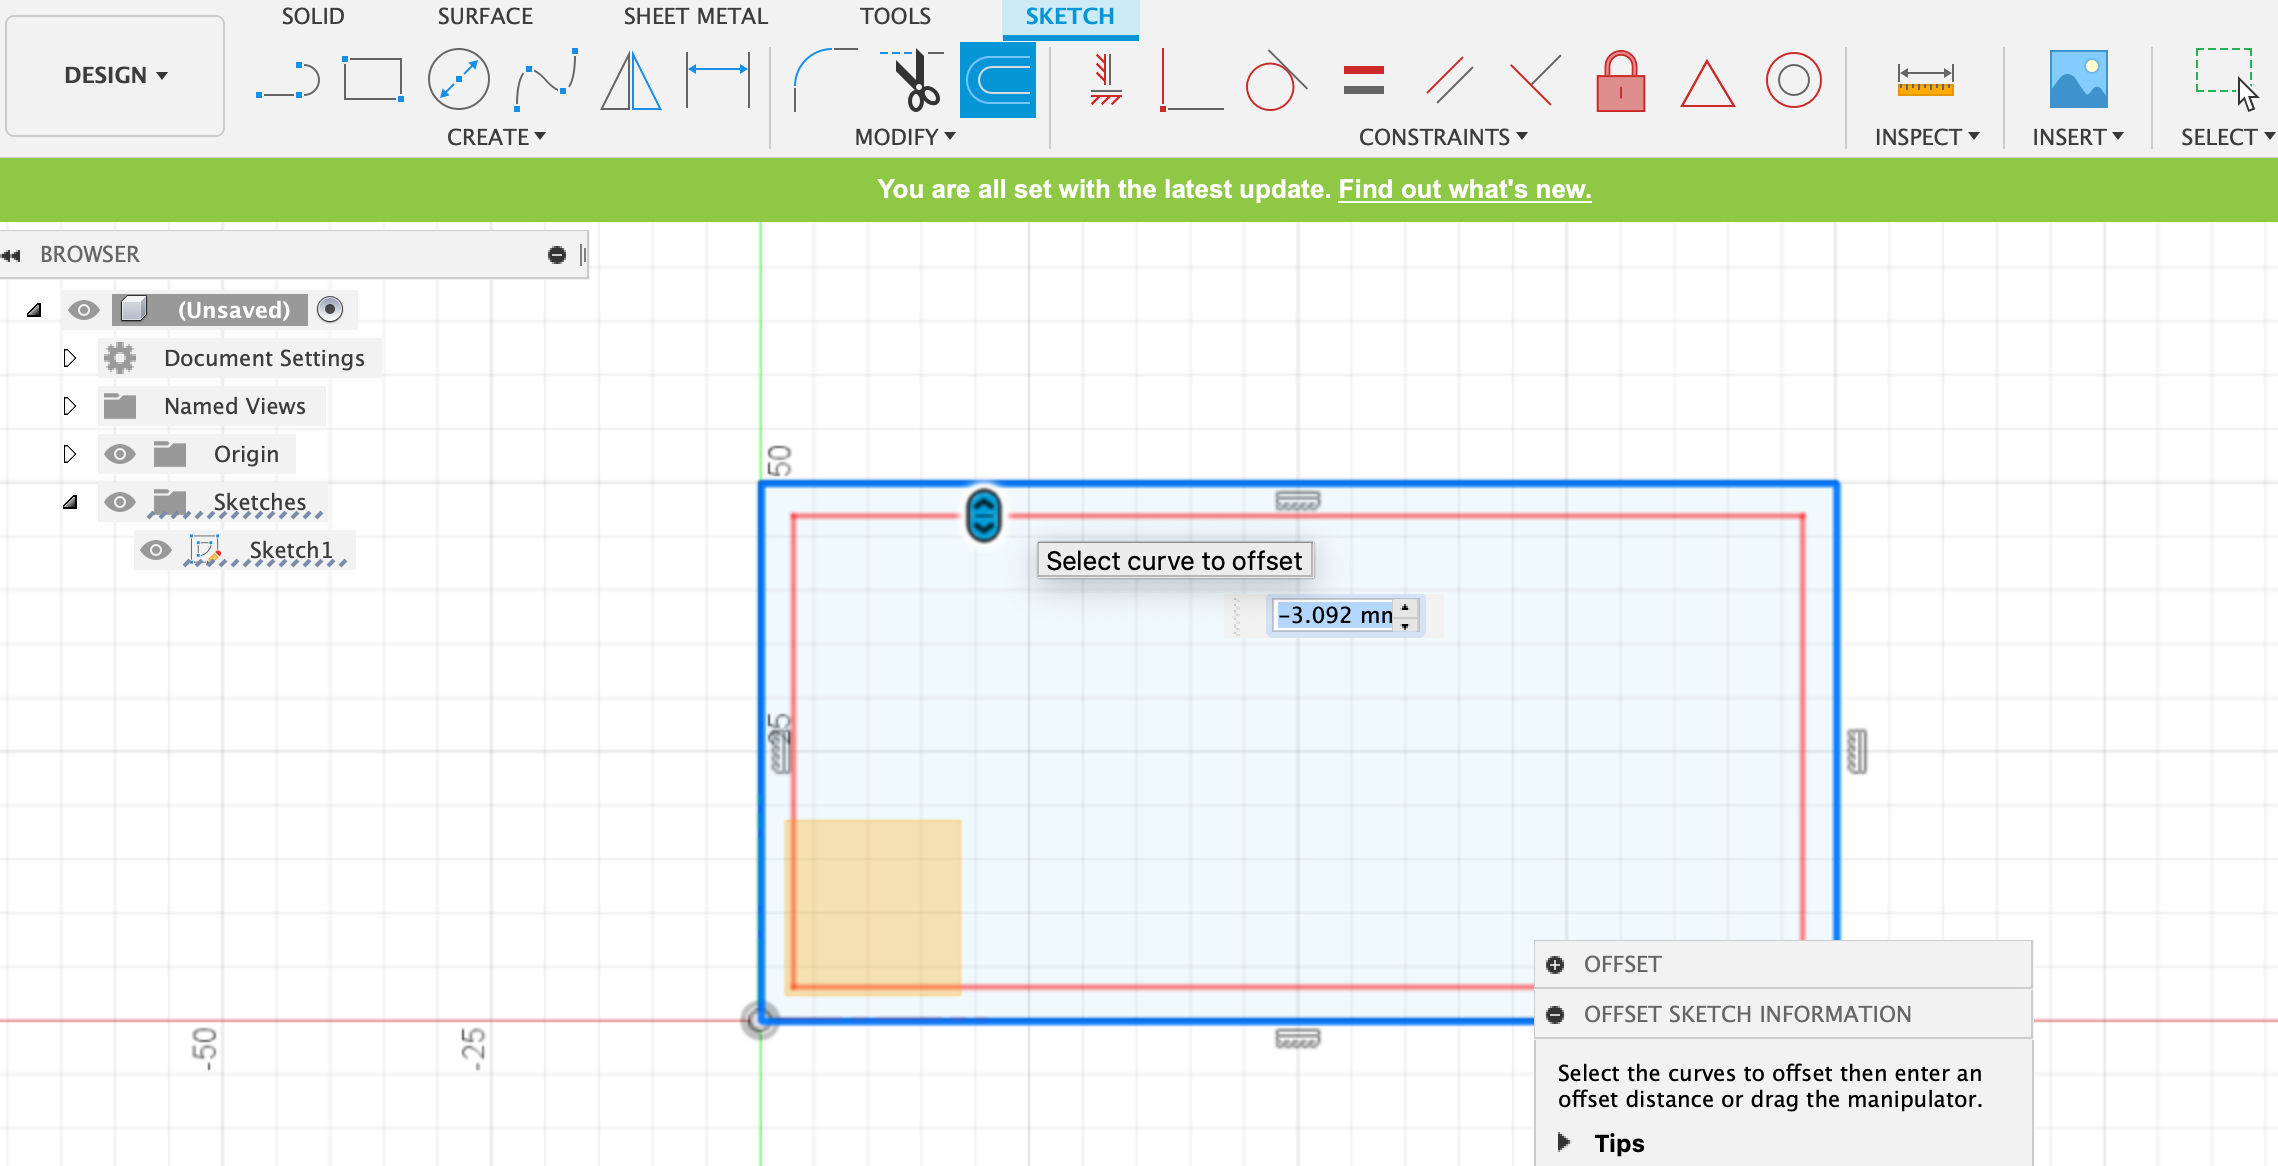
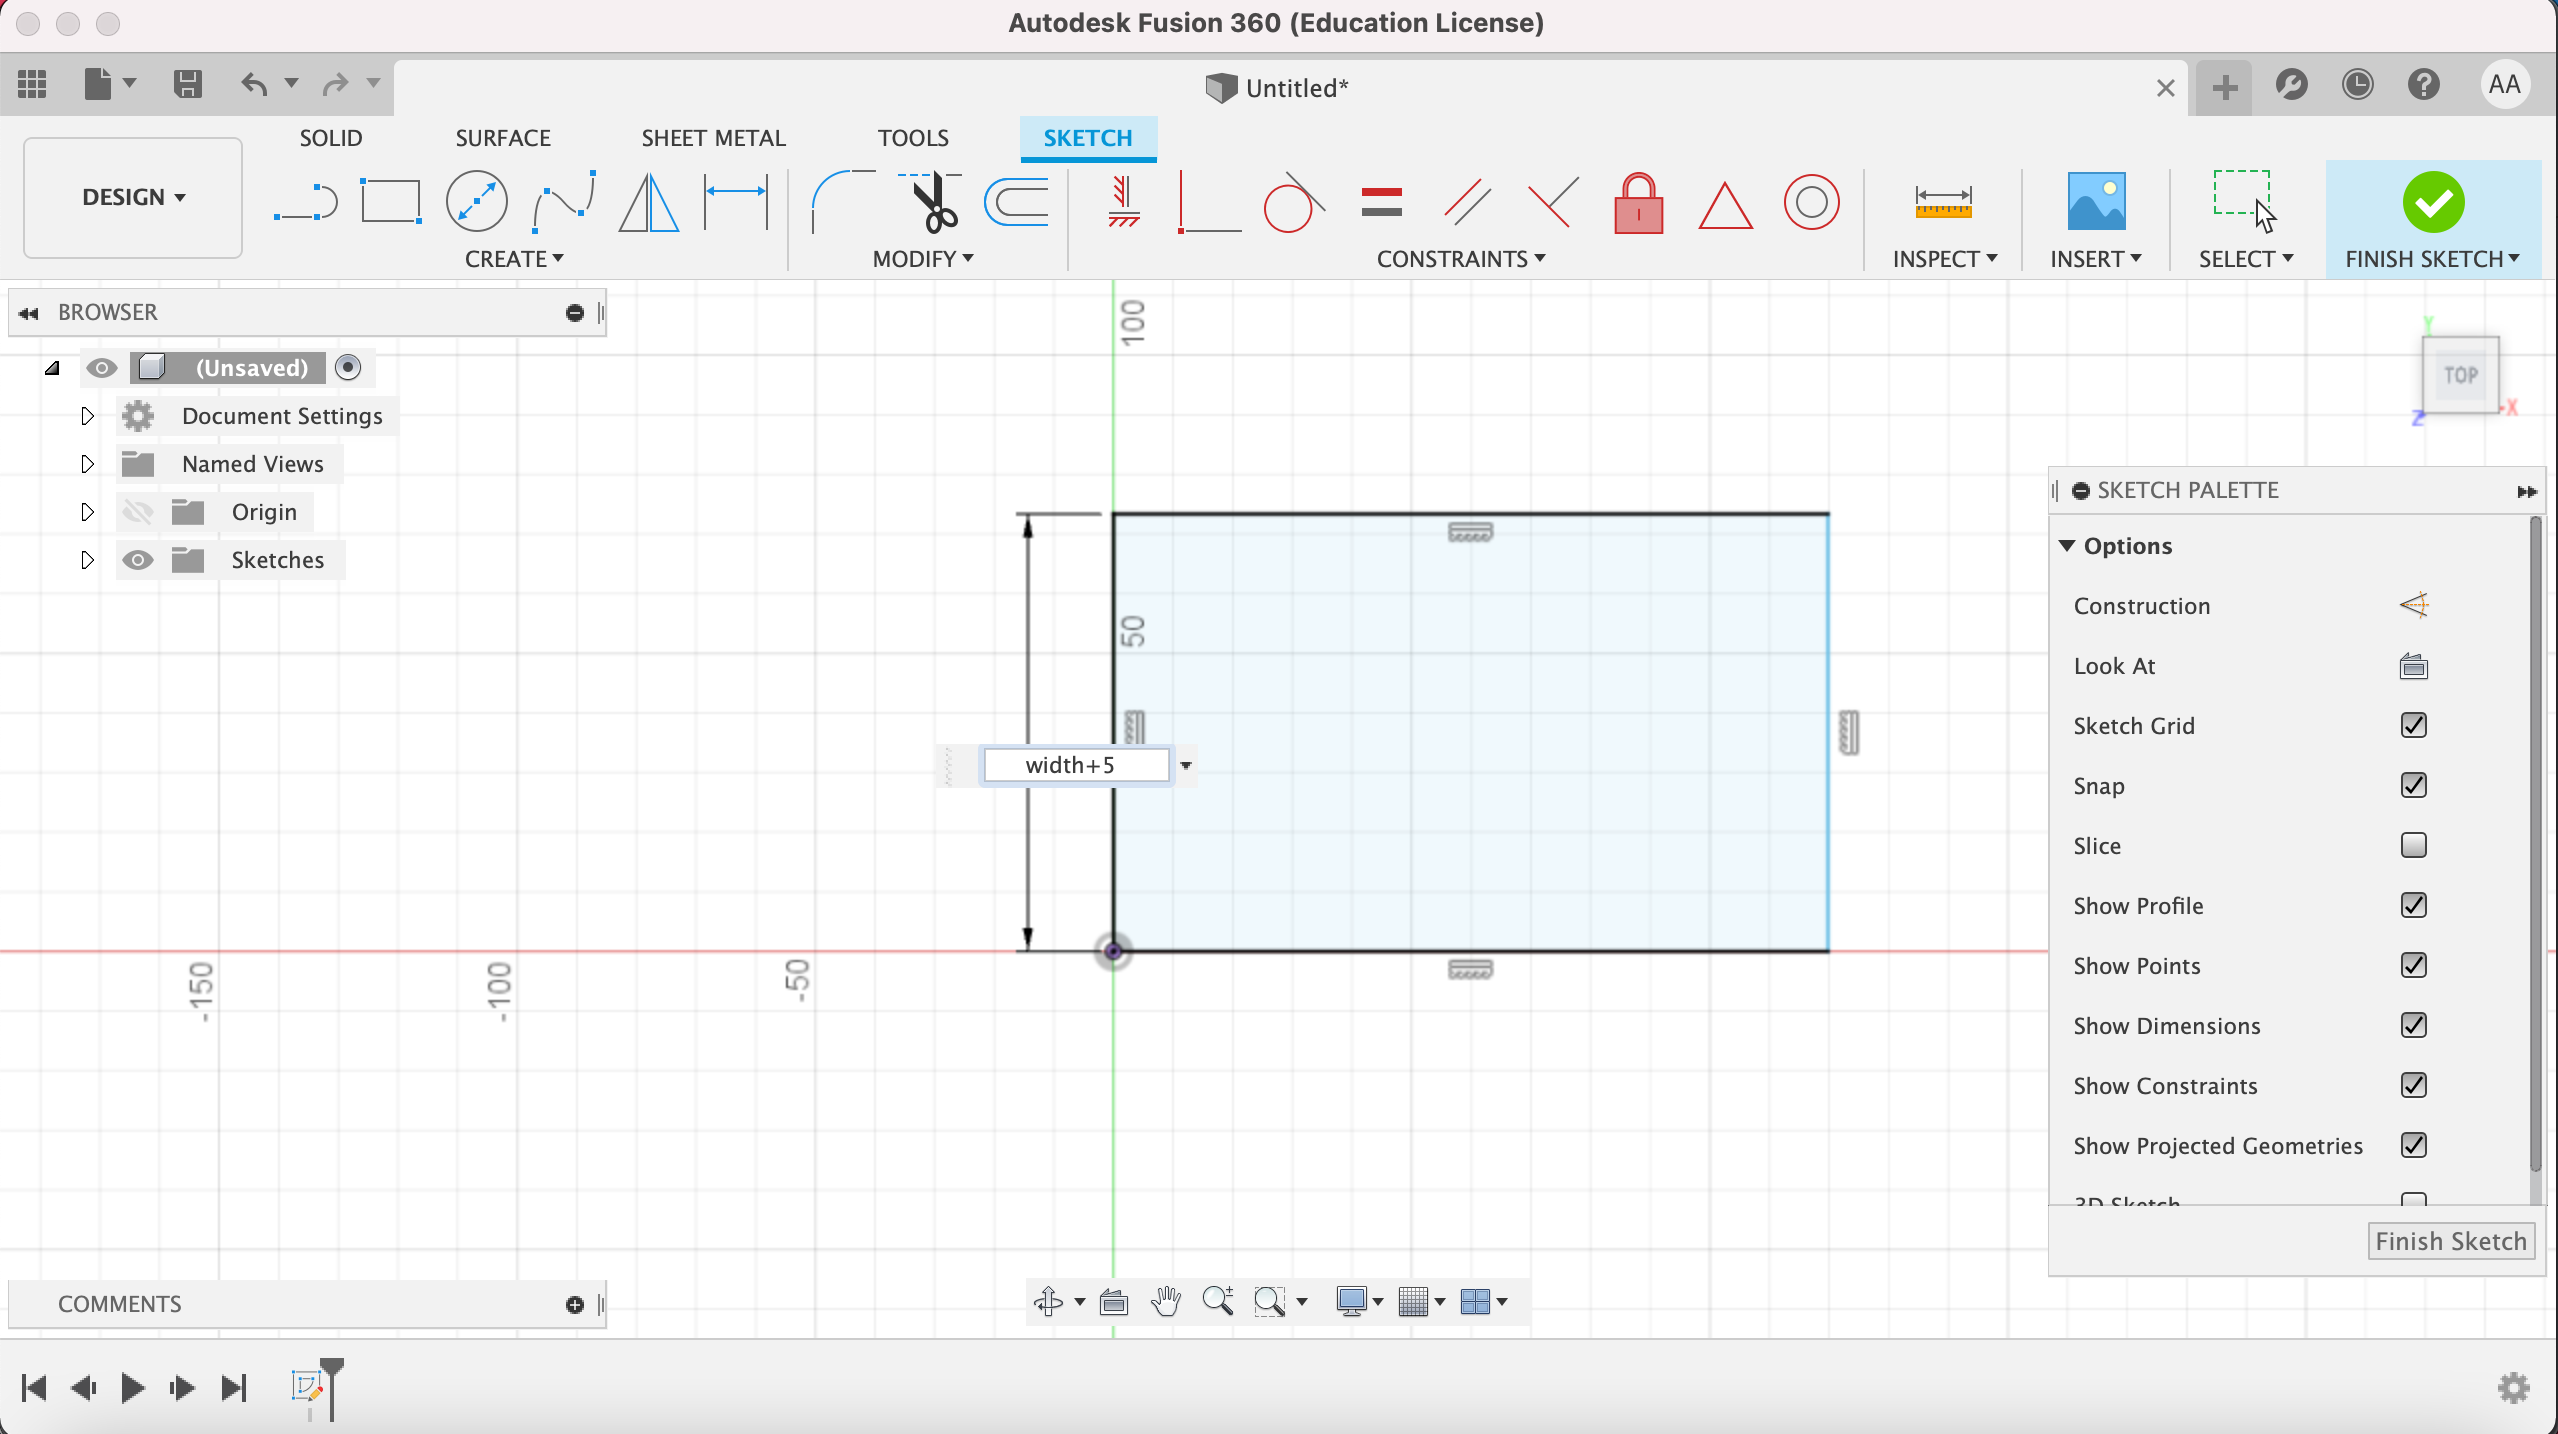
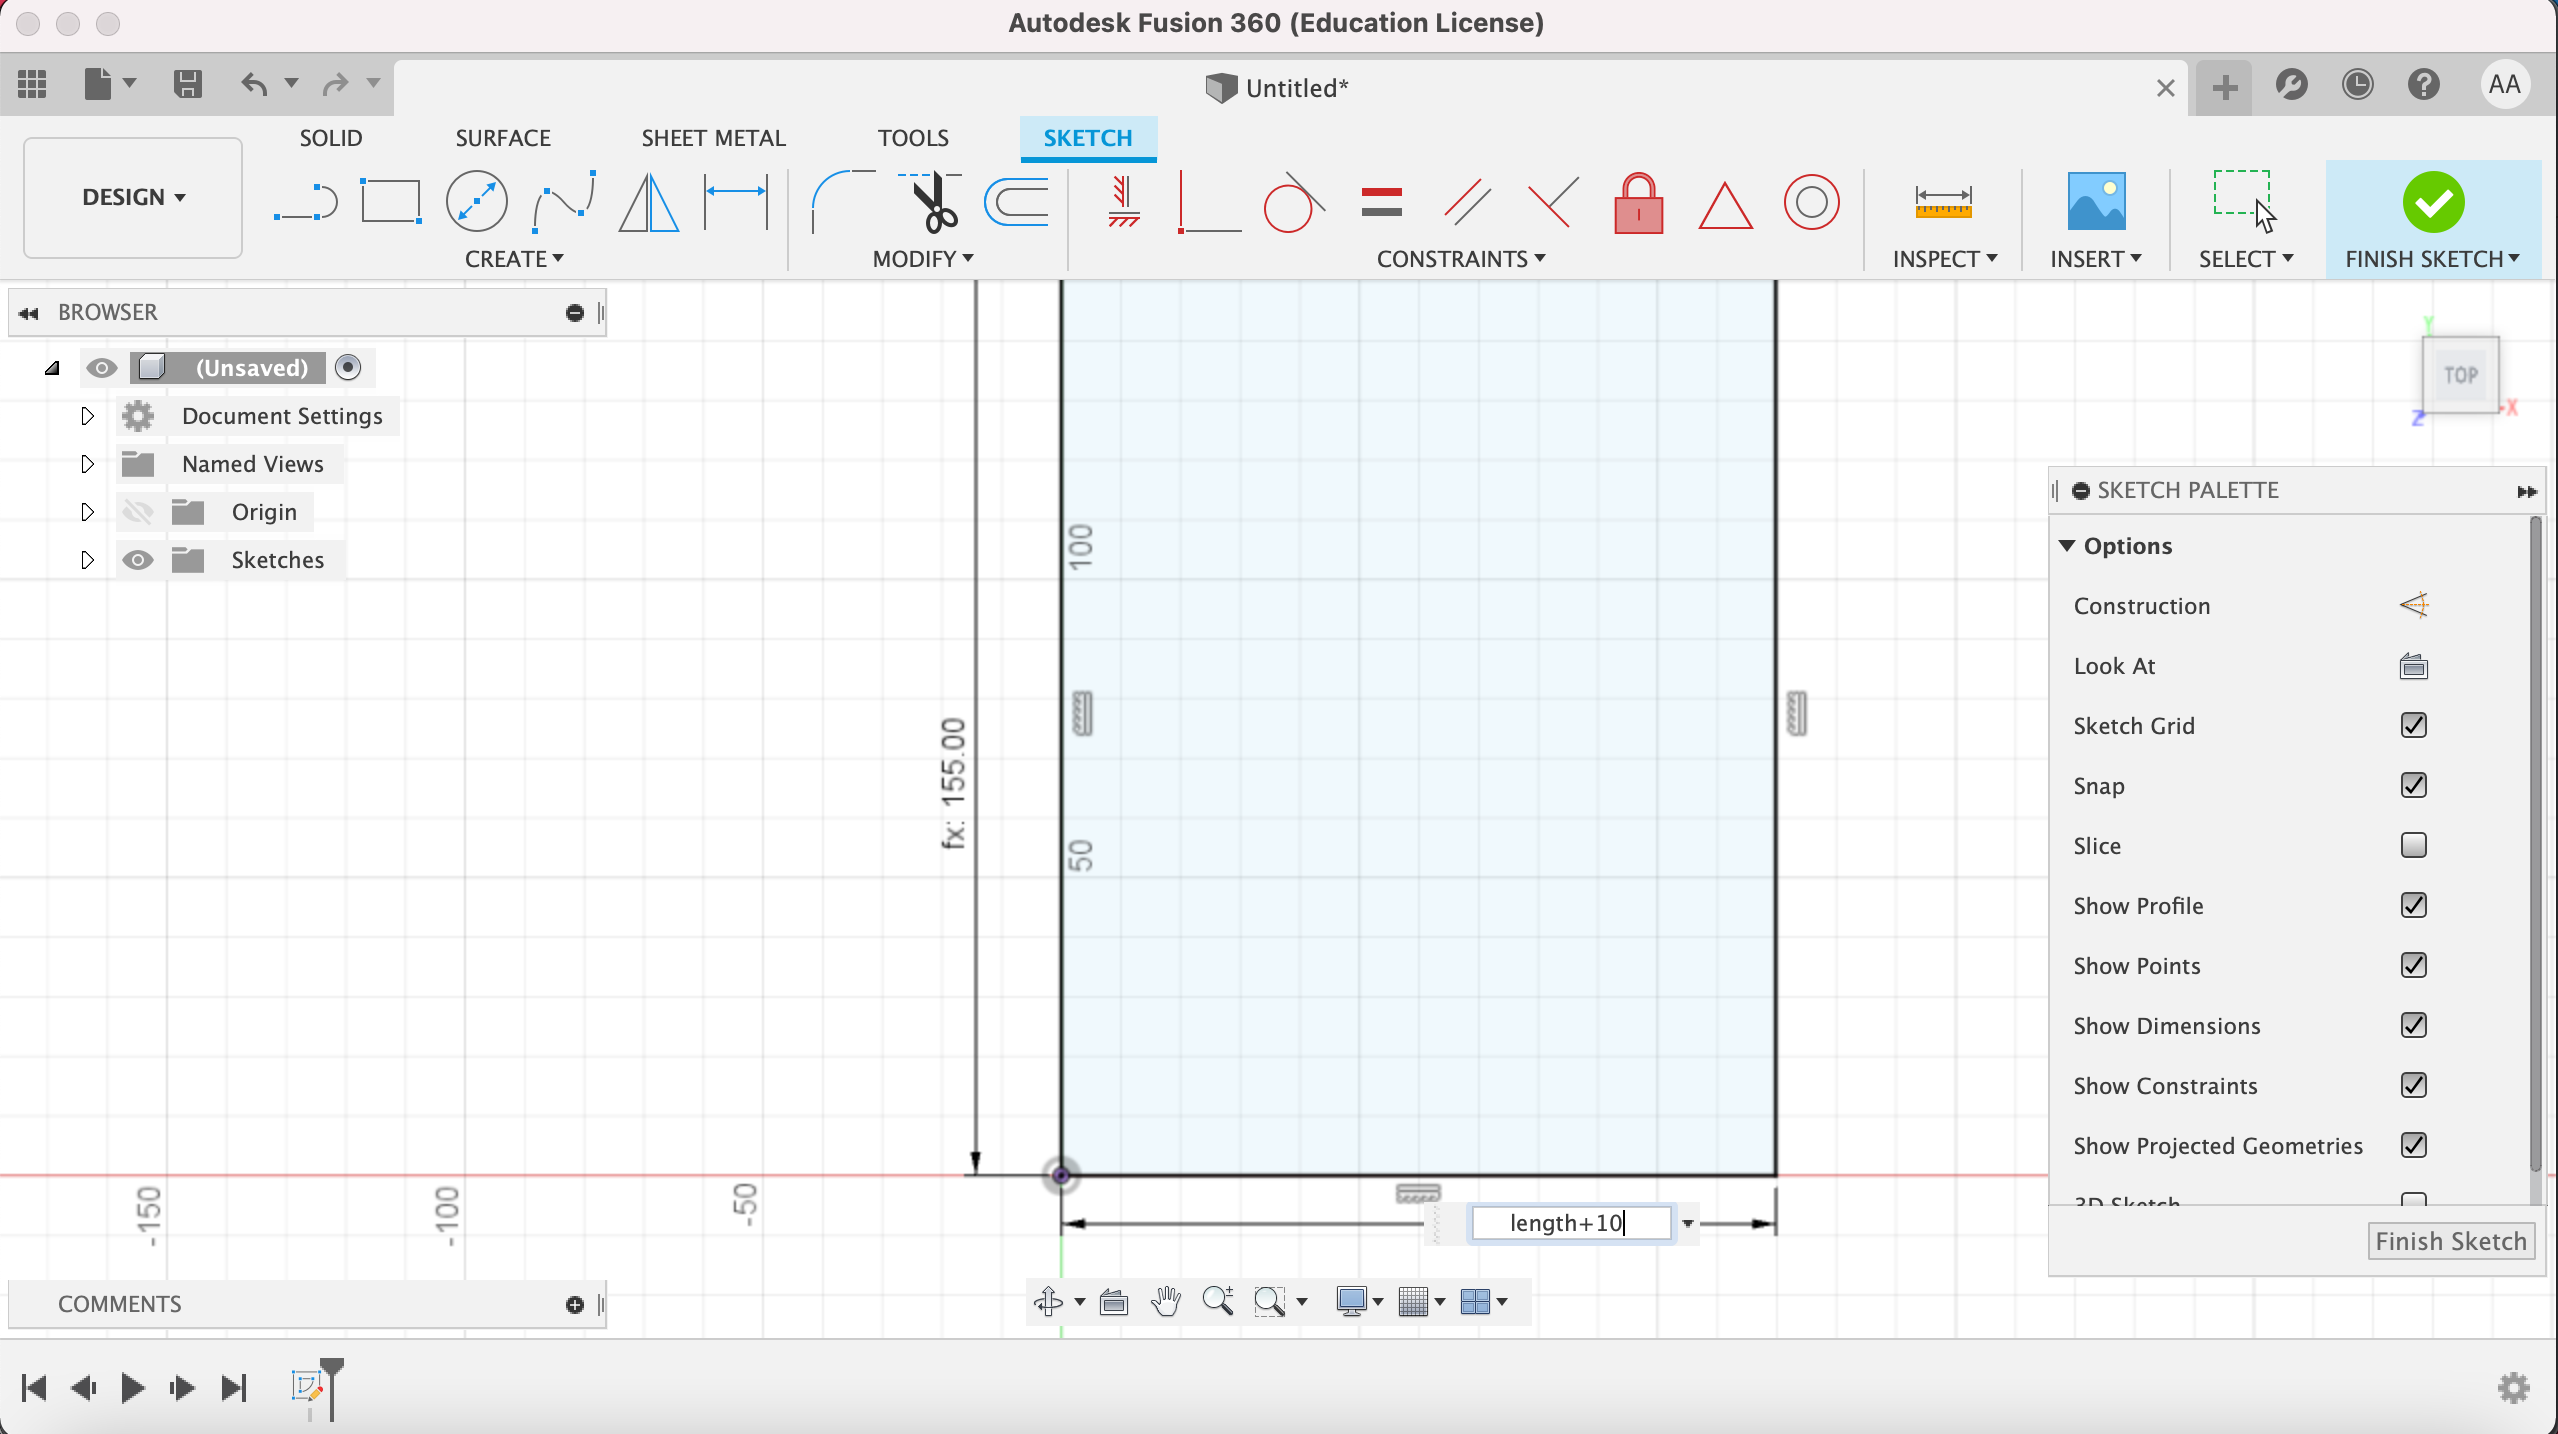
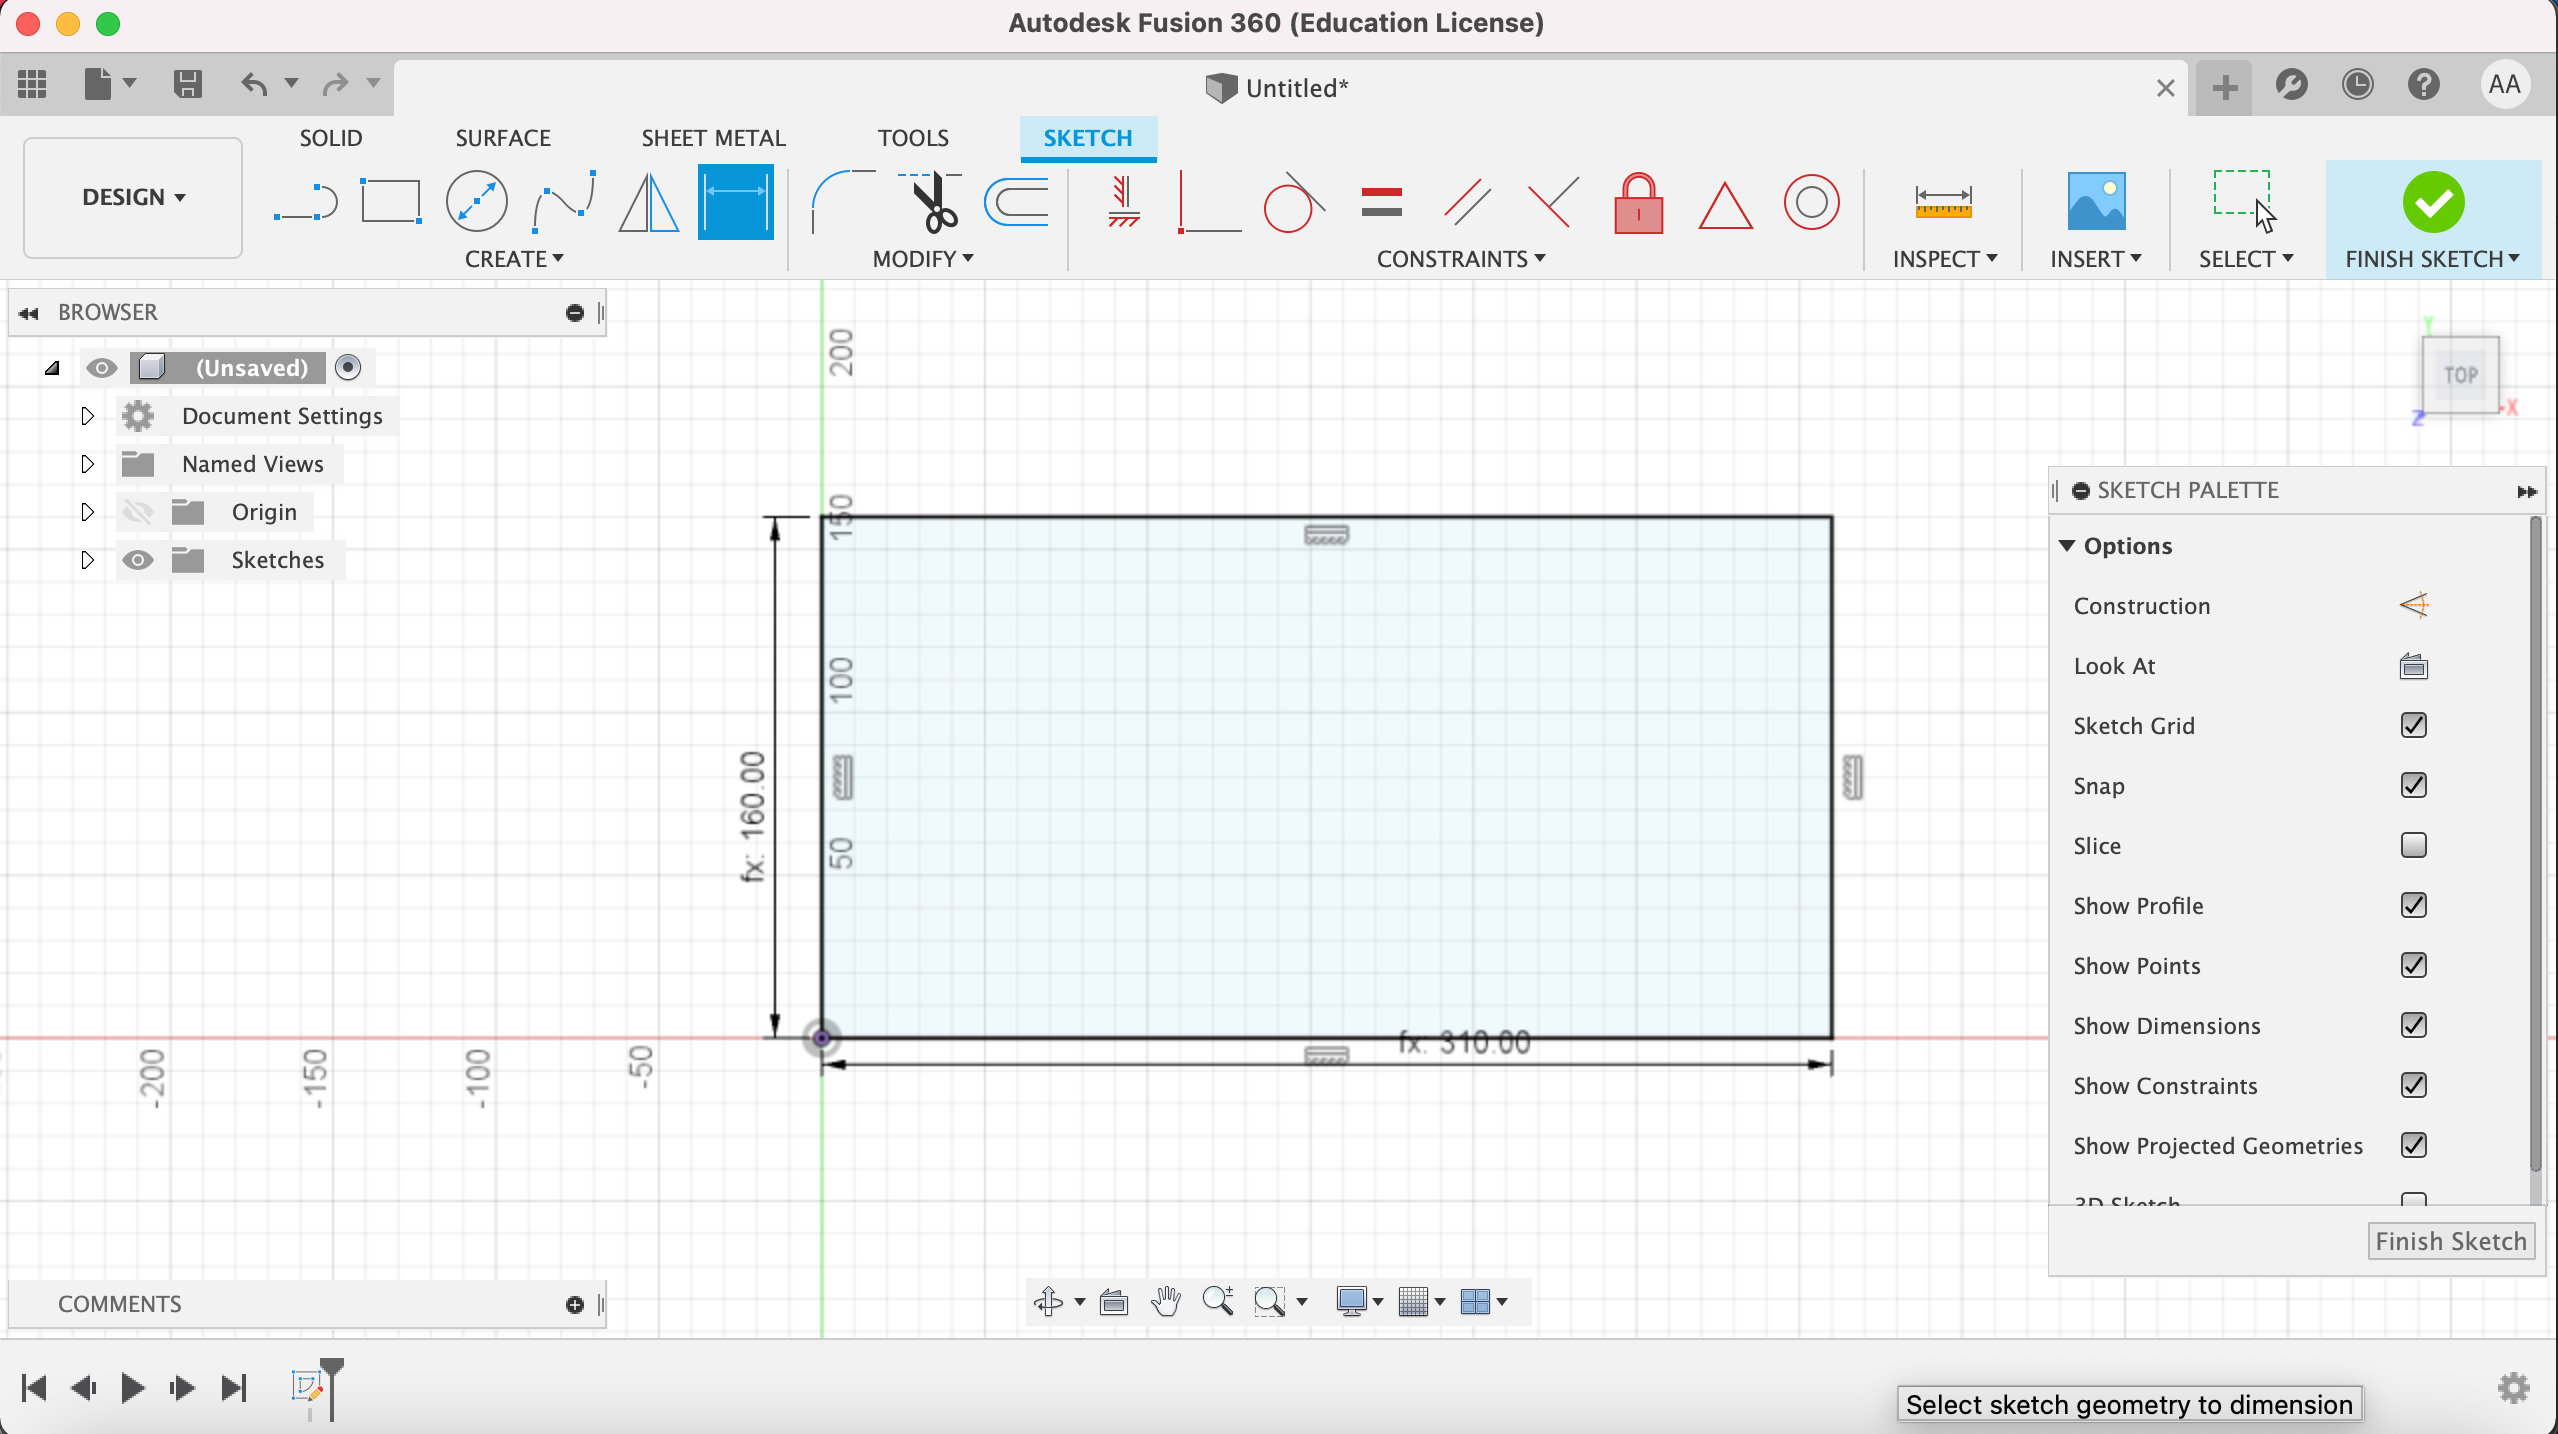
Setting user parameters helps with speeding up the design process. For example we want to change the length of all the rectangles in our design, or increase the width of a box by a third. Learning how to add parametric constraints and applying them at an early stage creates another level of freedom to experiment.
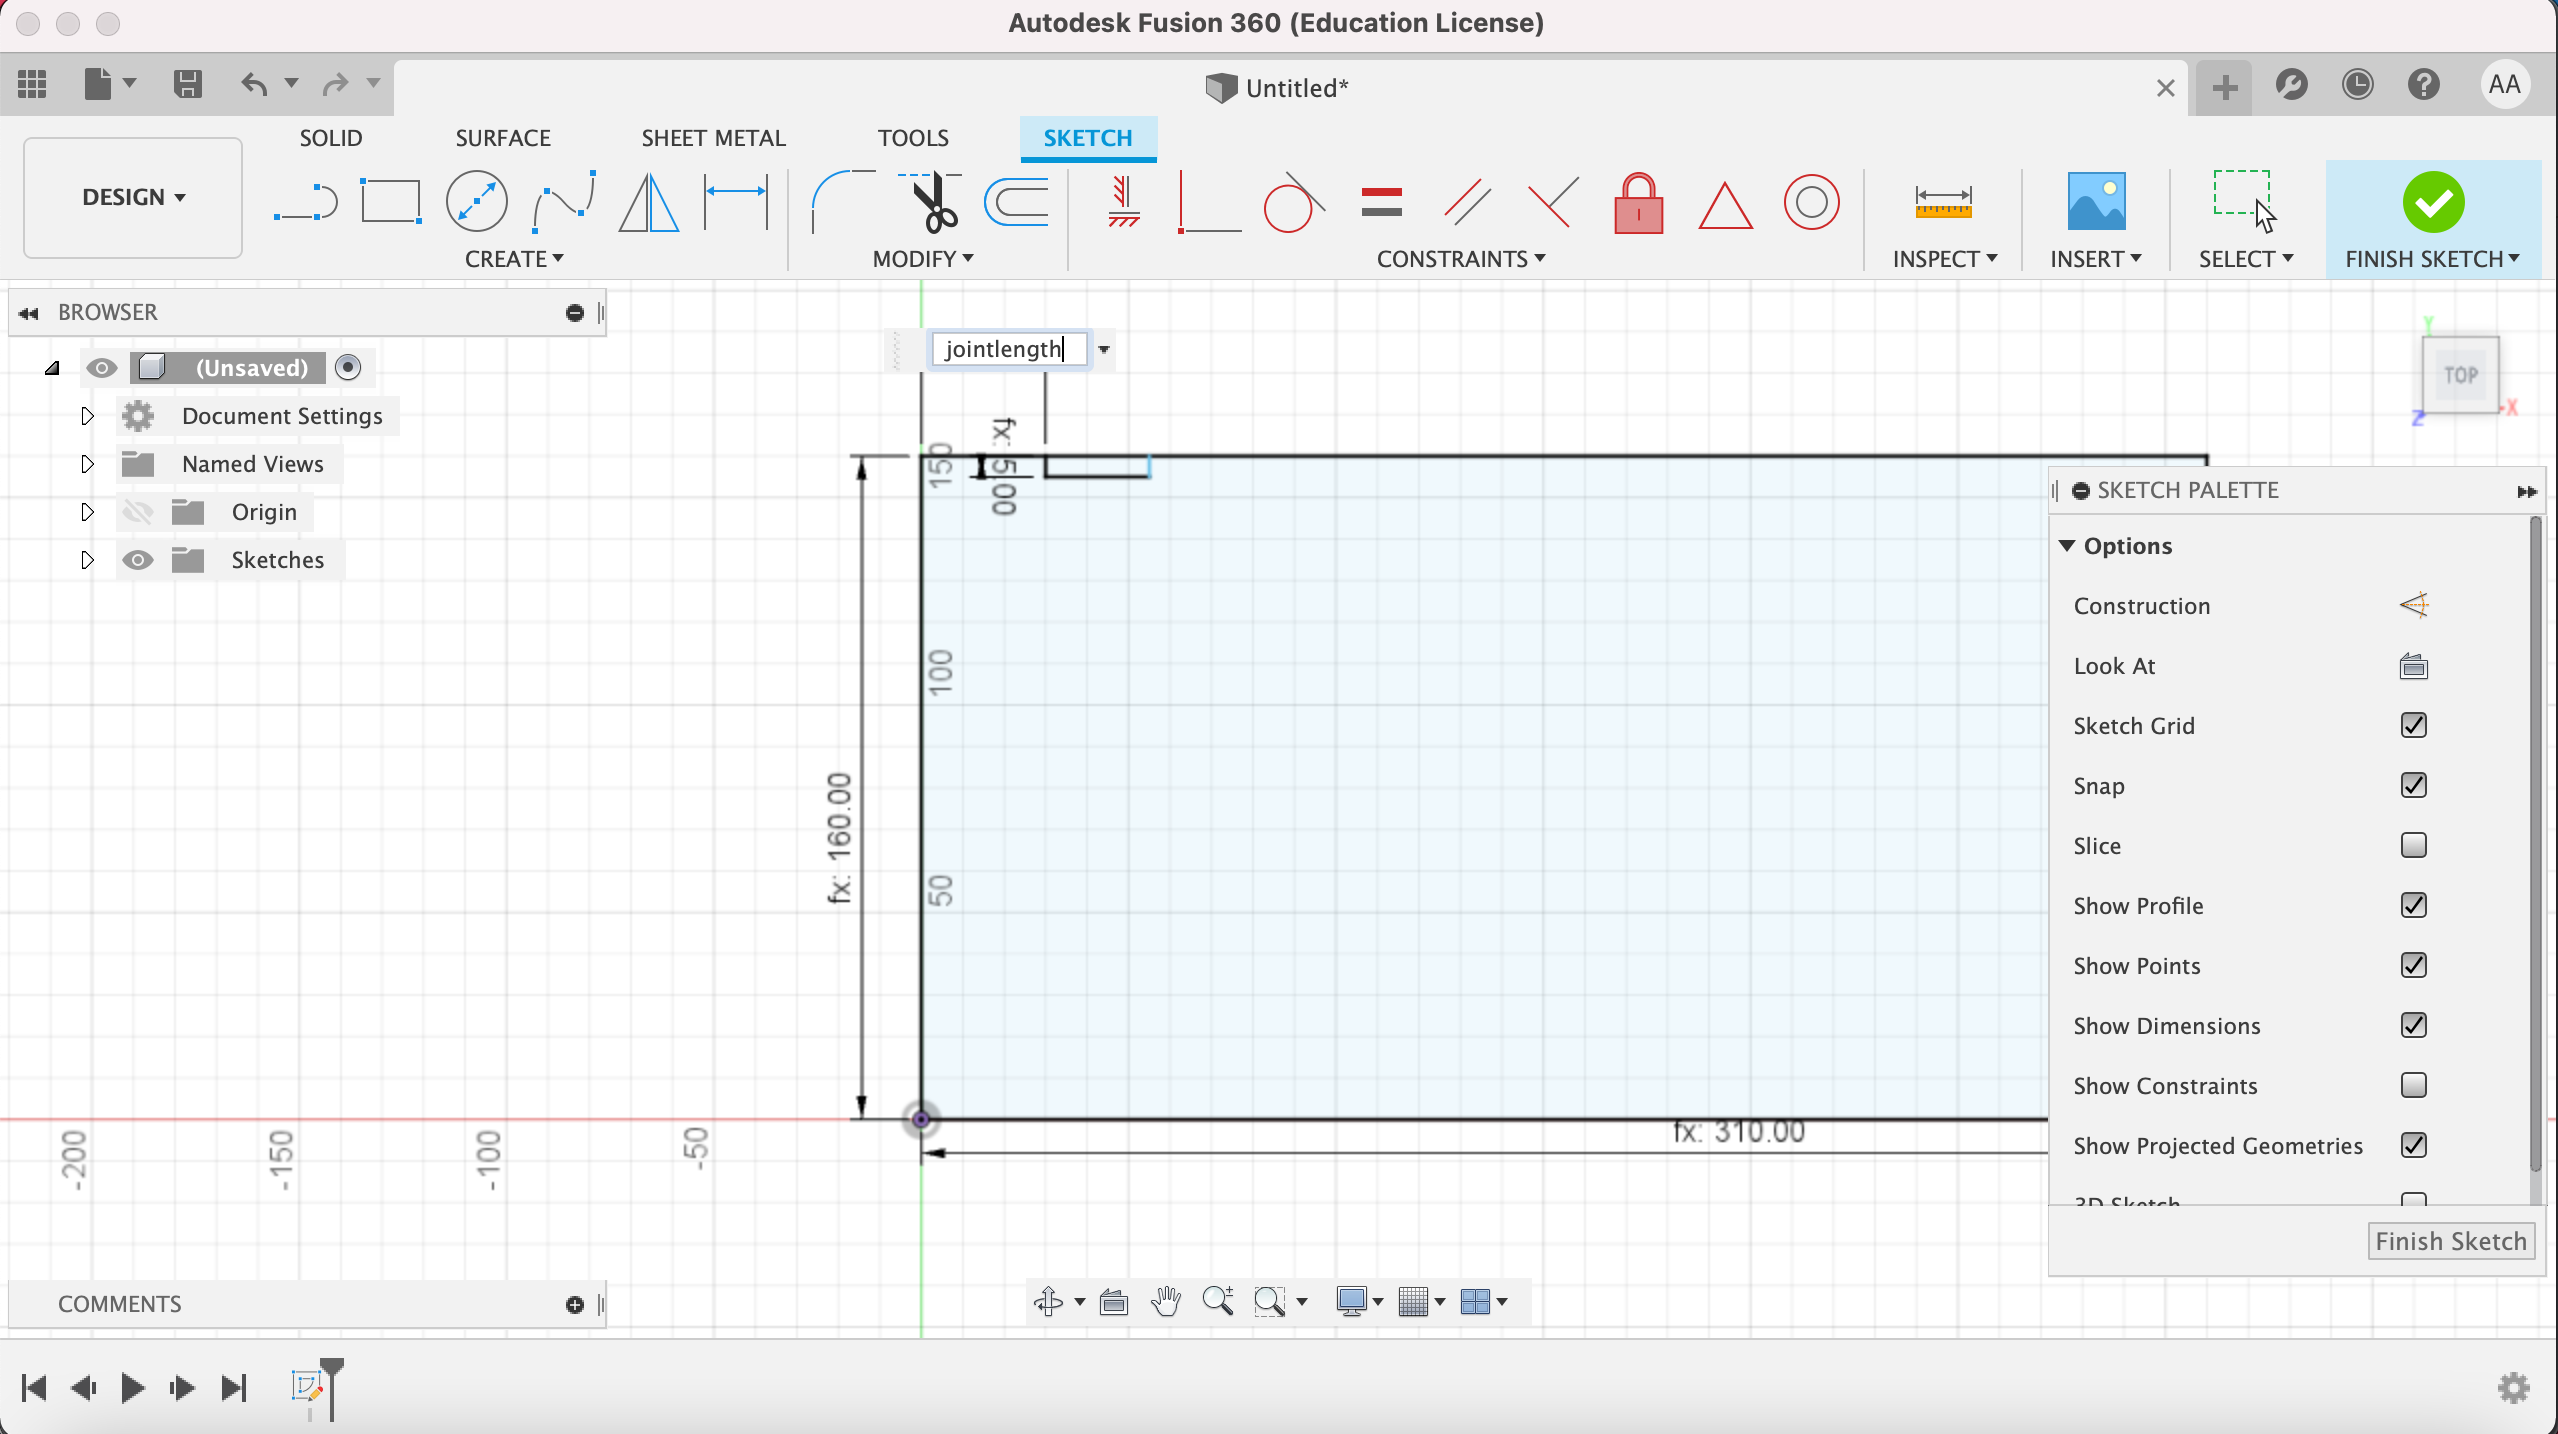
At first the user parameters are set for future use:
Then creating a sketch and choosing a plane to draw the base using the rectangular tool giving it the predefined parameters:
Then extruding using the extrude tool:
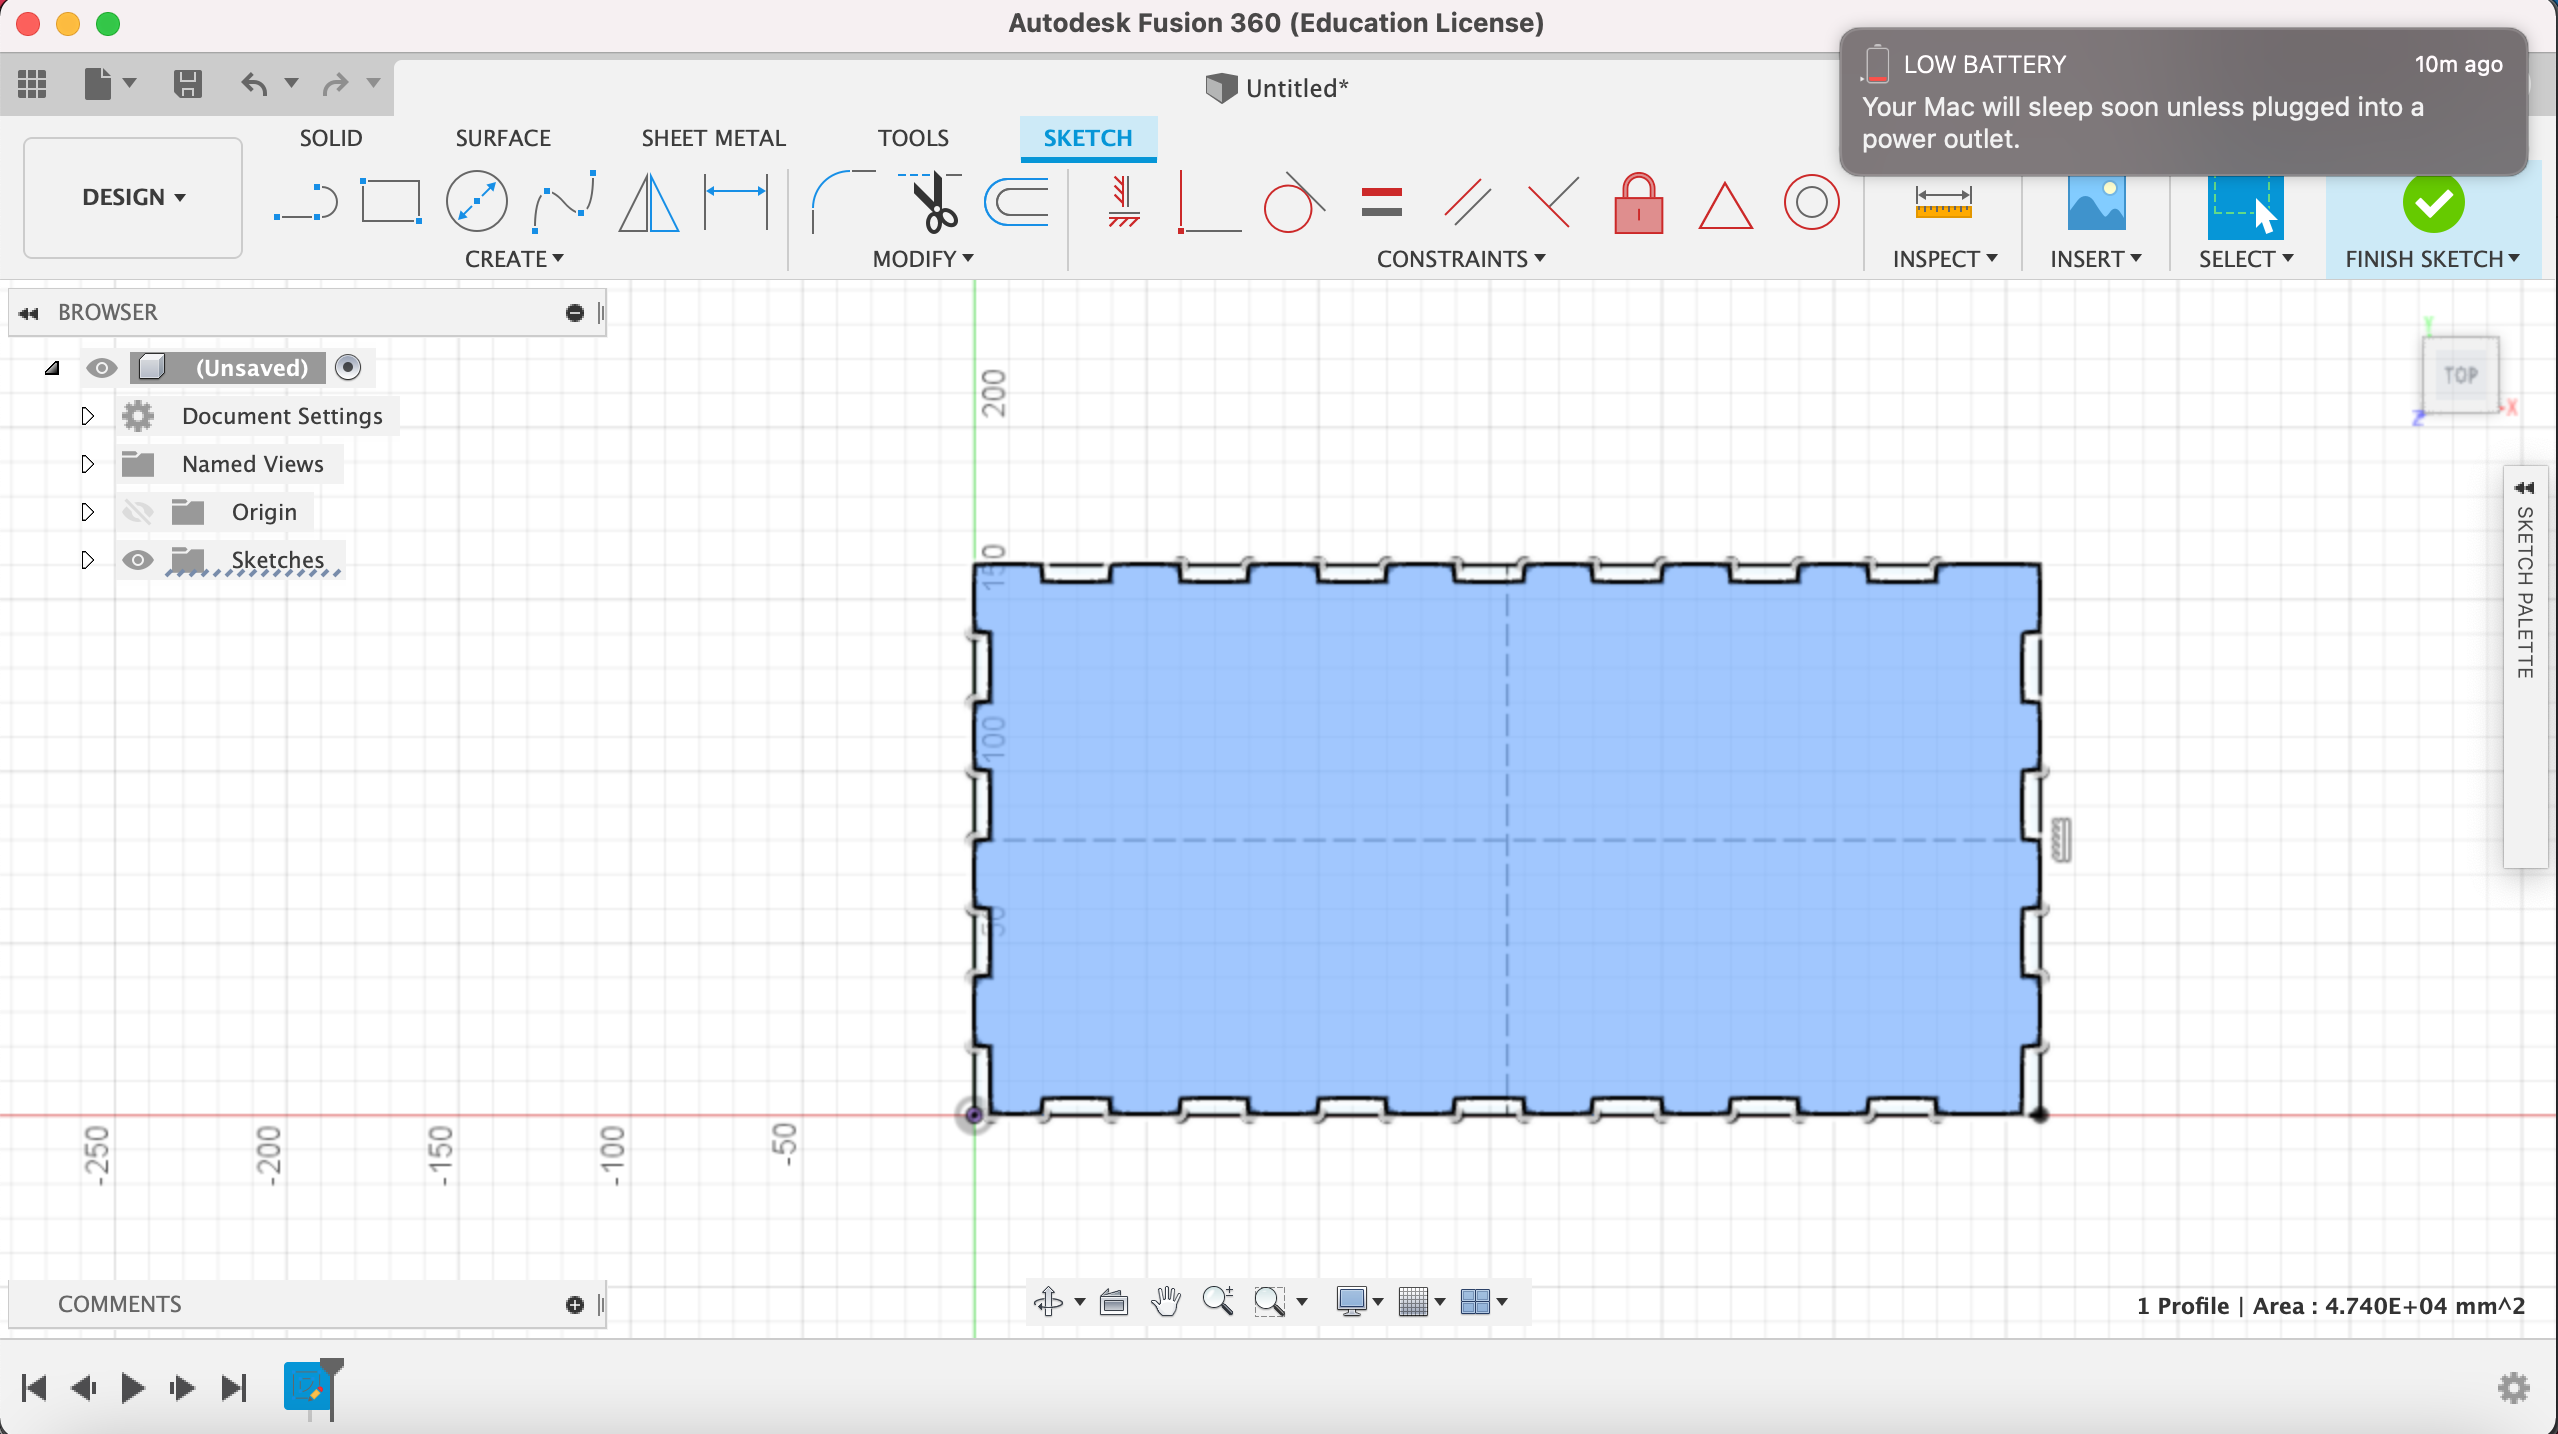
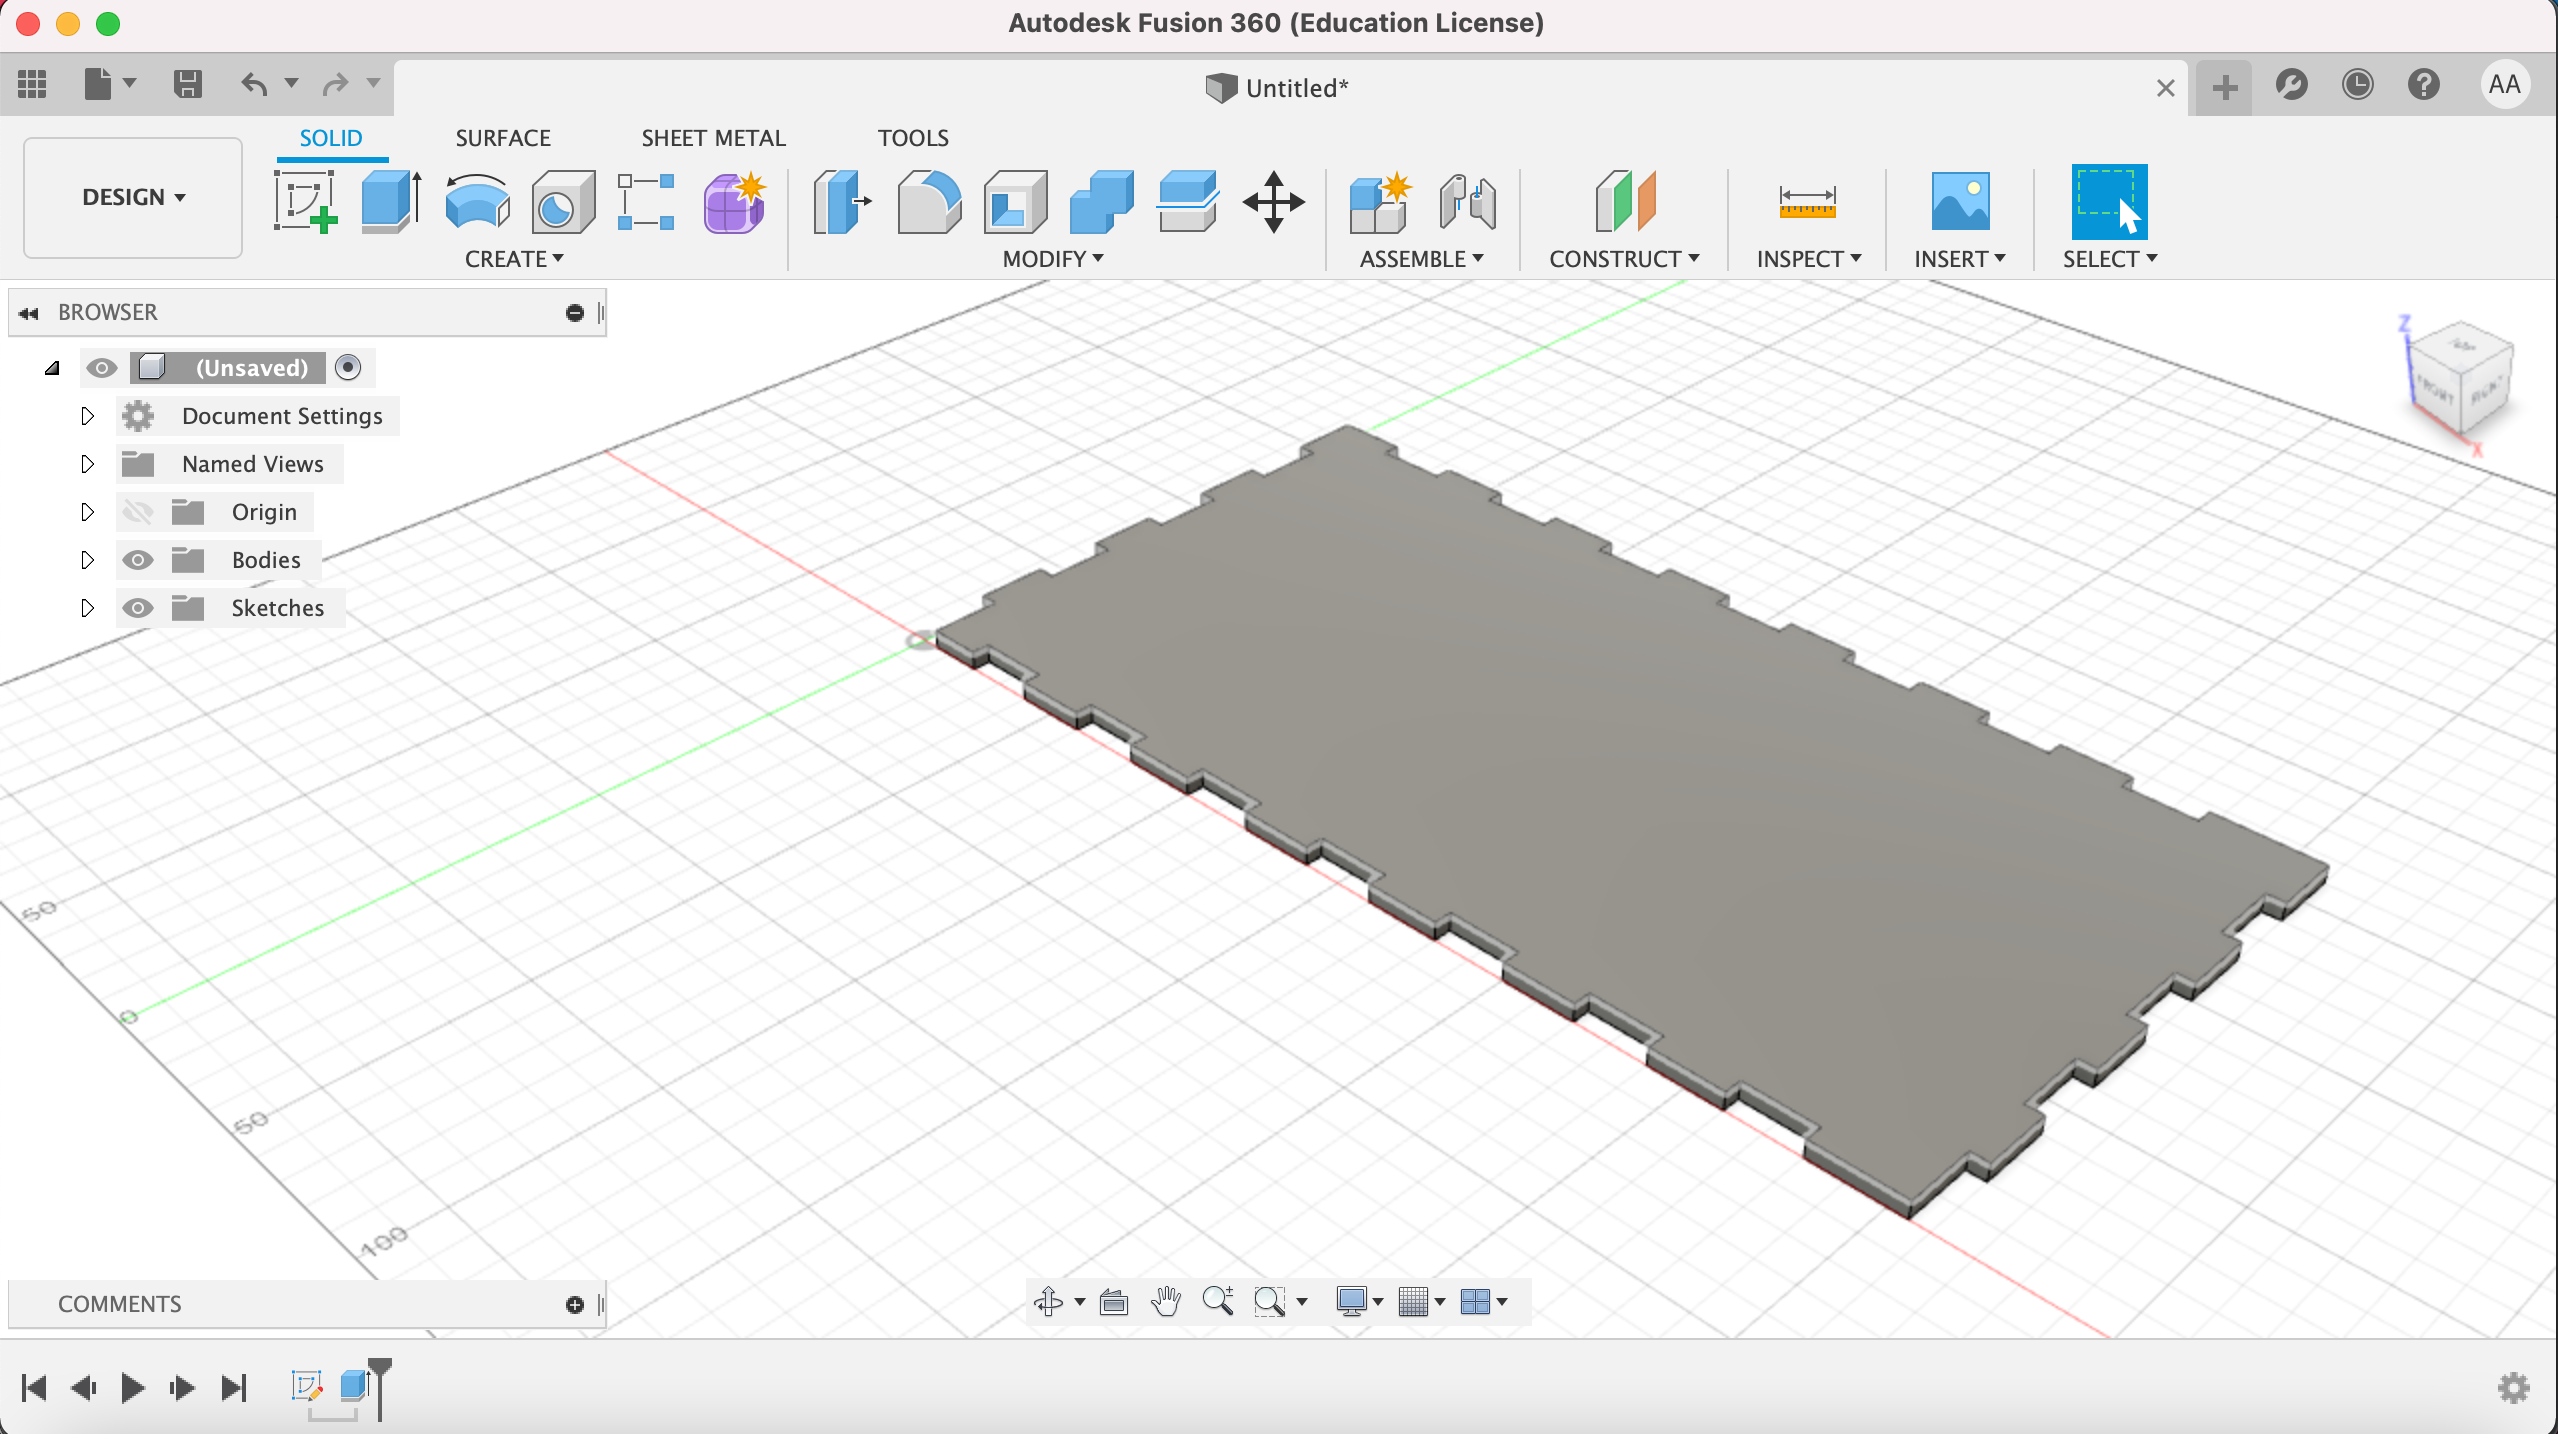
Then we draw a joint giving it the predefined joint parameters:
Then we use the rectangular pattern tool:
We do the same for other sides and we add the curve to all joints:
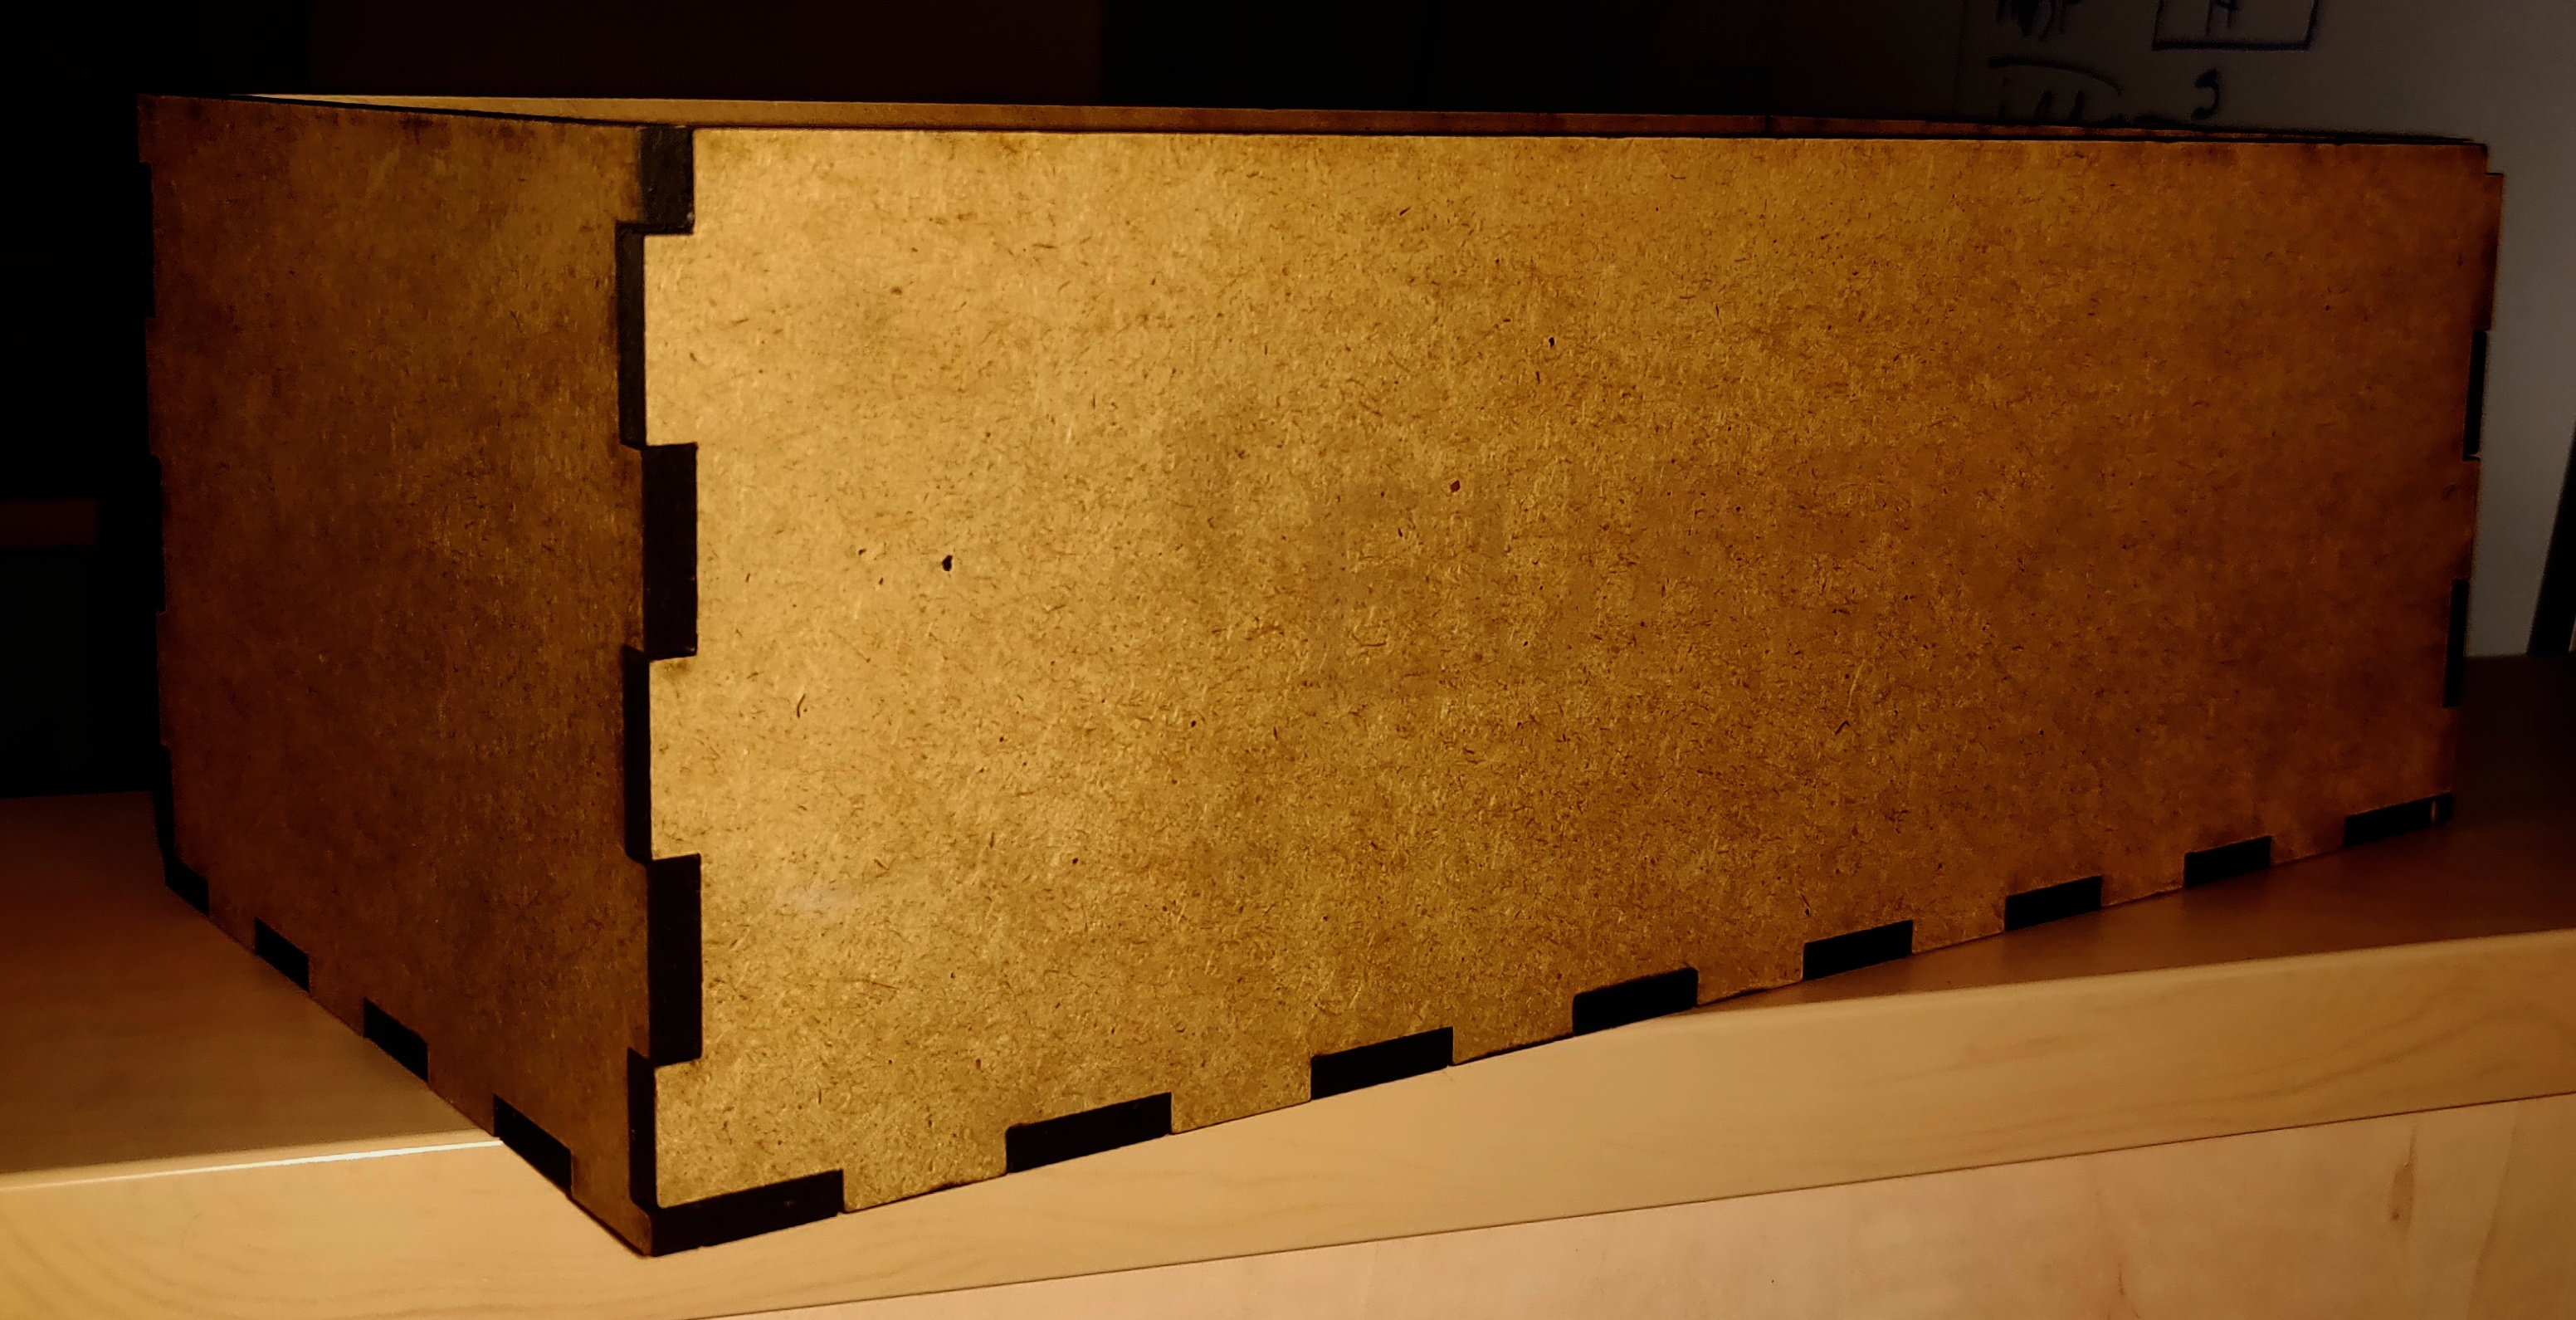
Then extracting the dxf file that's going to use with the laser cutting machine.
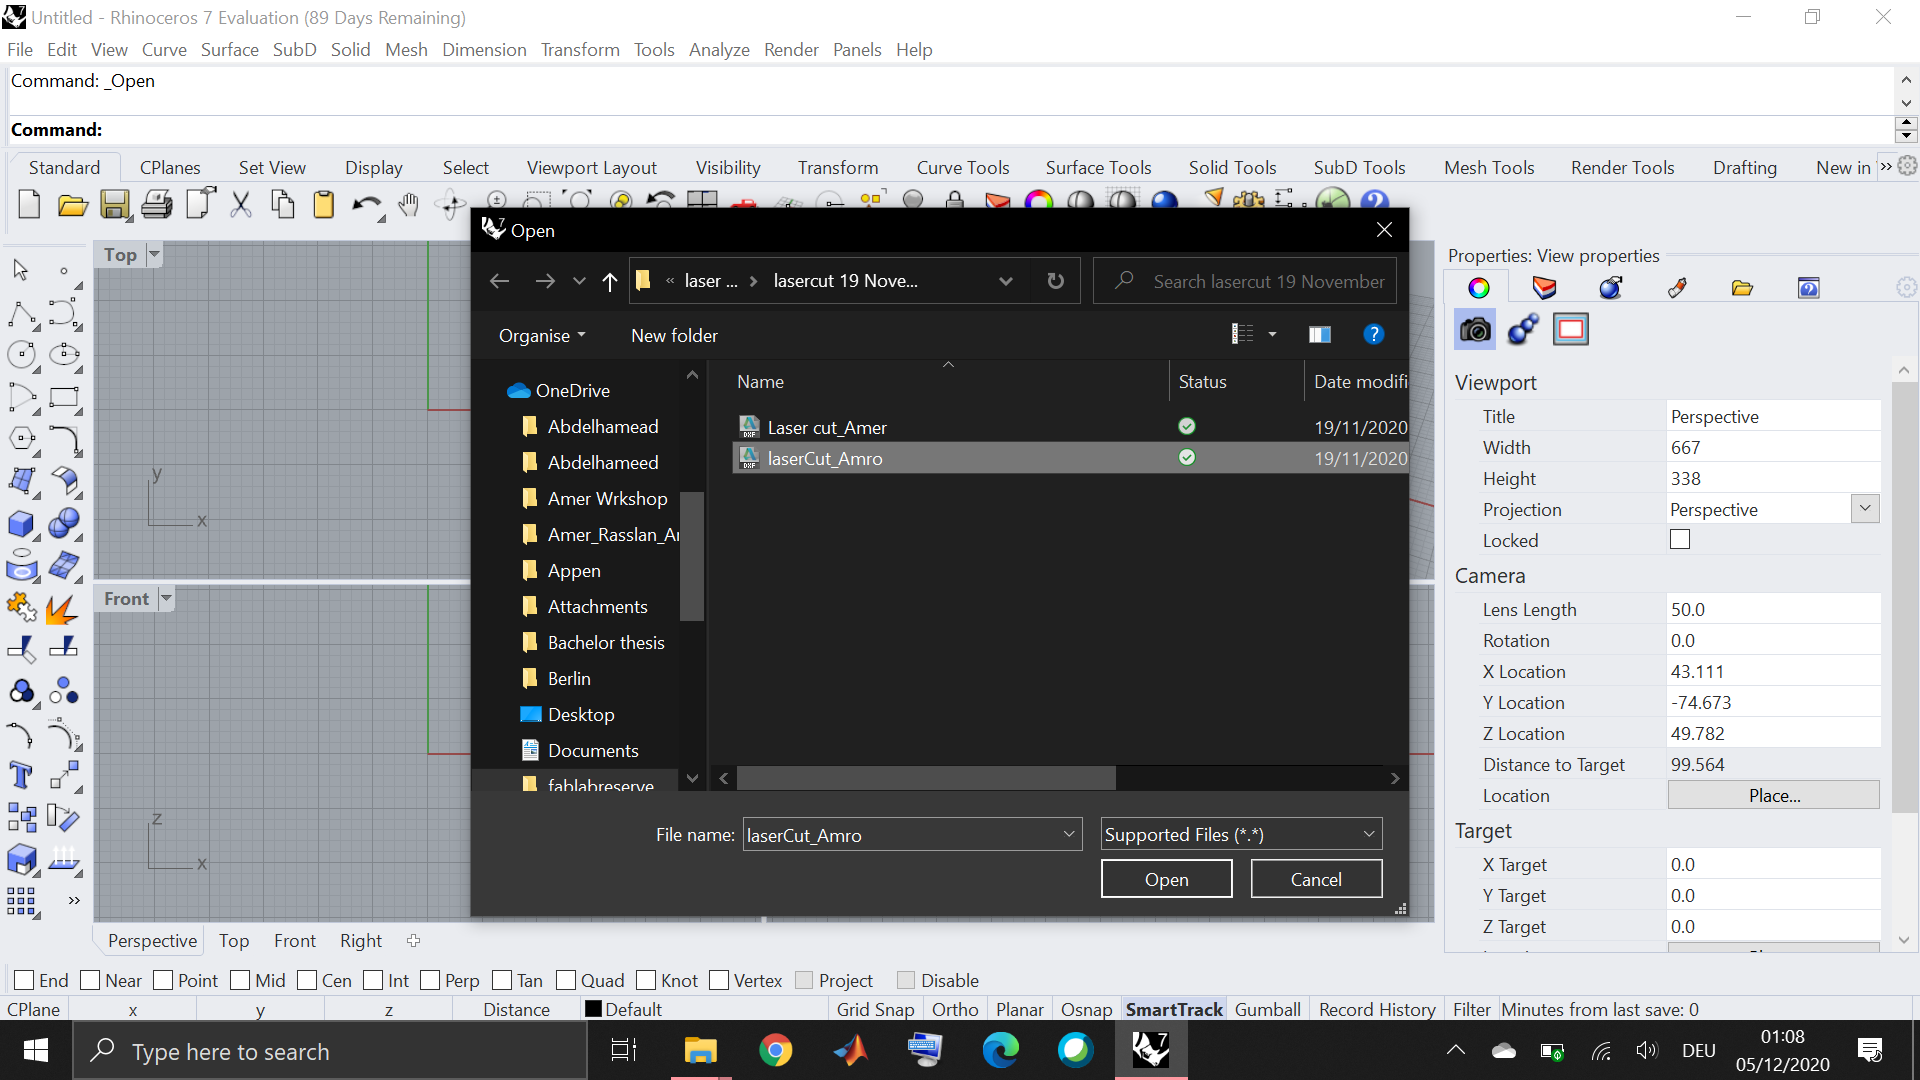
Rhinoceros software is then used for preparing the dxf file for the laser cutting machine
We first upload the dxf file
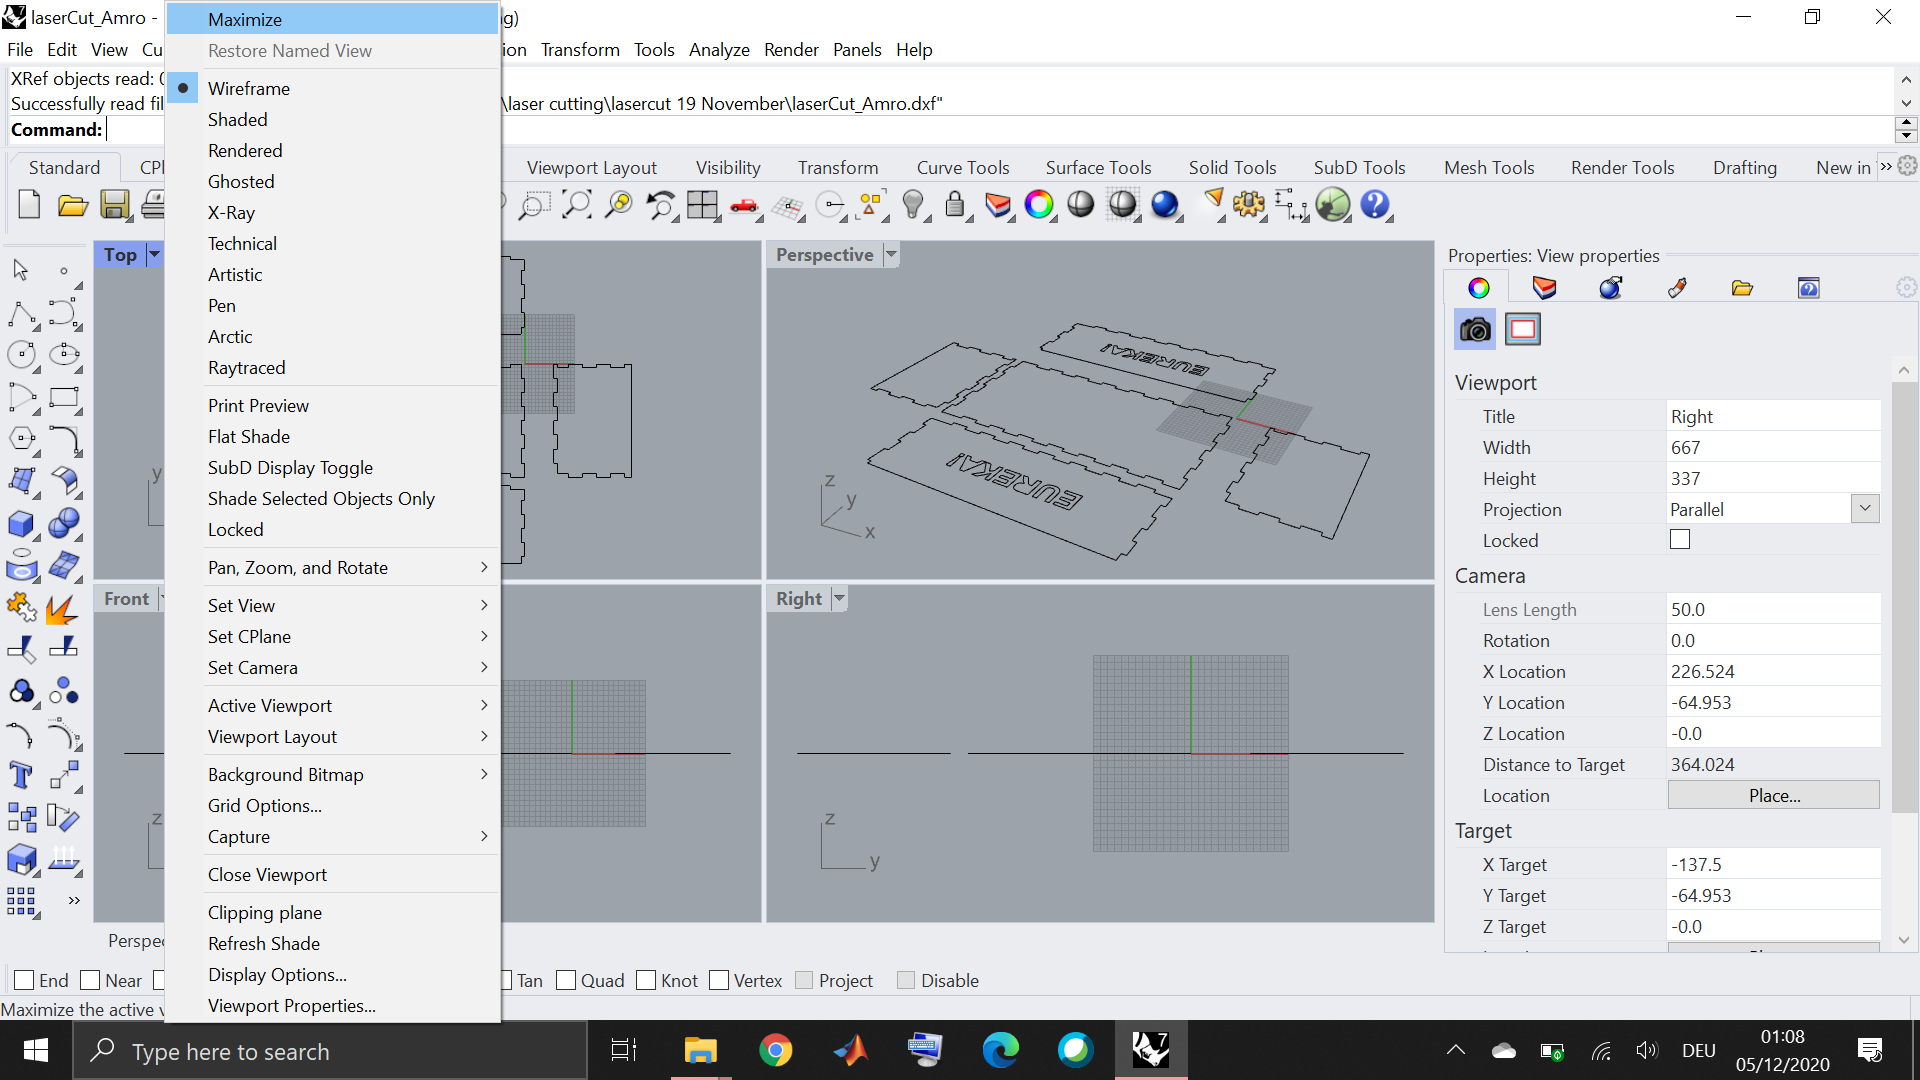
We press top -> Maximize
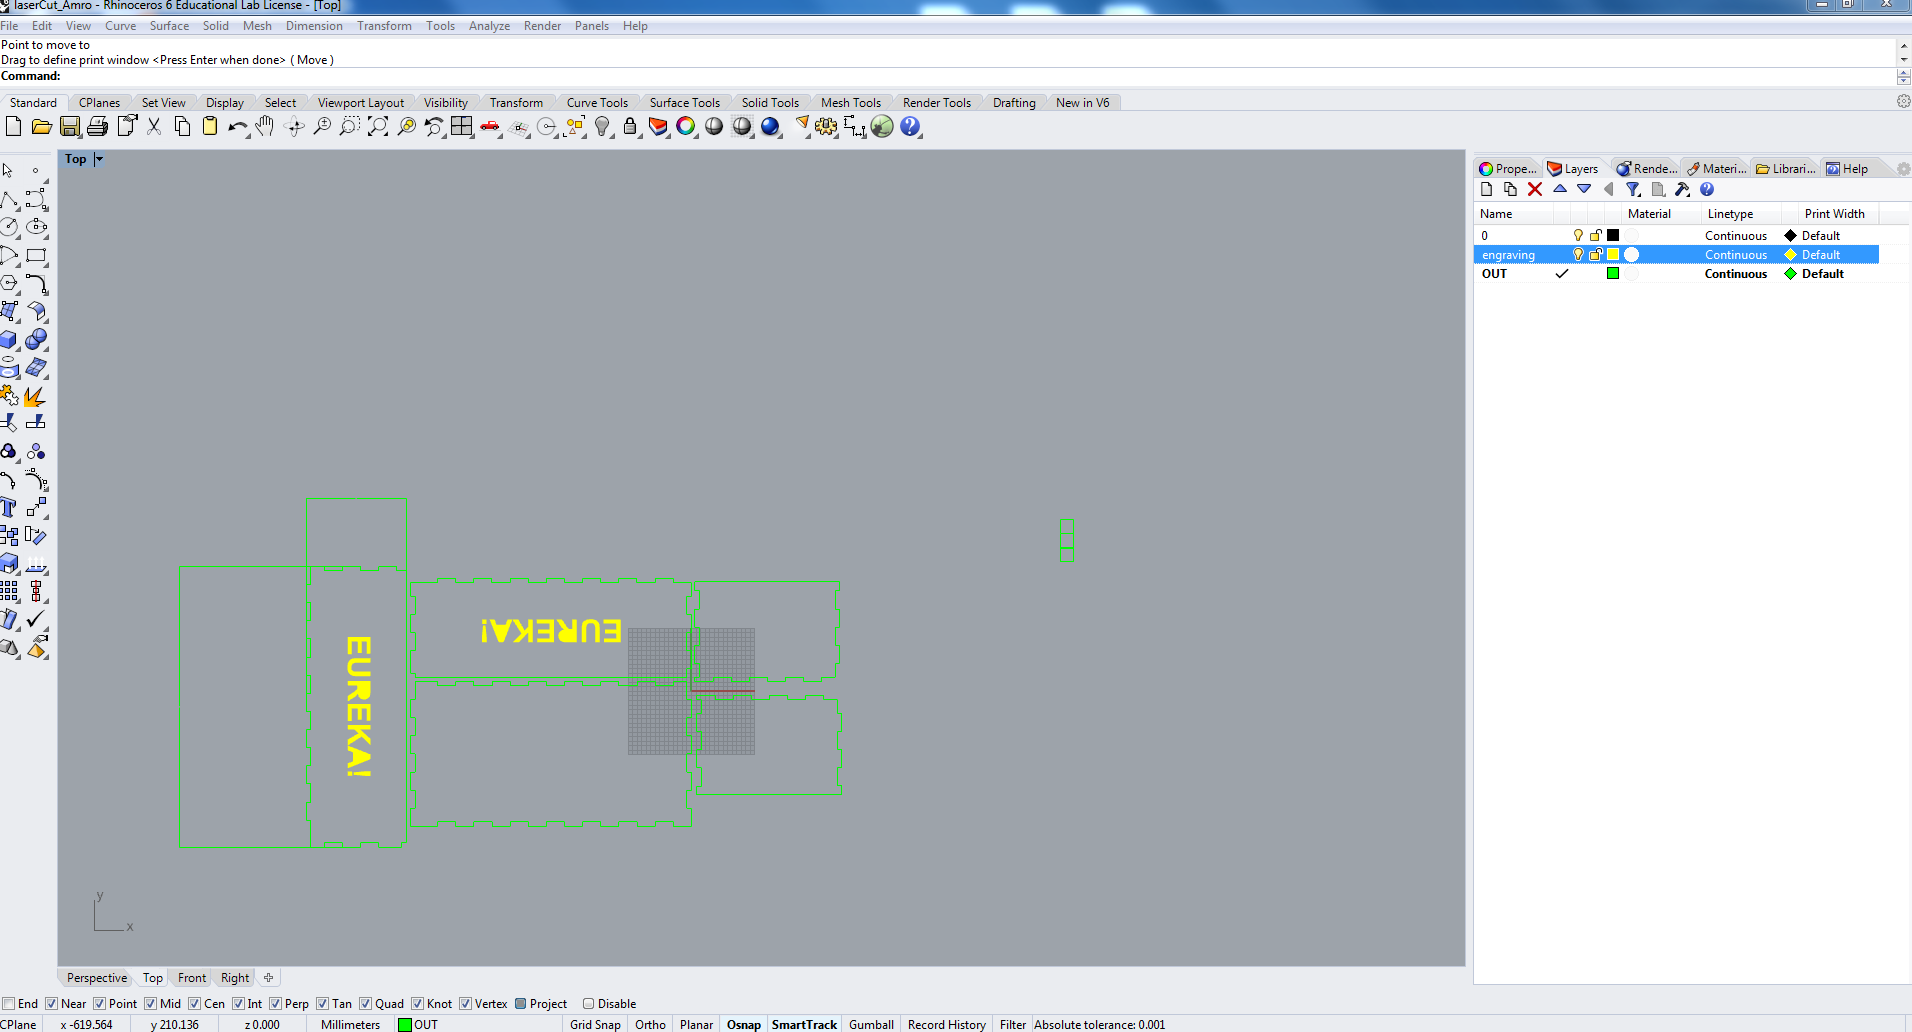
We first create a new layer and we call it engraving and we give the color yello, then we select the text and in command line we write hatch to use the hatching tool, then we select the hatch and assign it to the engraving layer we created, after that we deactivate the engraving layer and select the text and delete it. By reactivating the engraving layer we only allow the hatching to be engraved
Then we create a second layer called "out" and we align the outer lines to it and give it the color green
Then we press print
After that we adjust the printing parameters for the engraving: Power= 20%, Frequency=2500Hz, Speed=50%
Then we adjust the printing parameters for the outlines: Power= 100%, Frequency=2500Hz, Speed=50%
Results
Conclusion
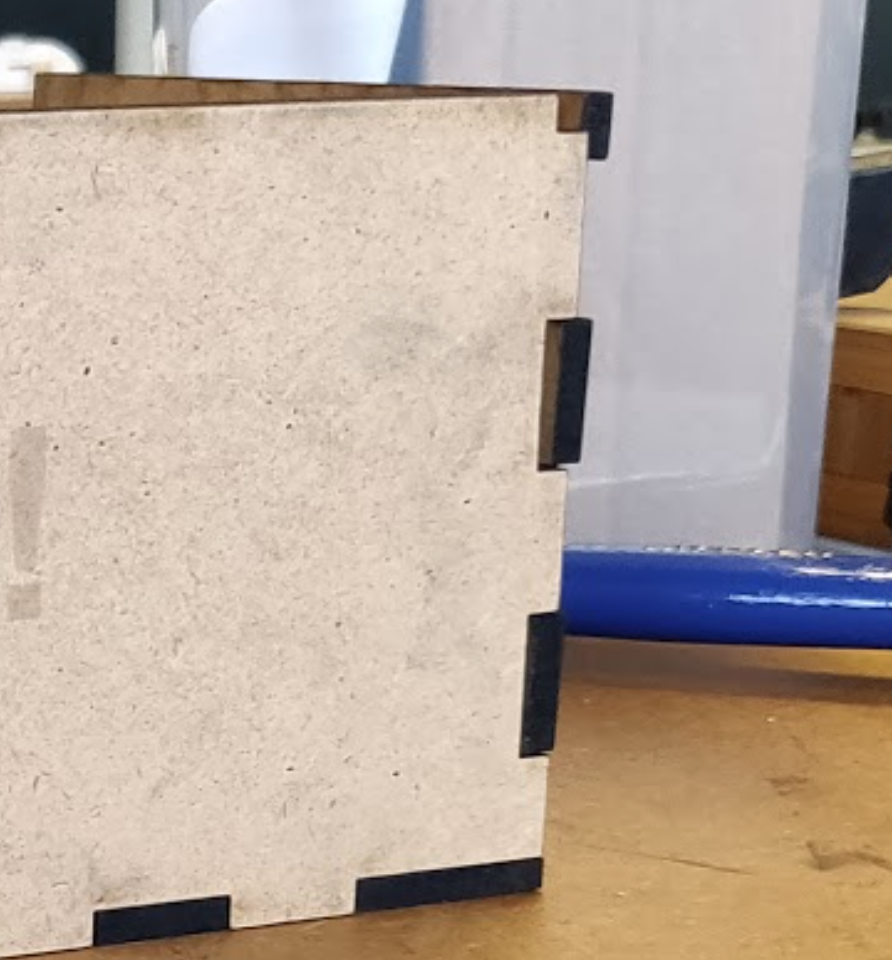
-There was an overlap in one joint between one side and the base,also the curve was 0.2mm and the material used needed more:
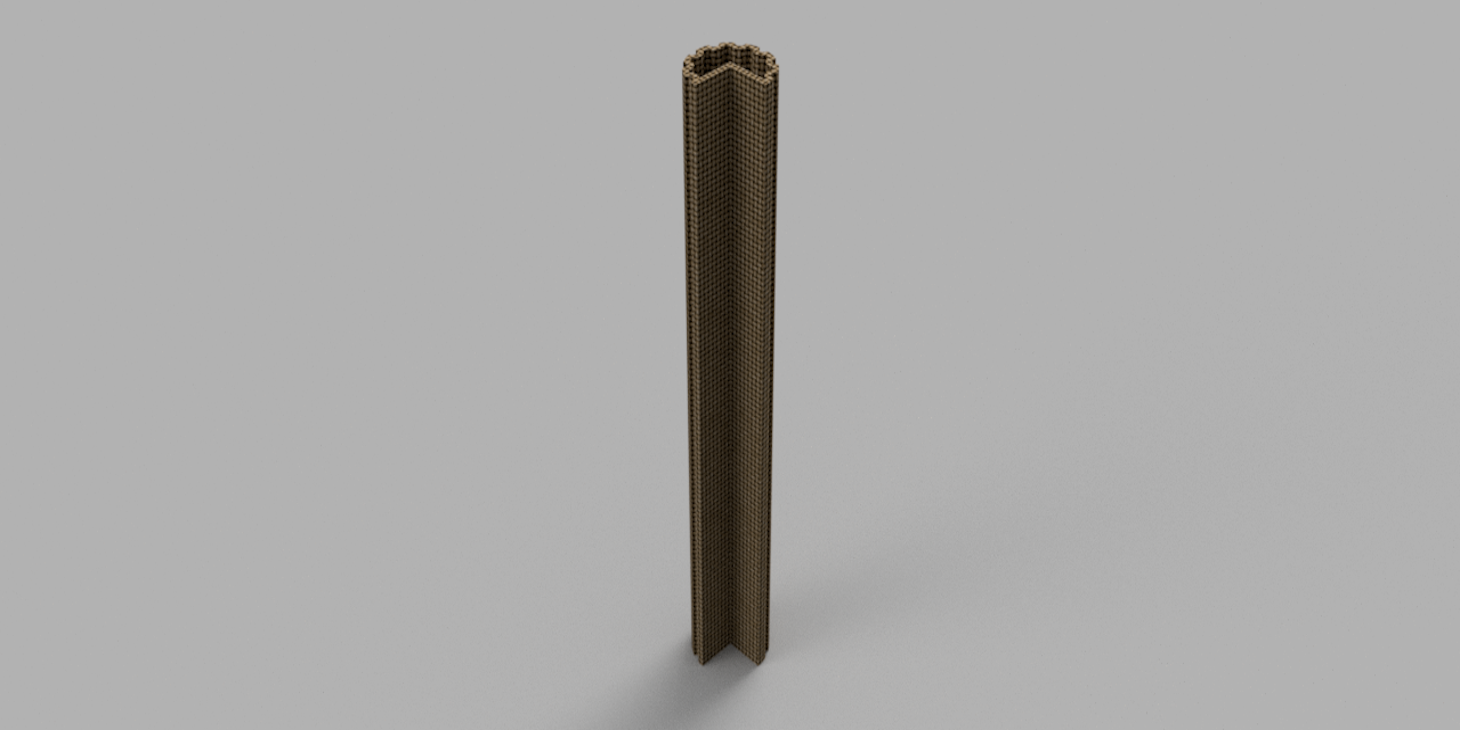
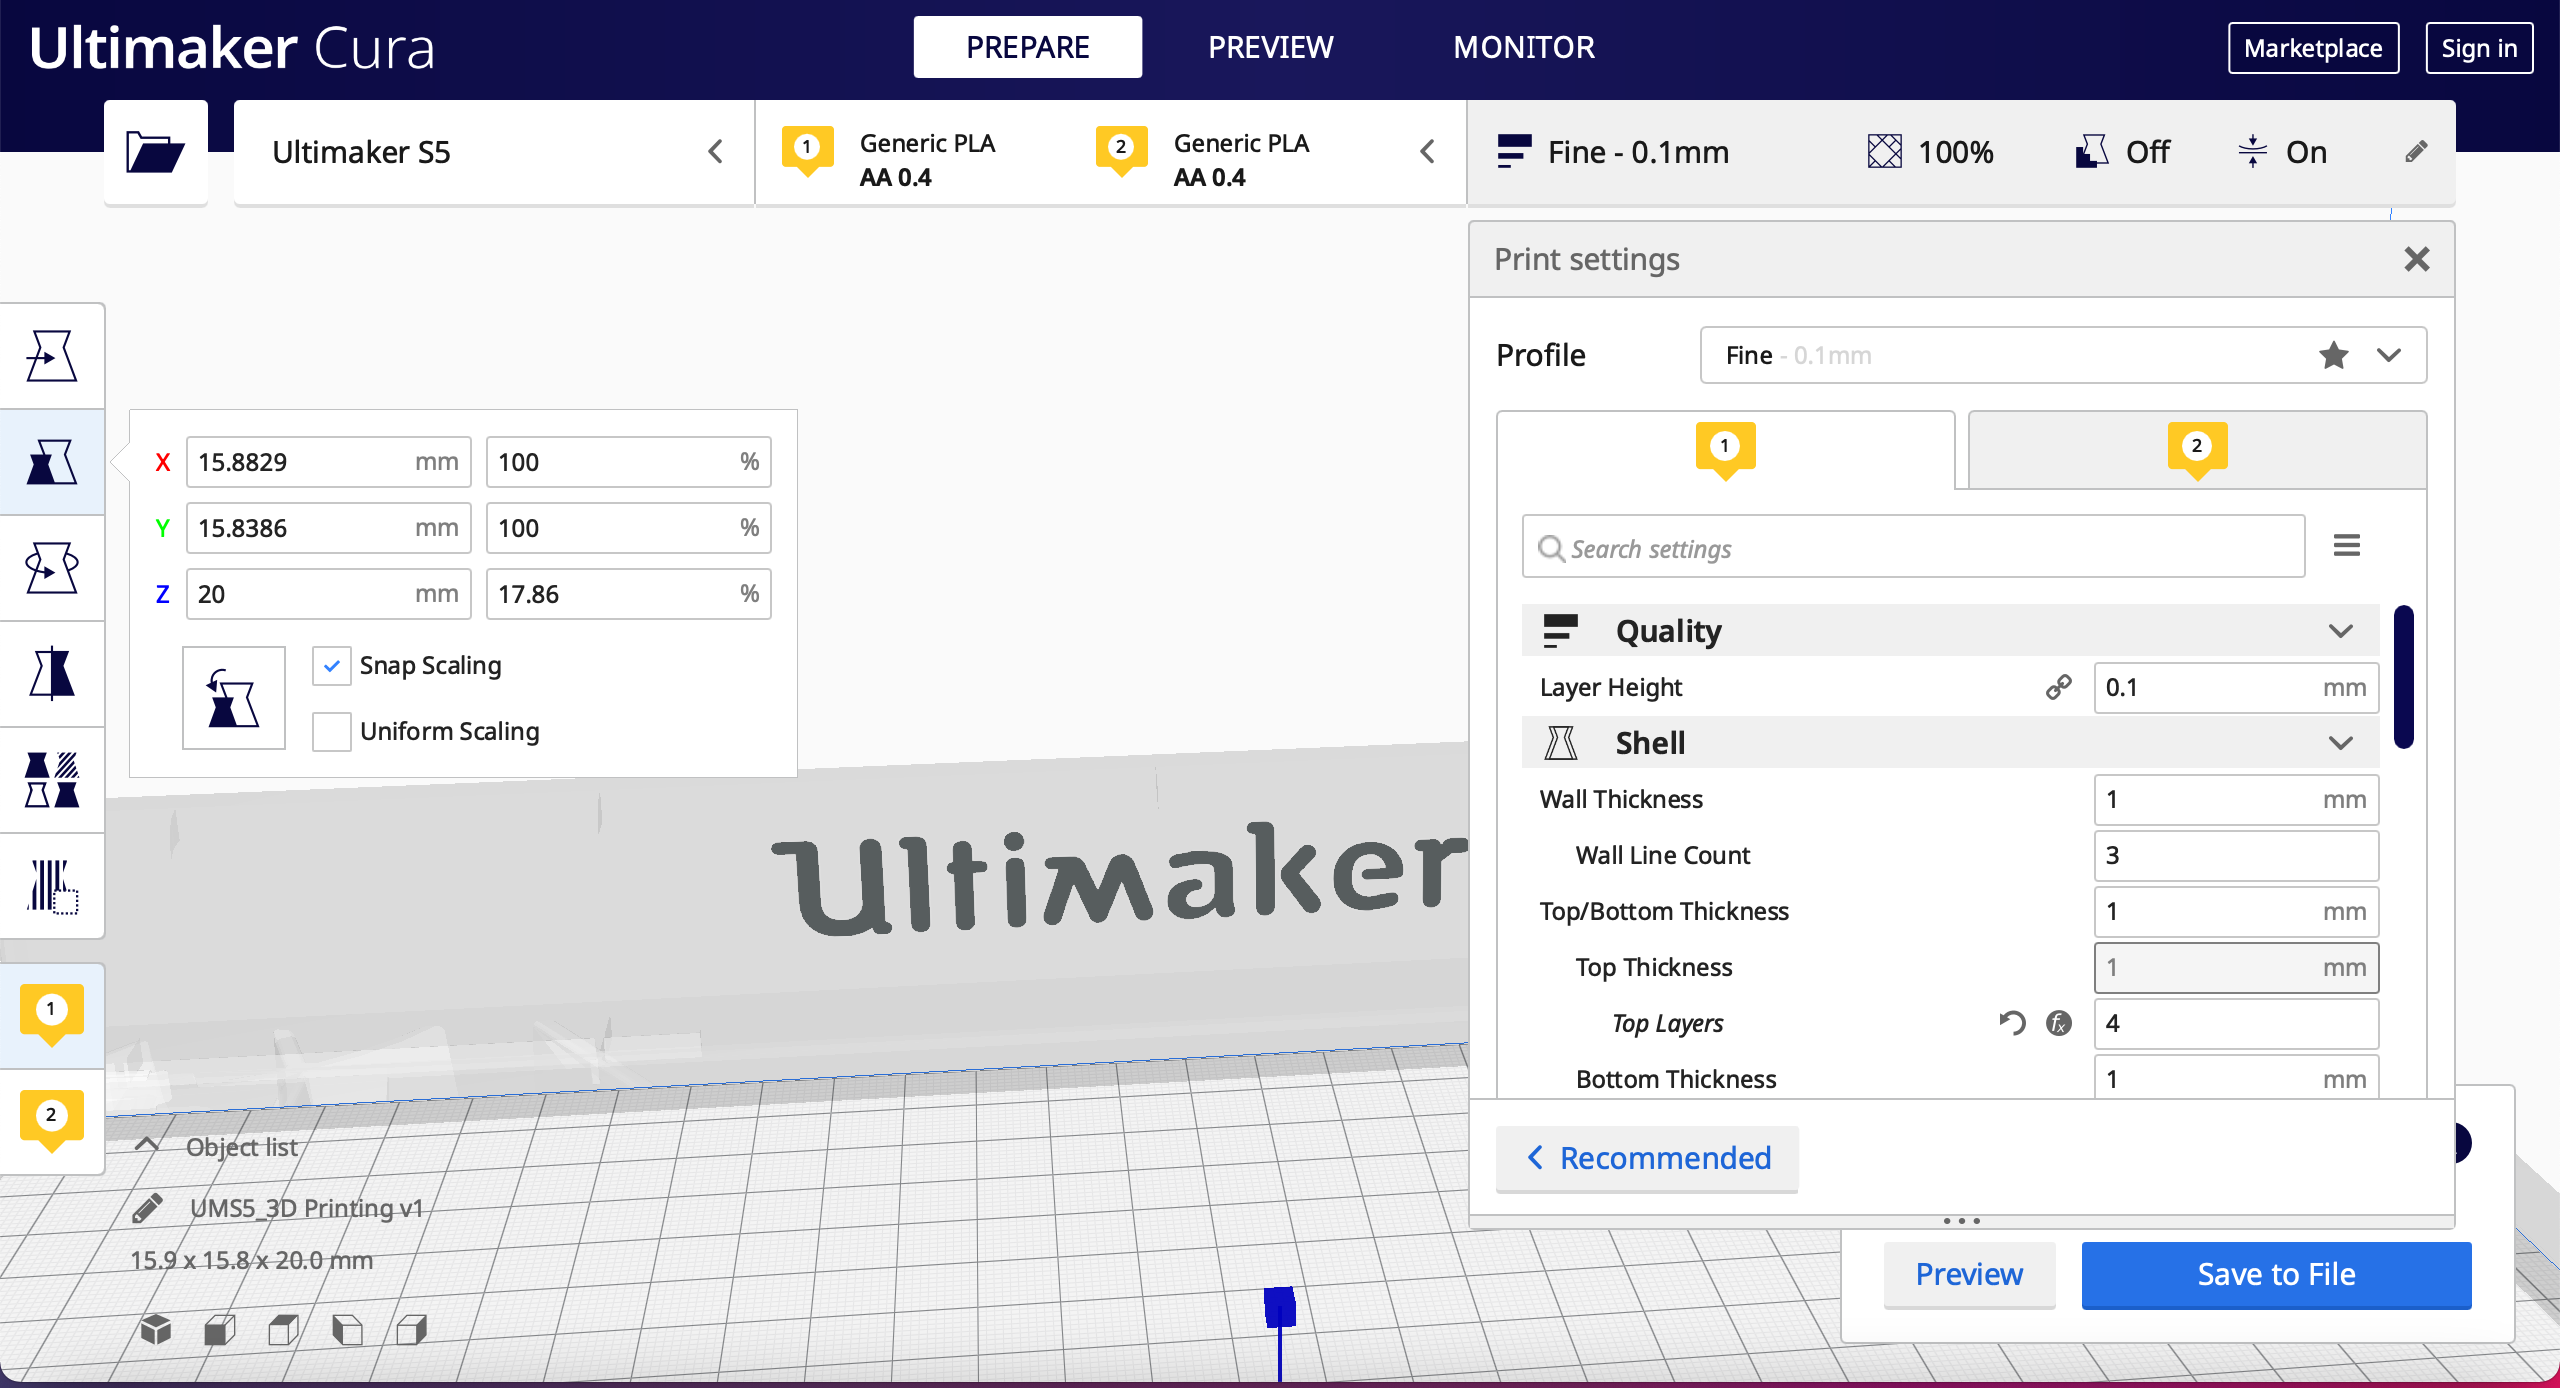
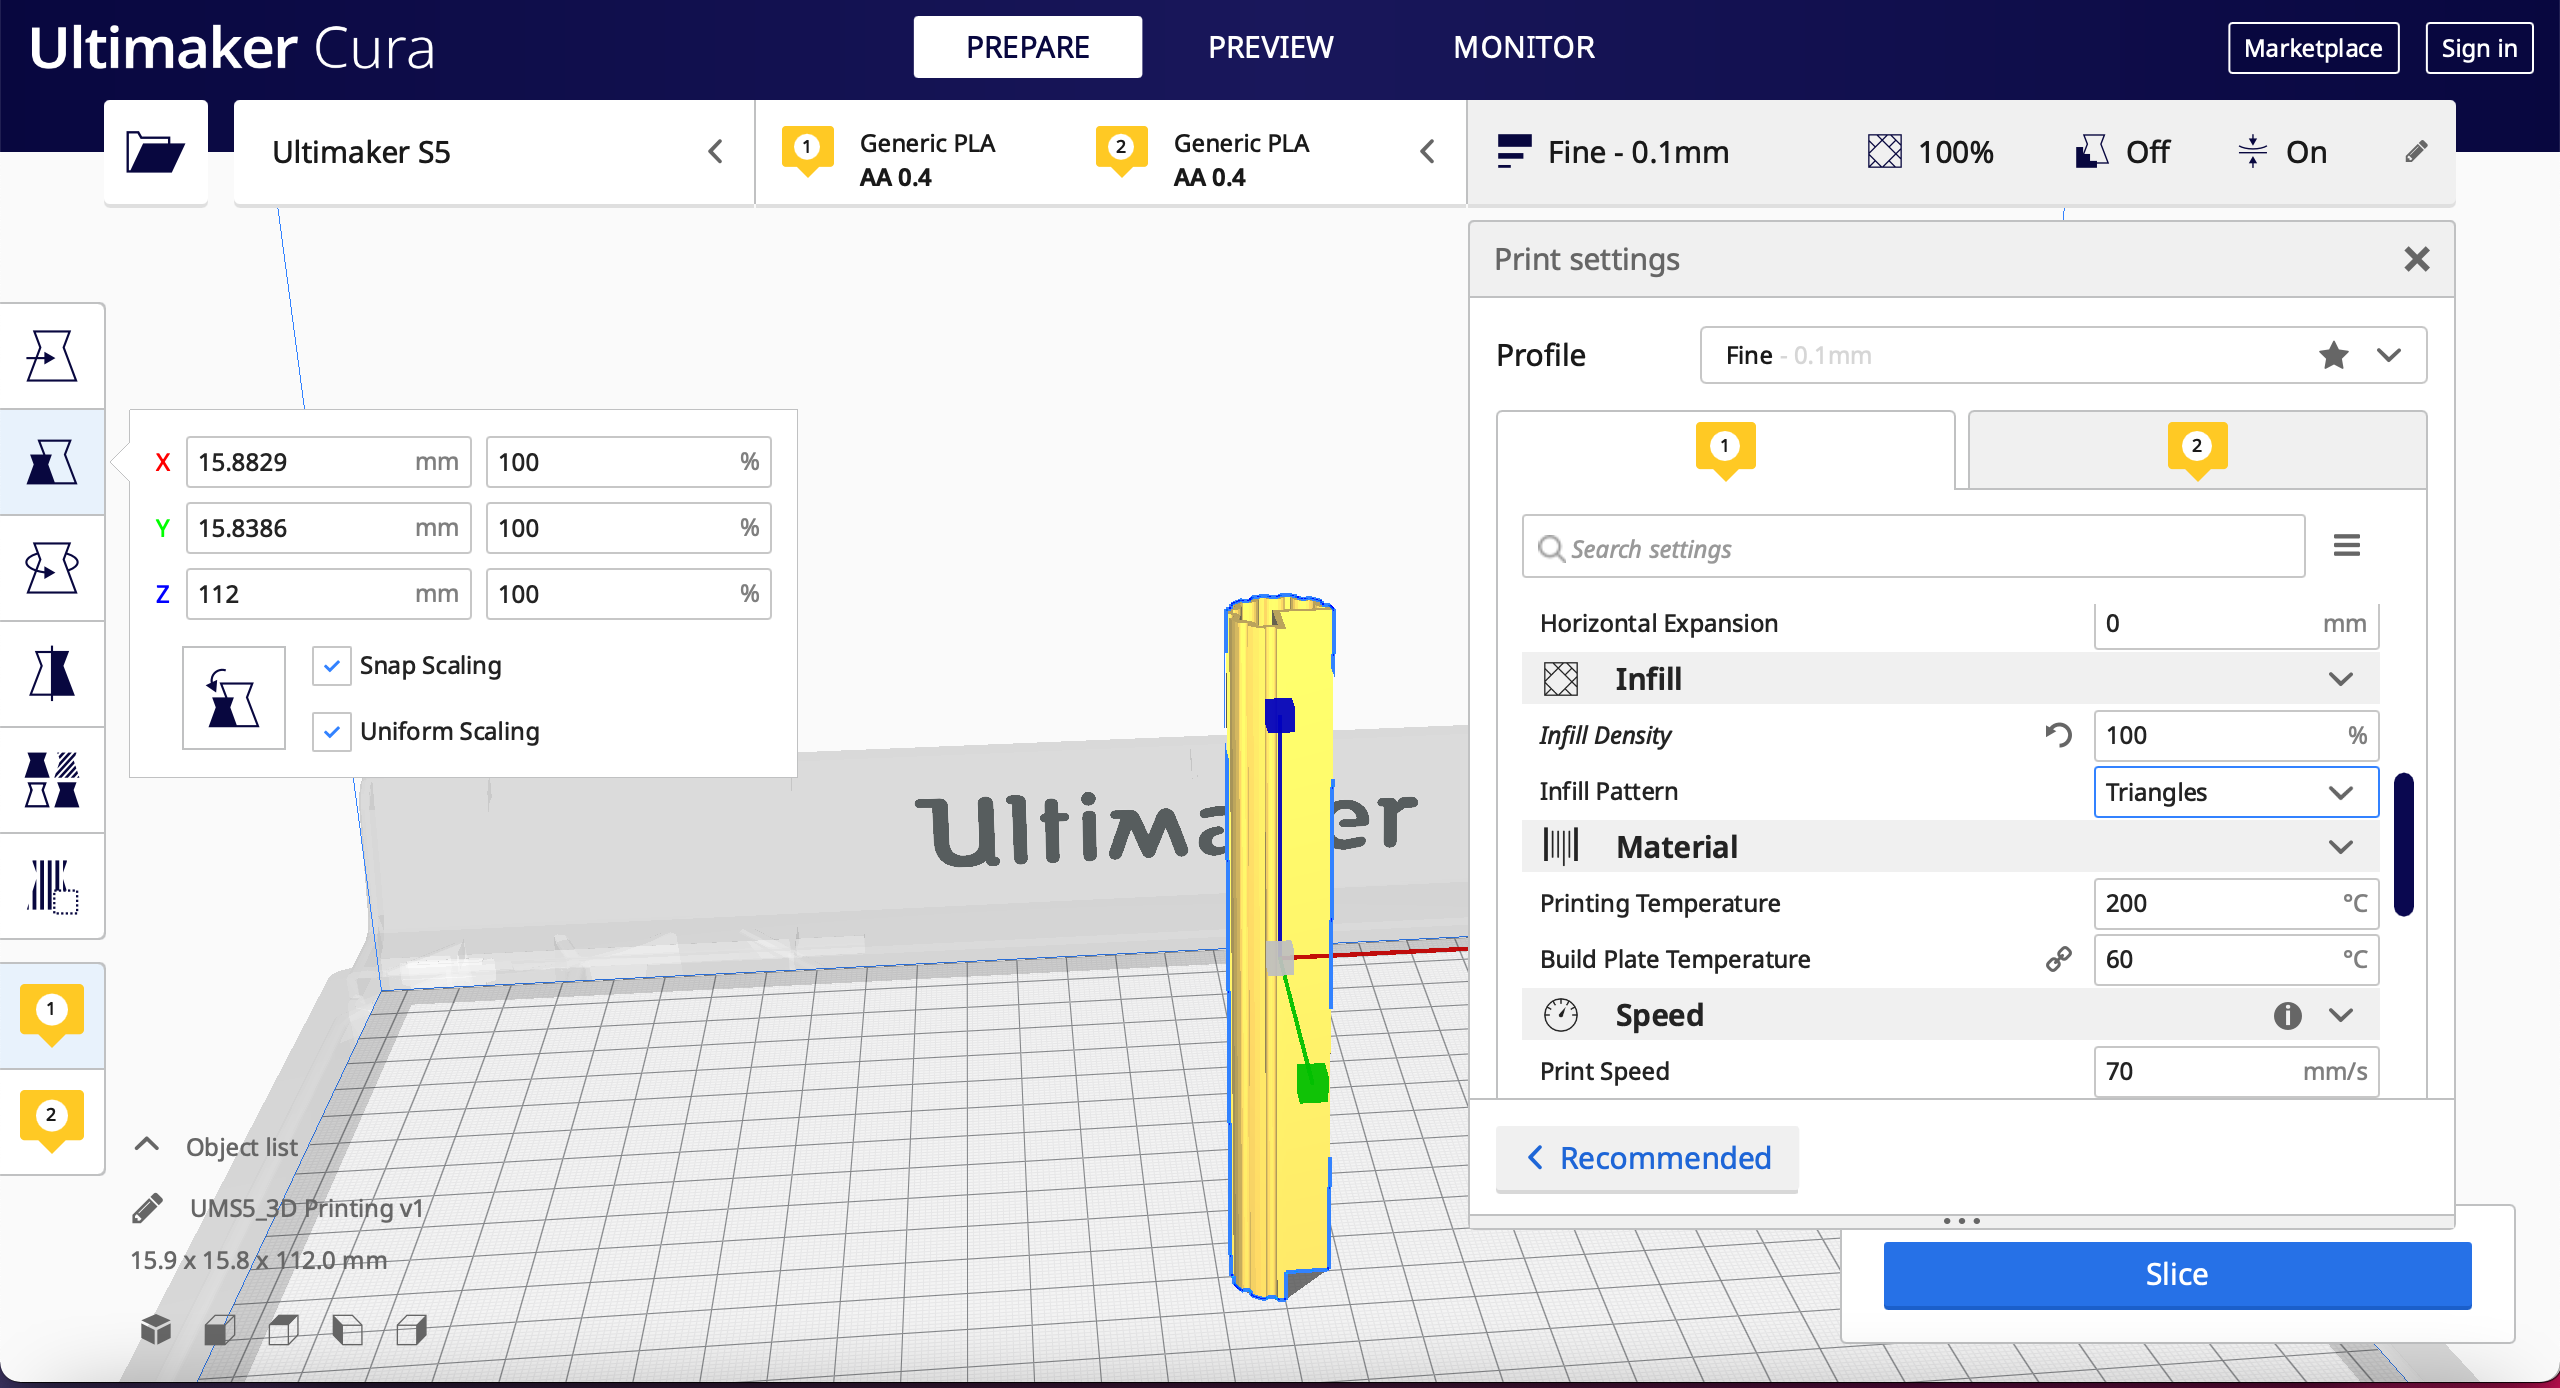
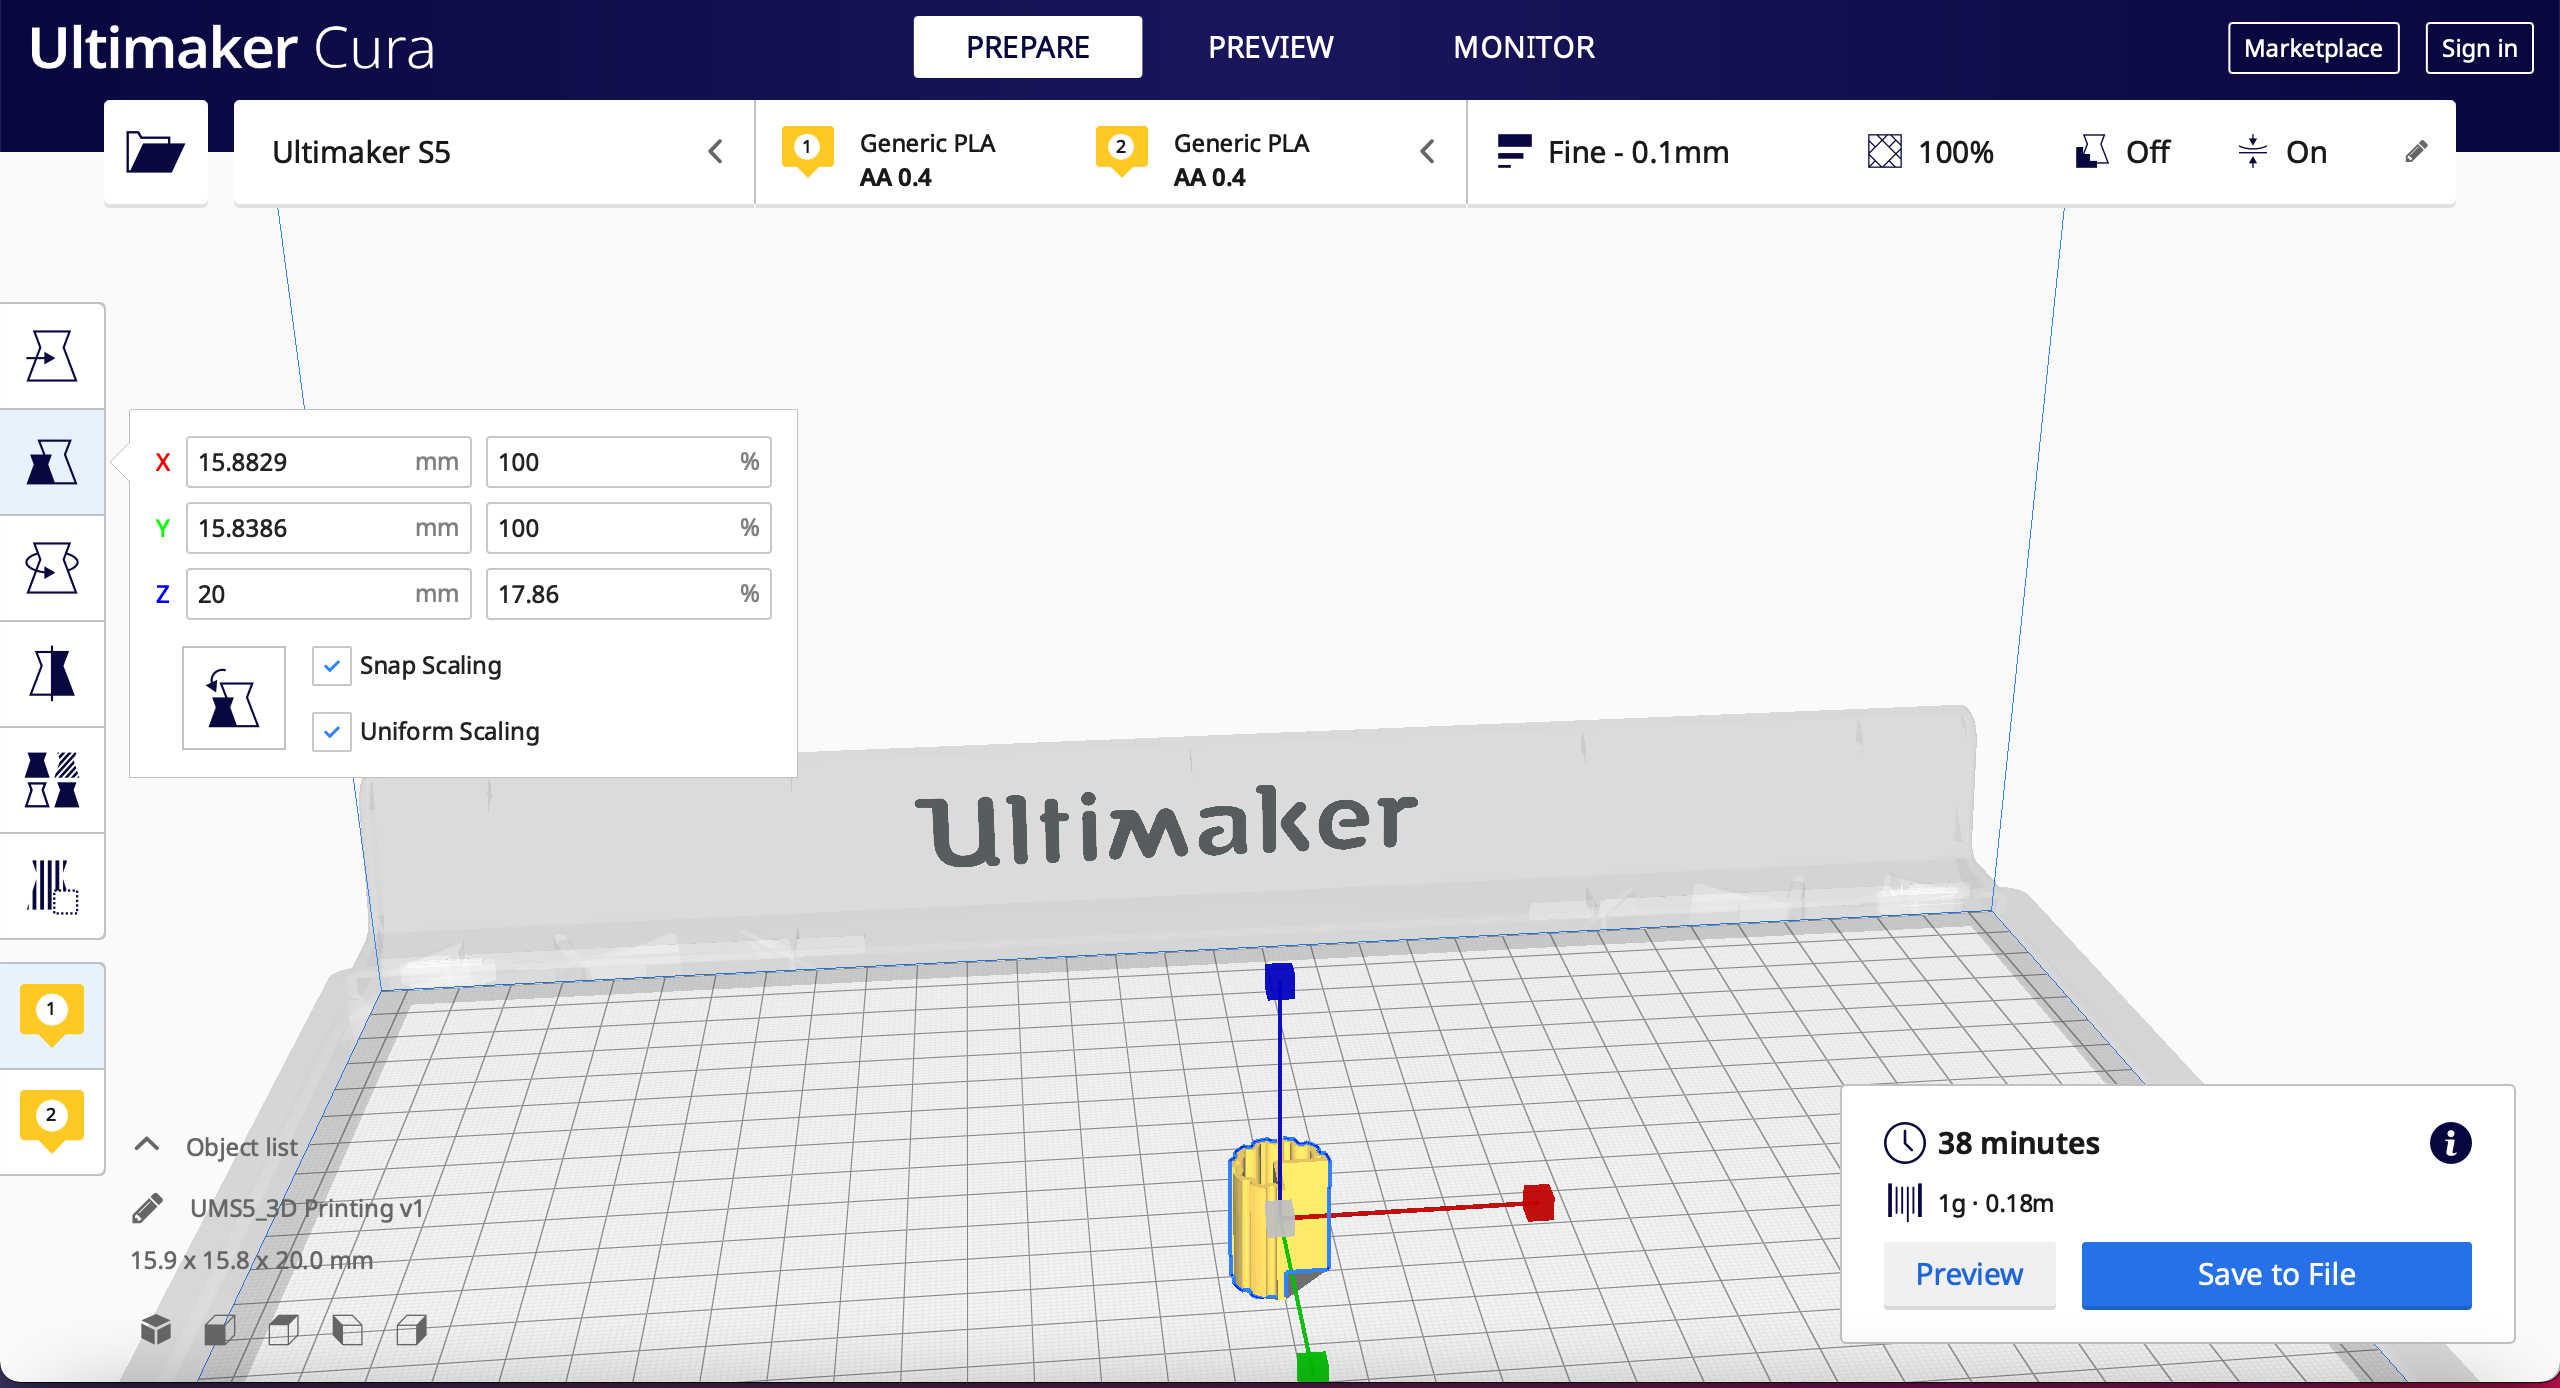
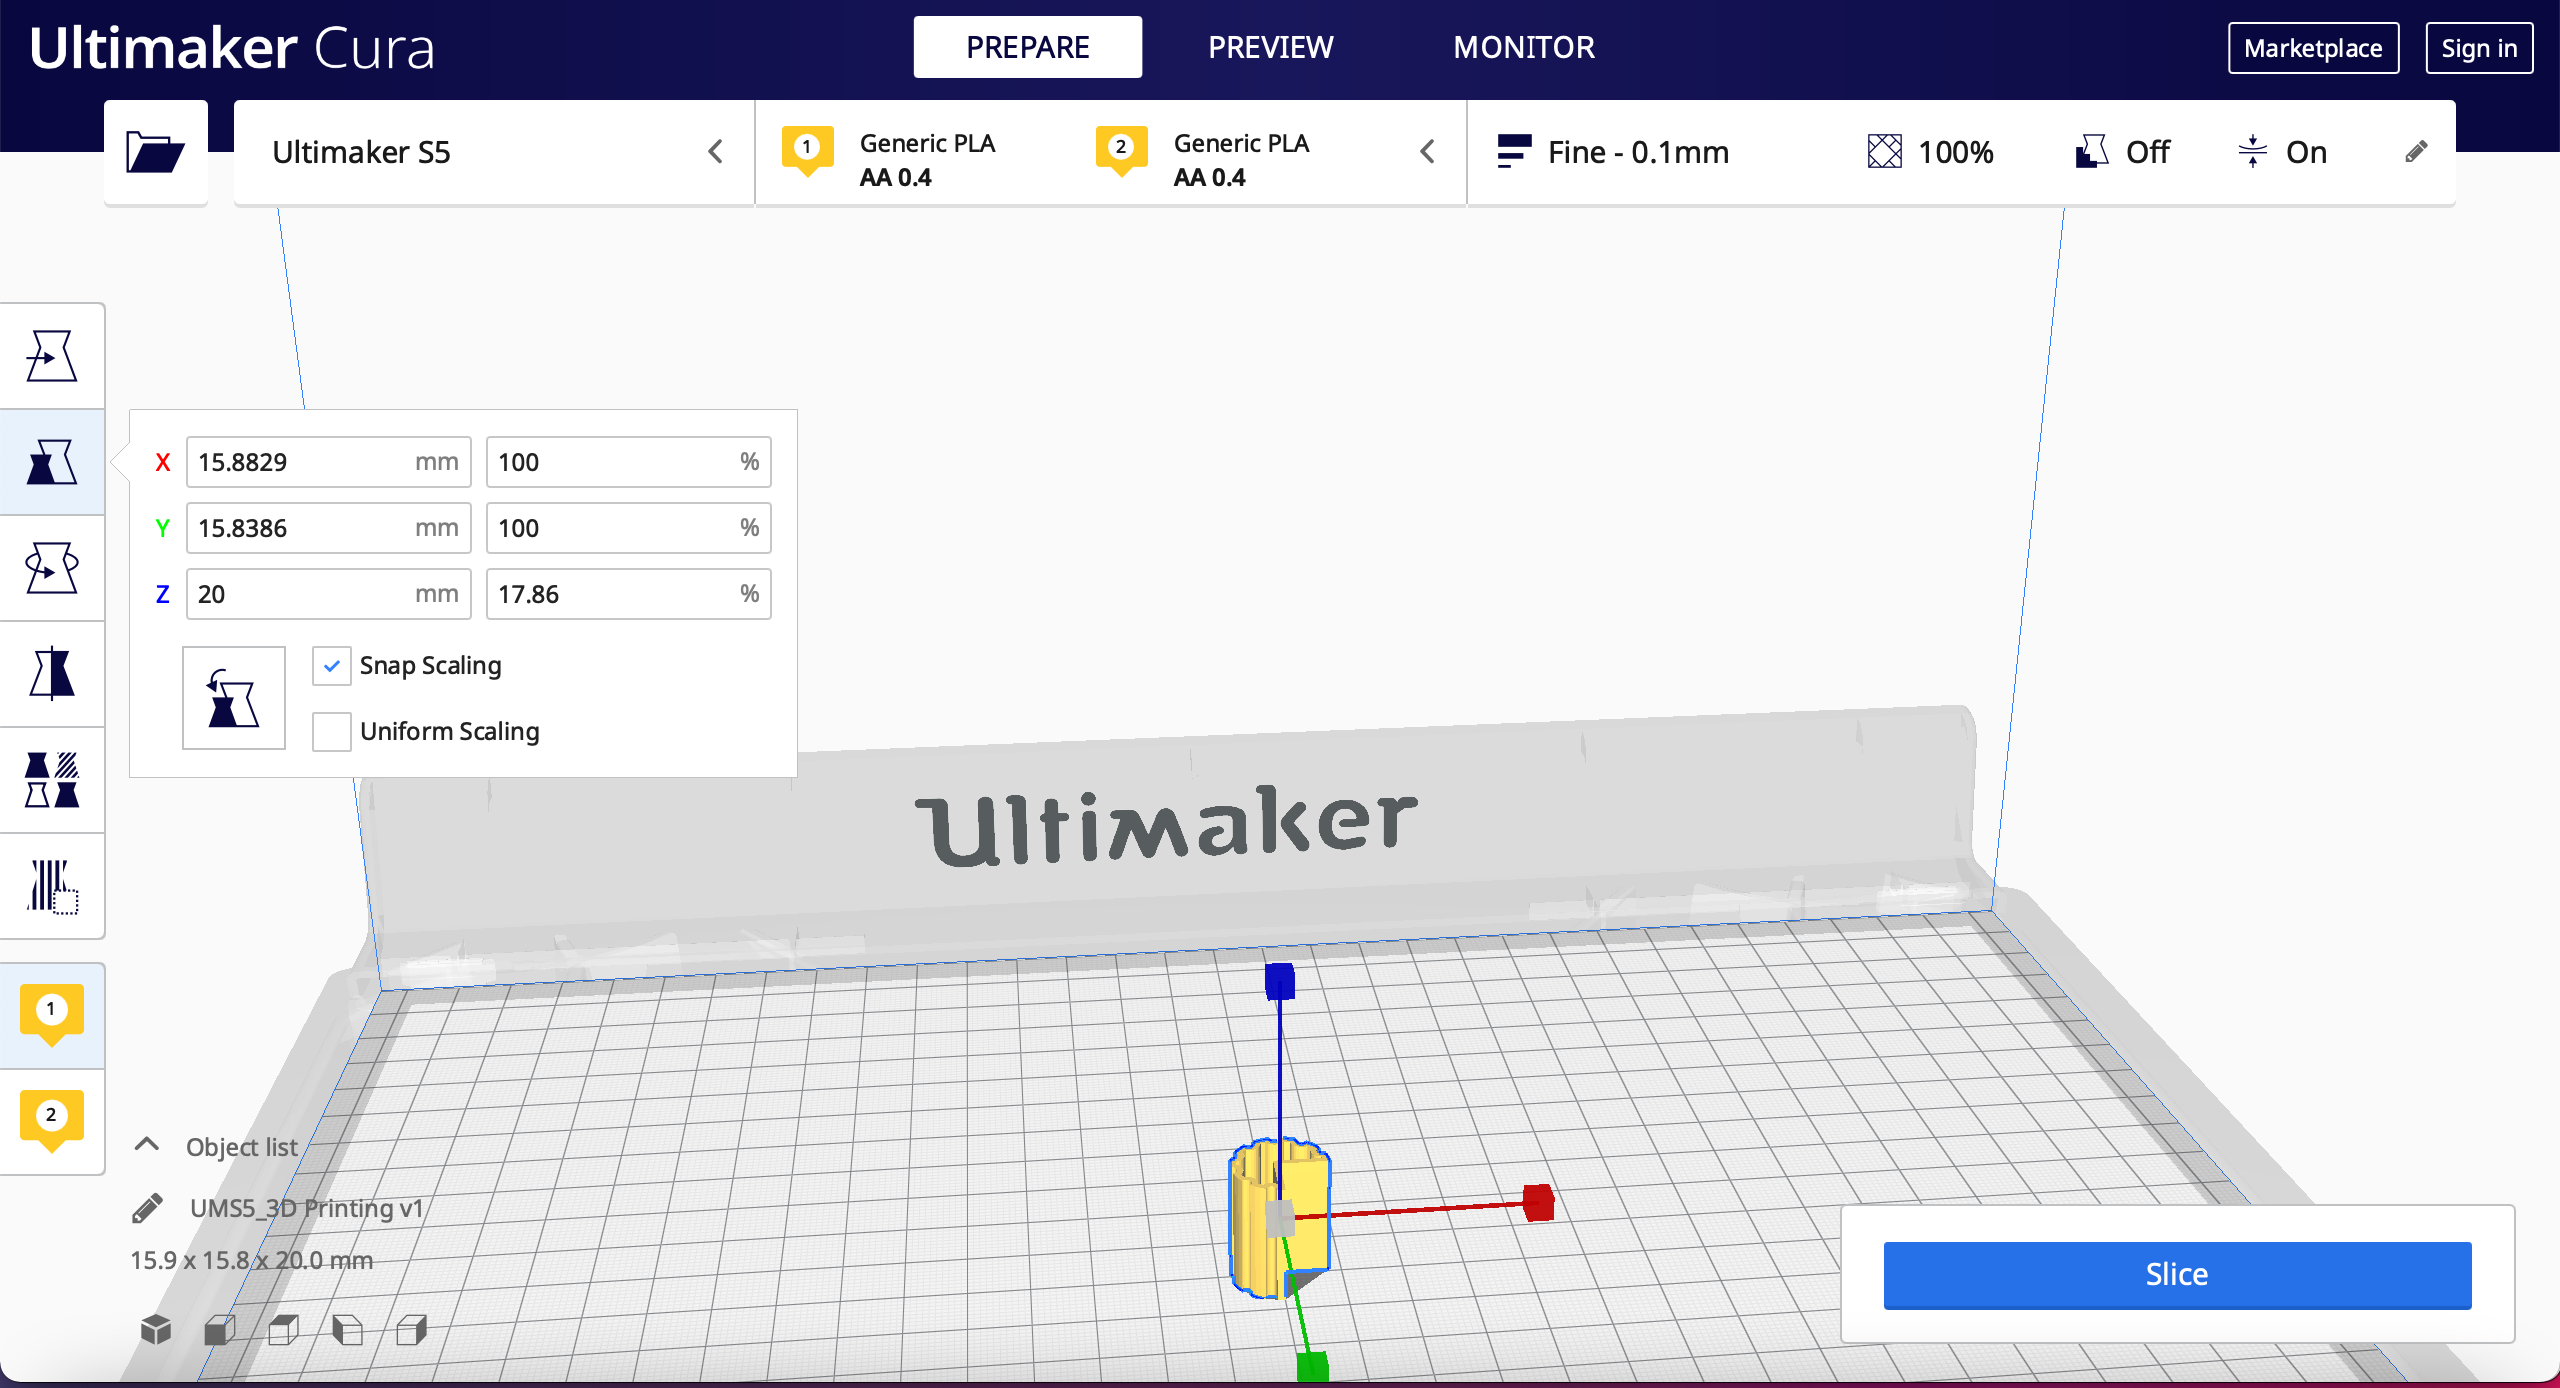
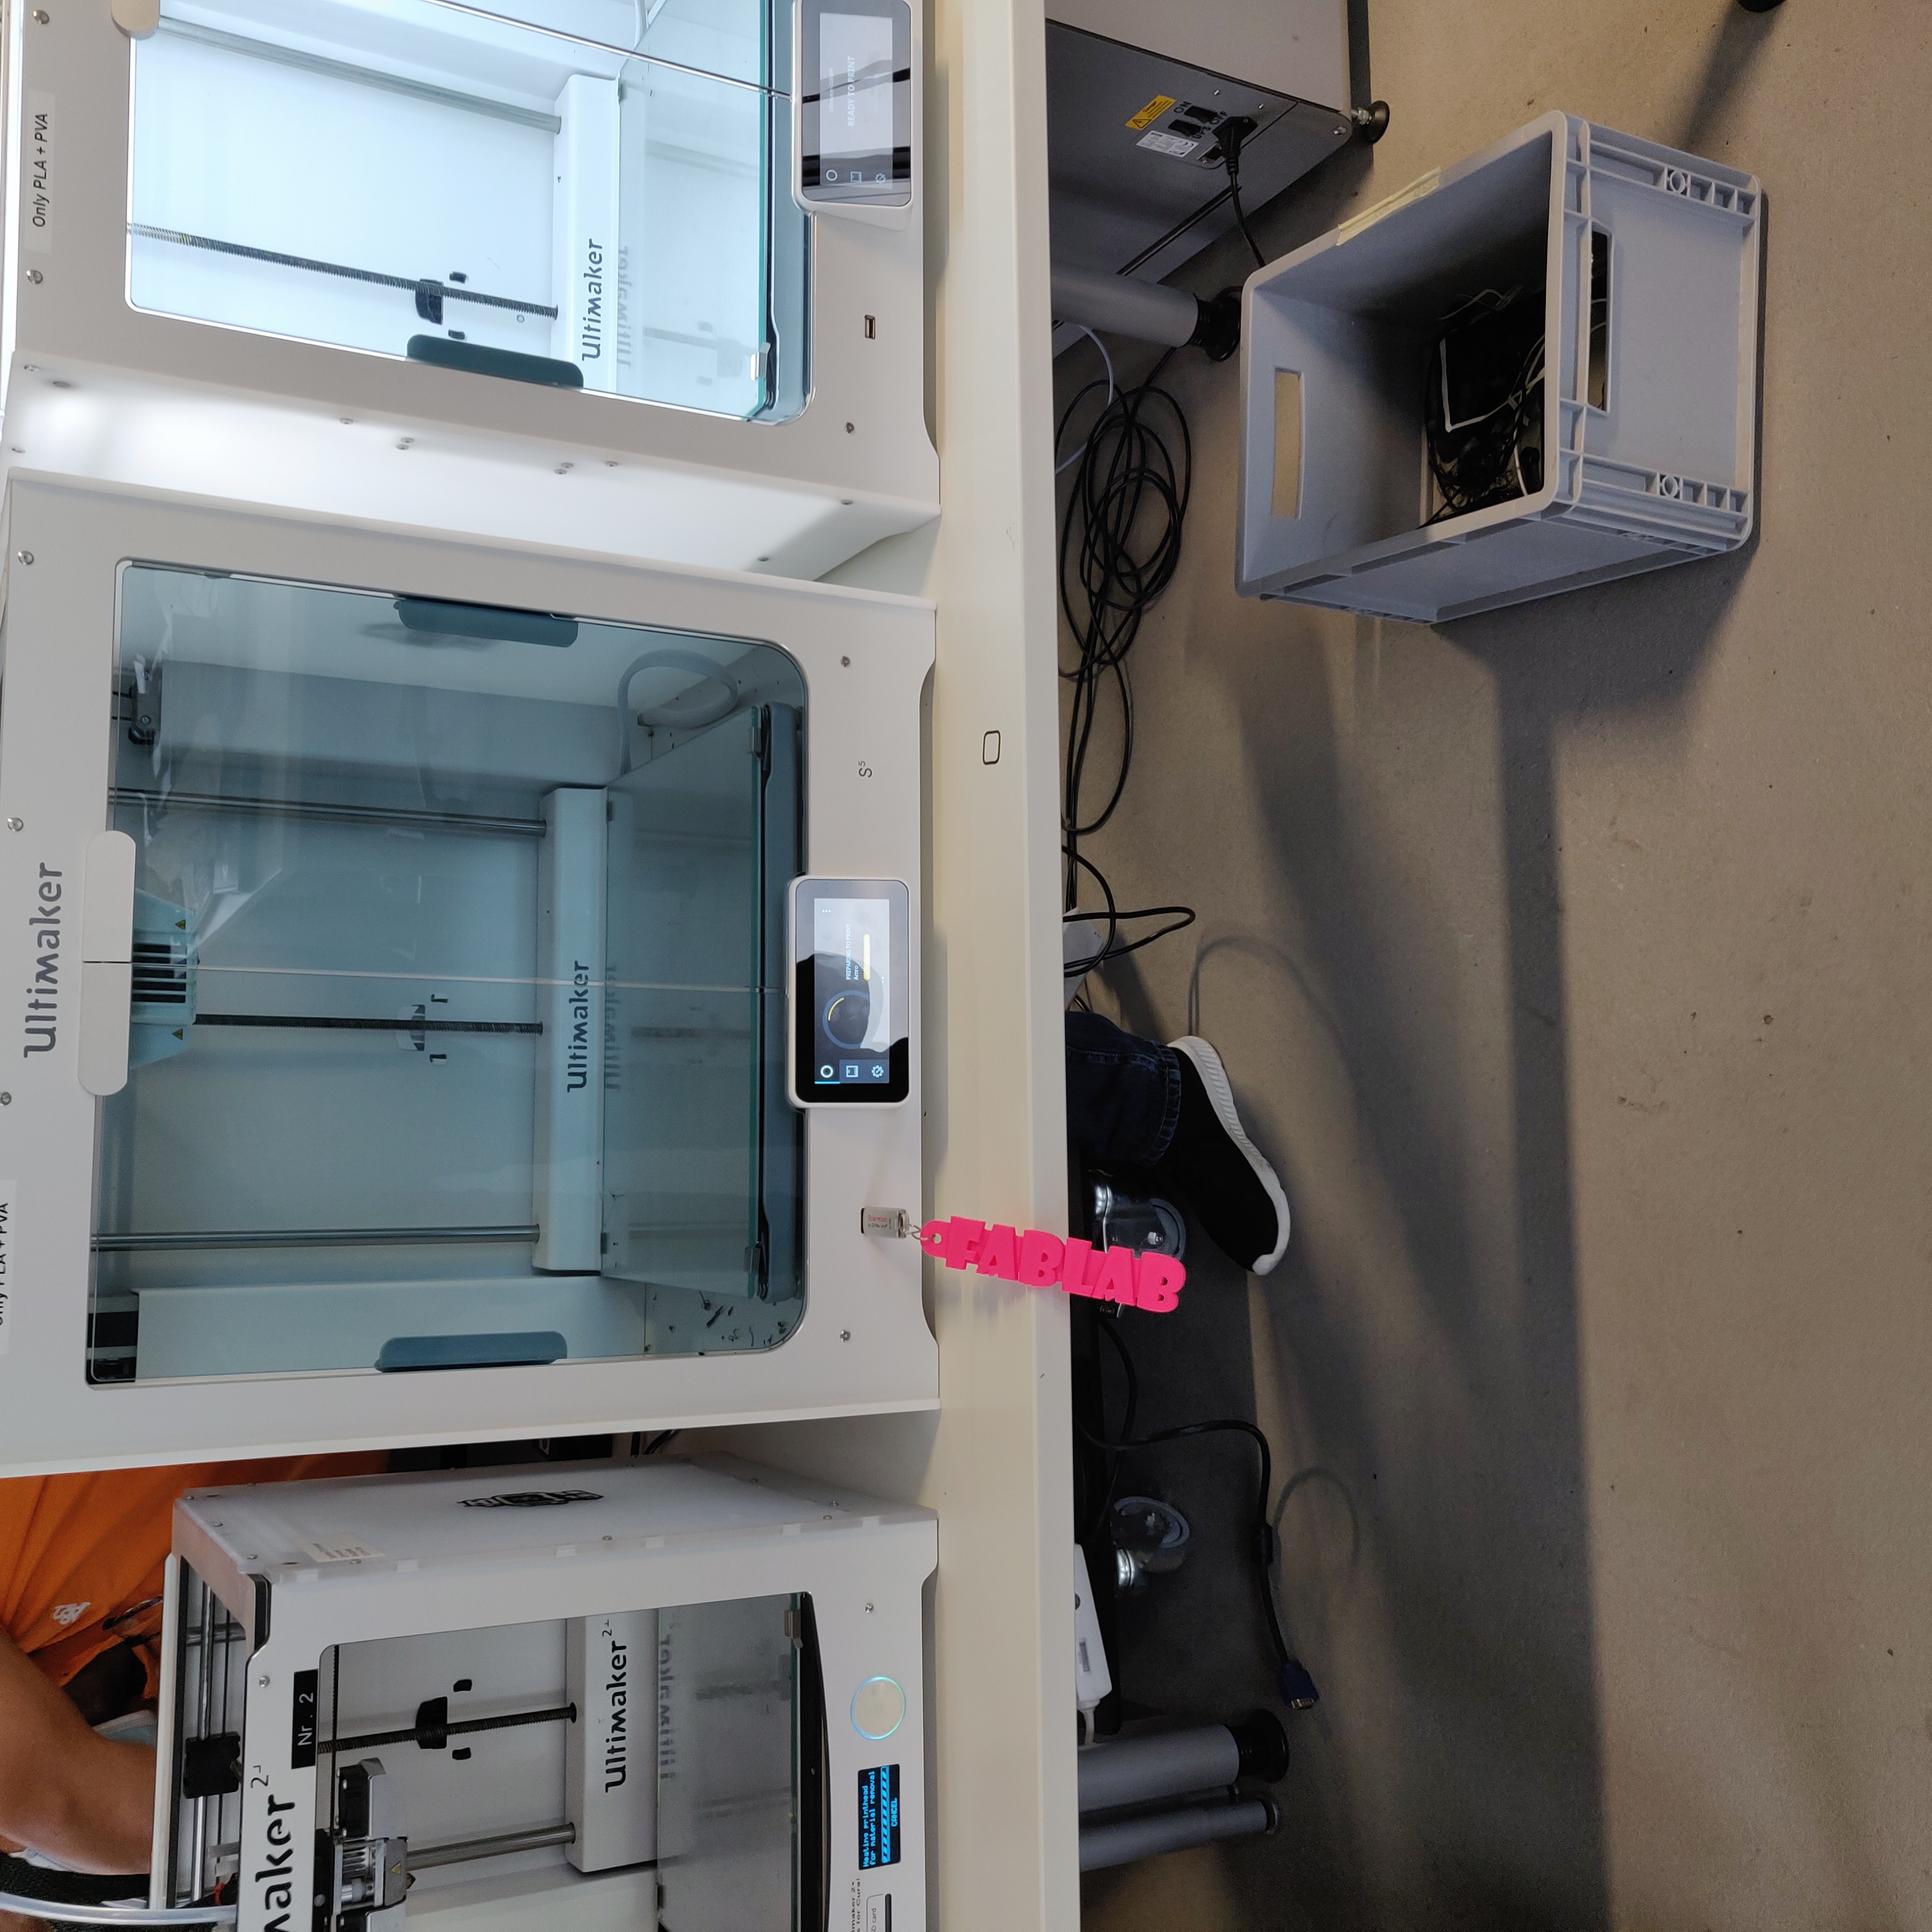
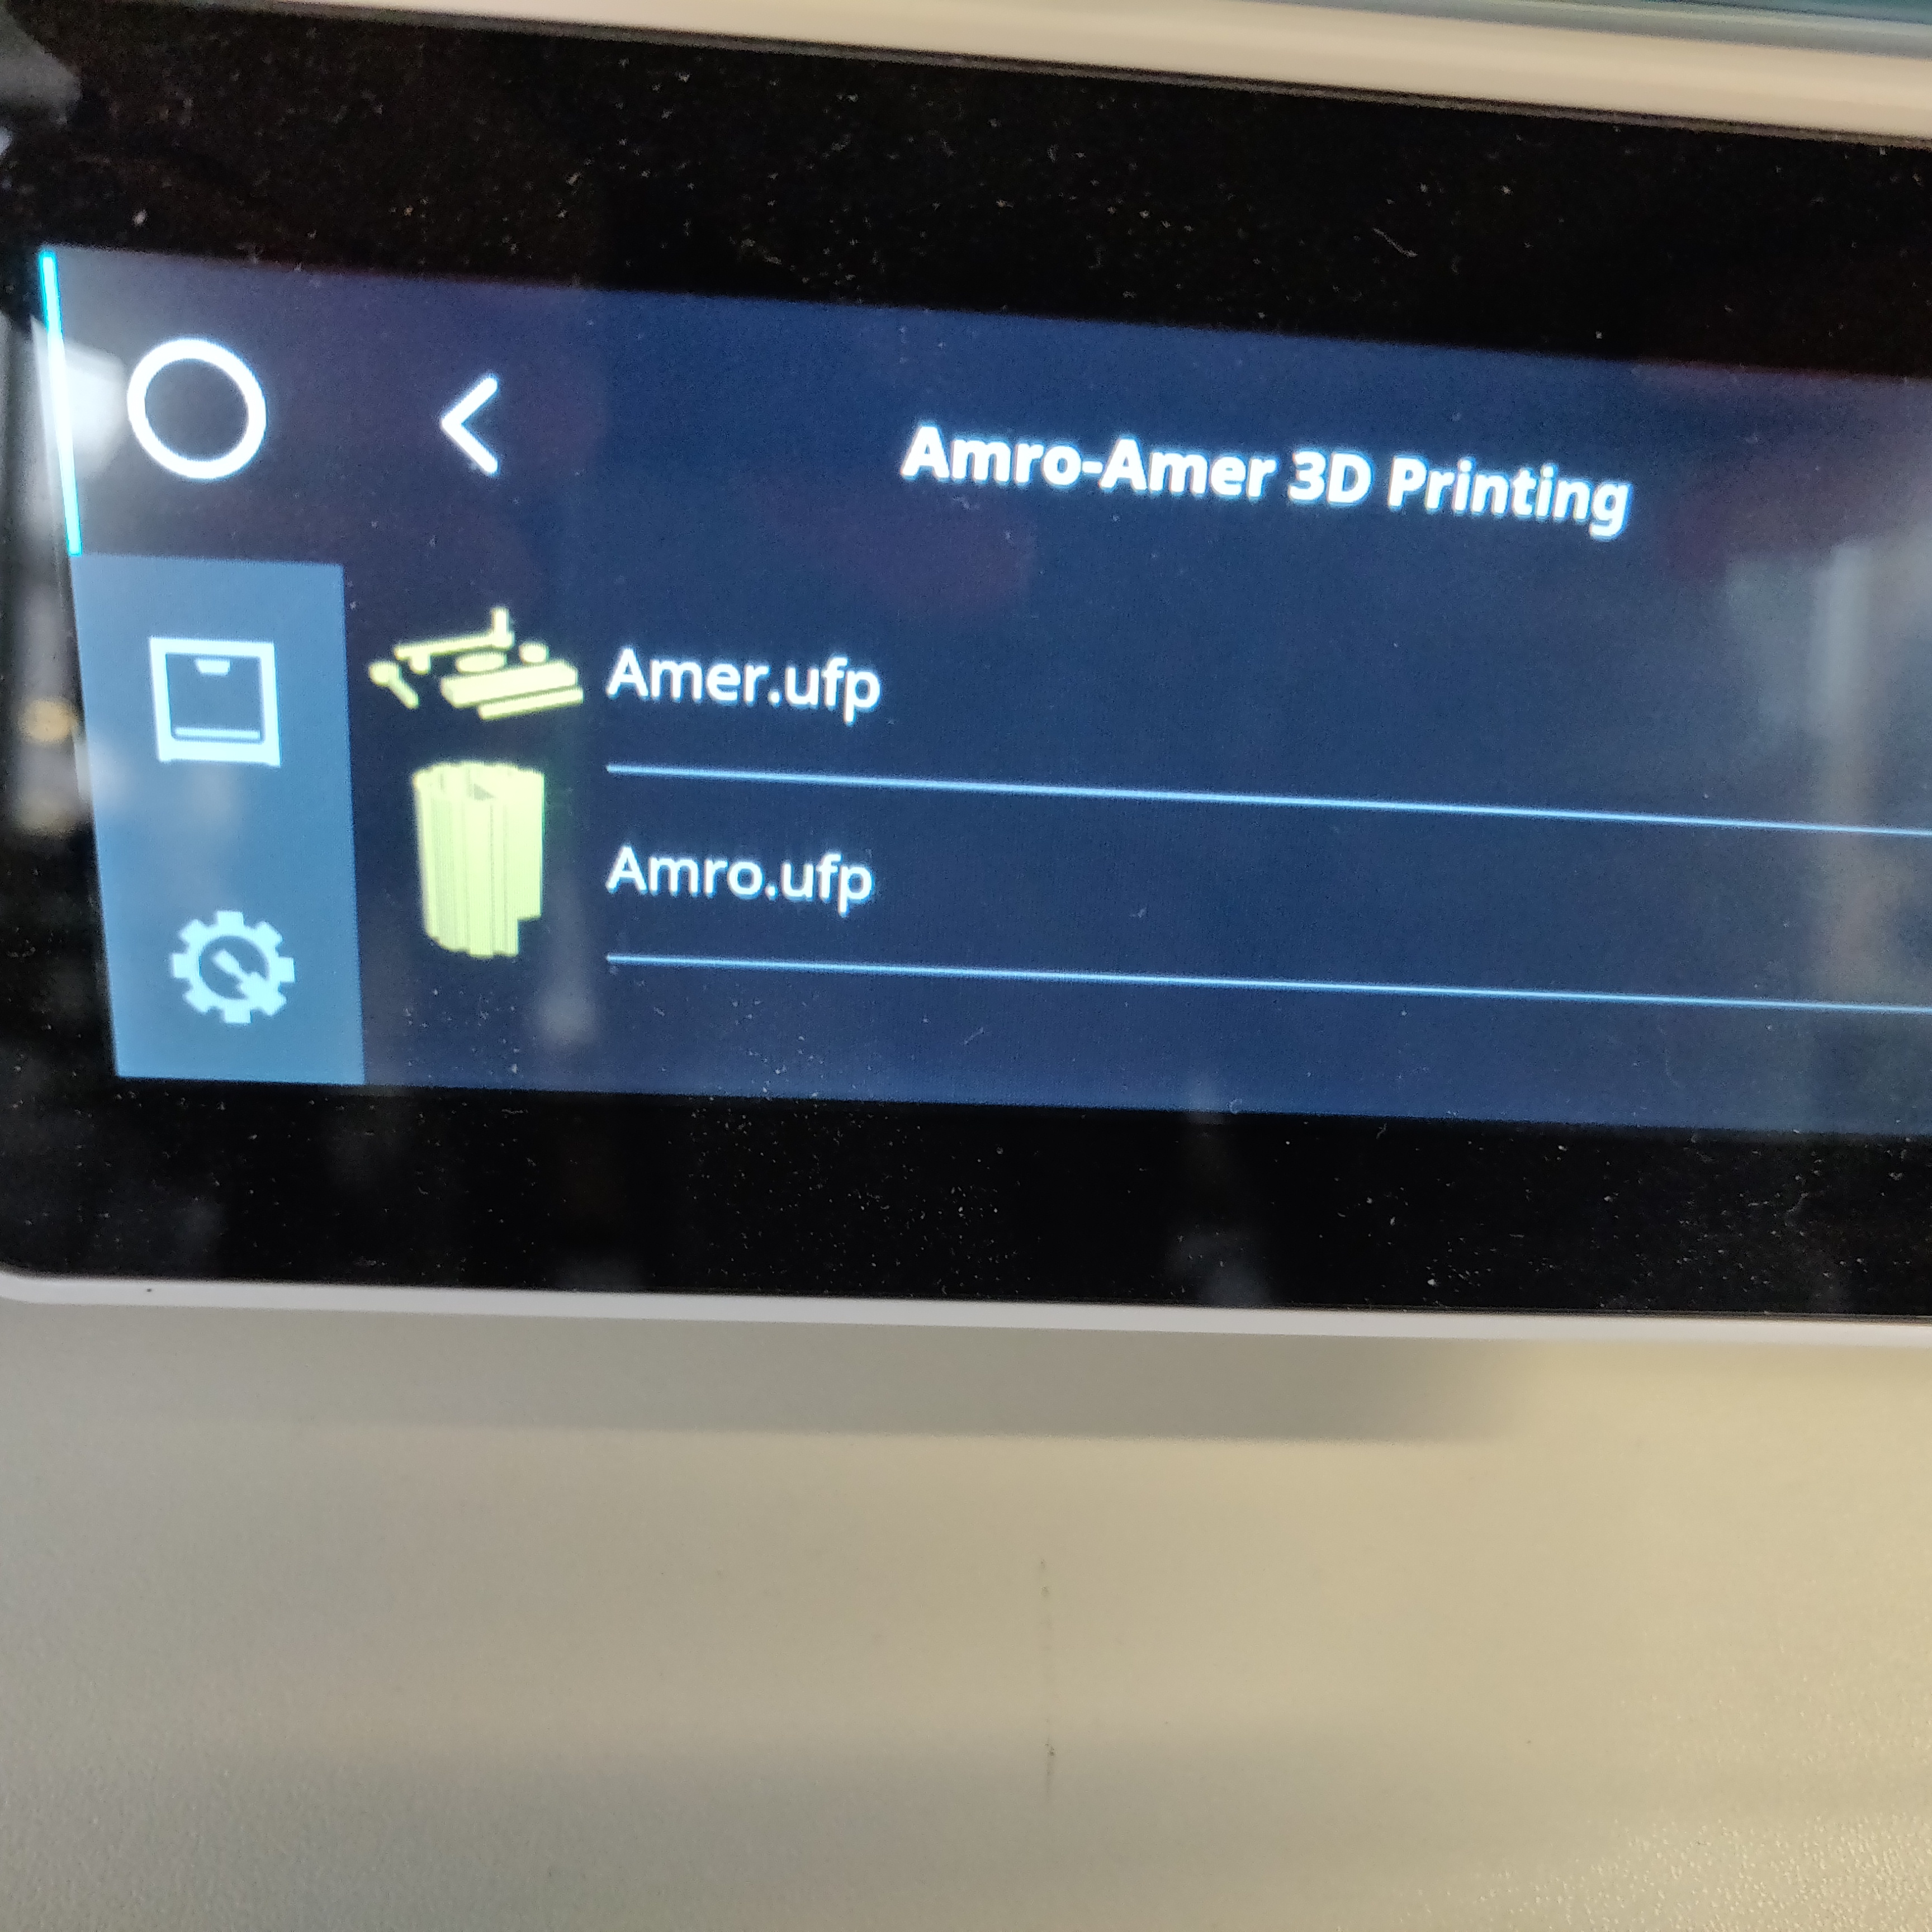
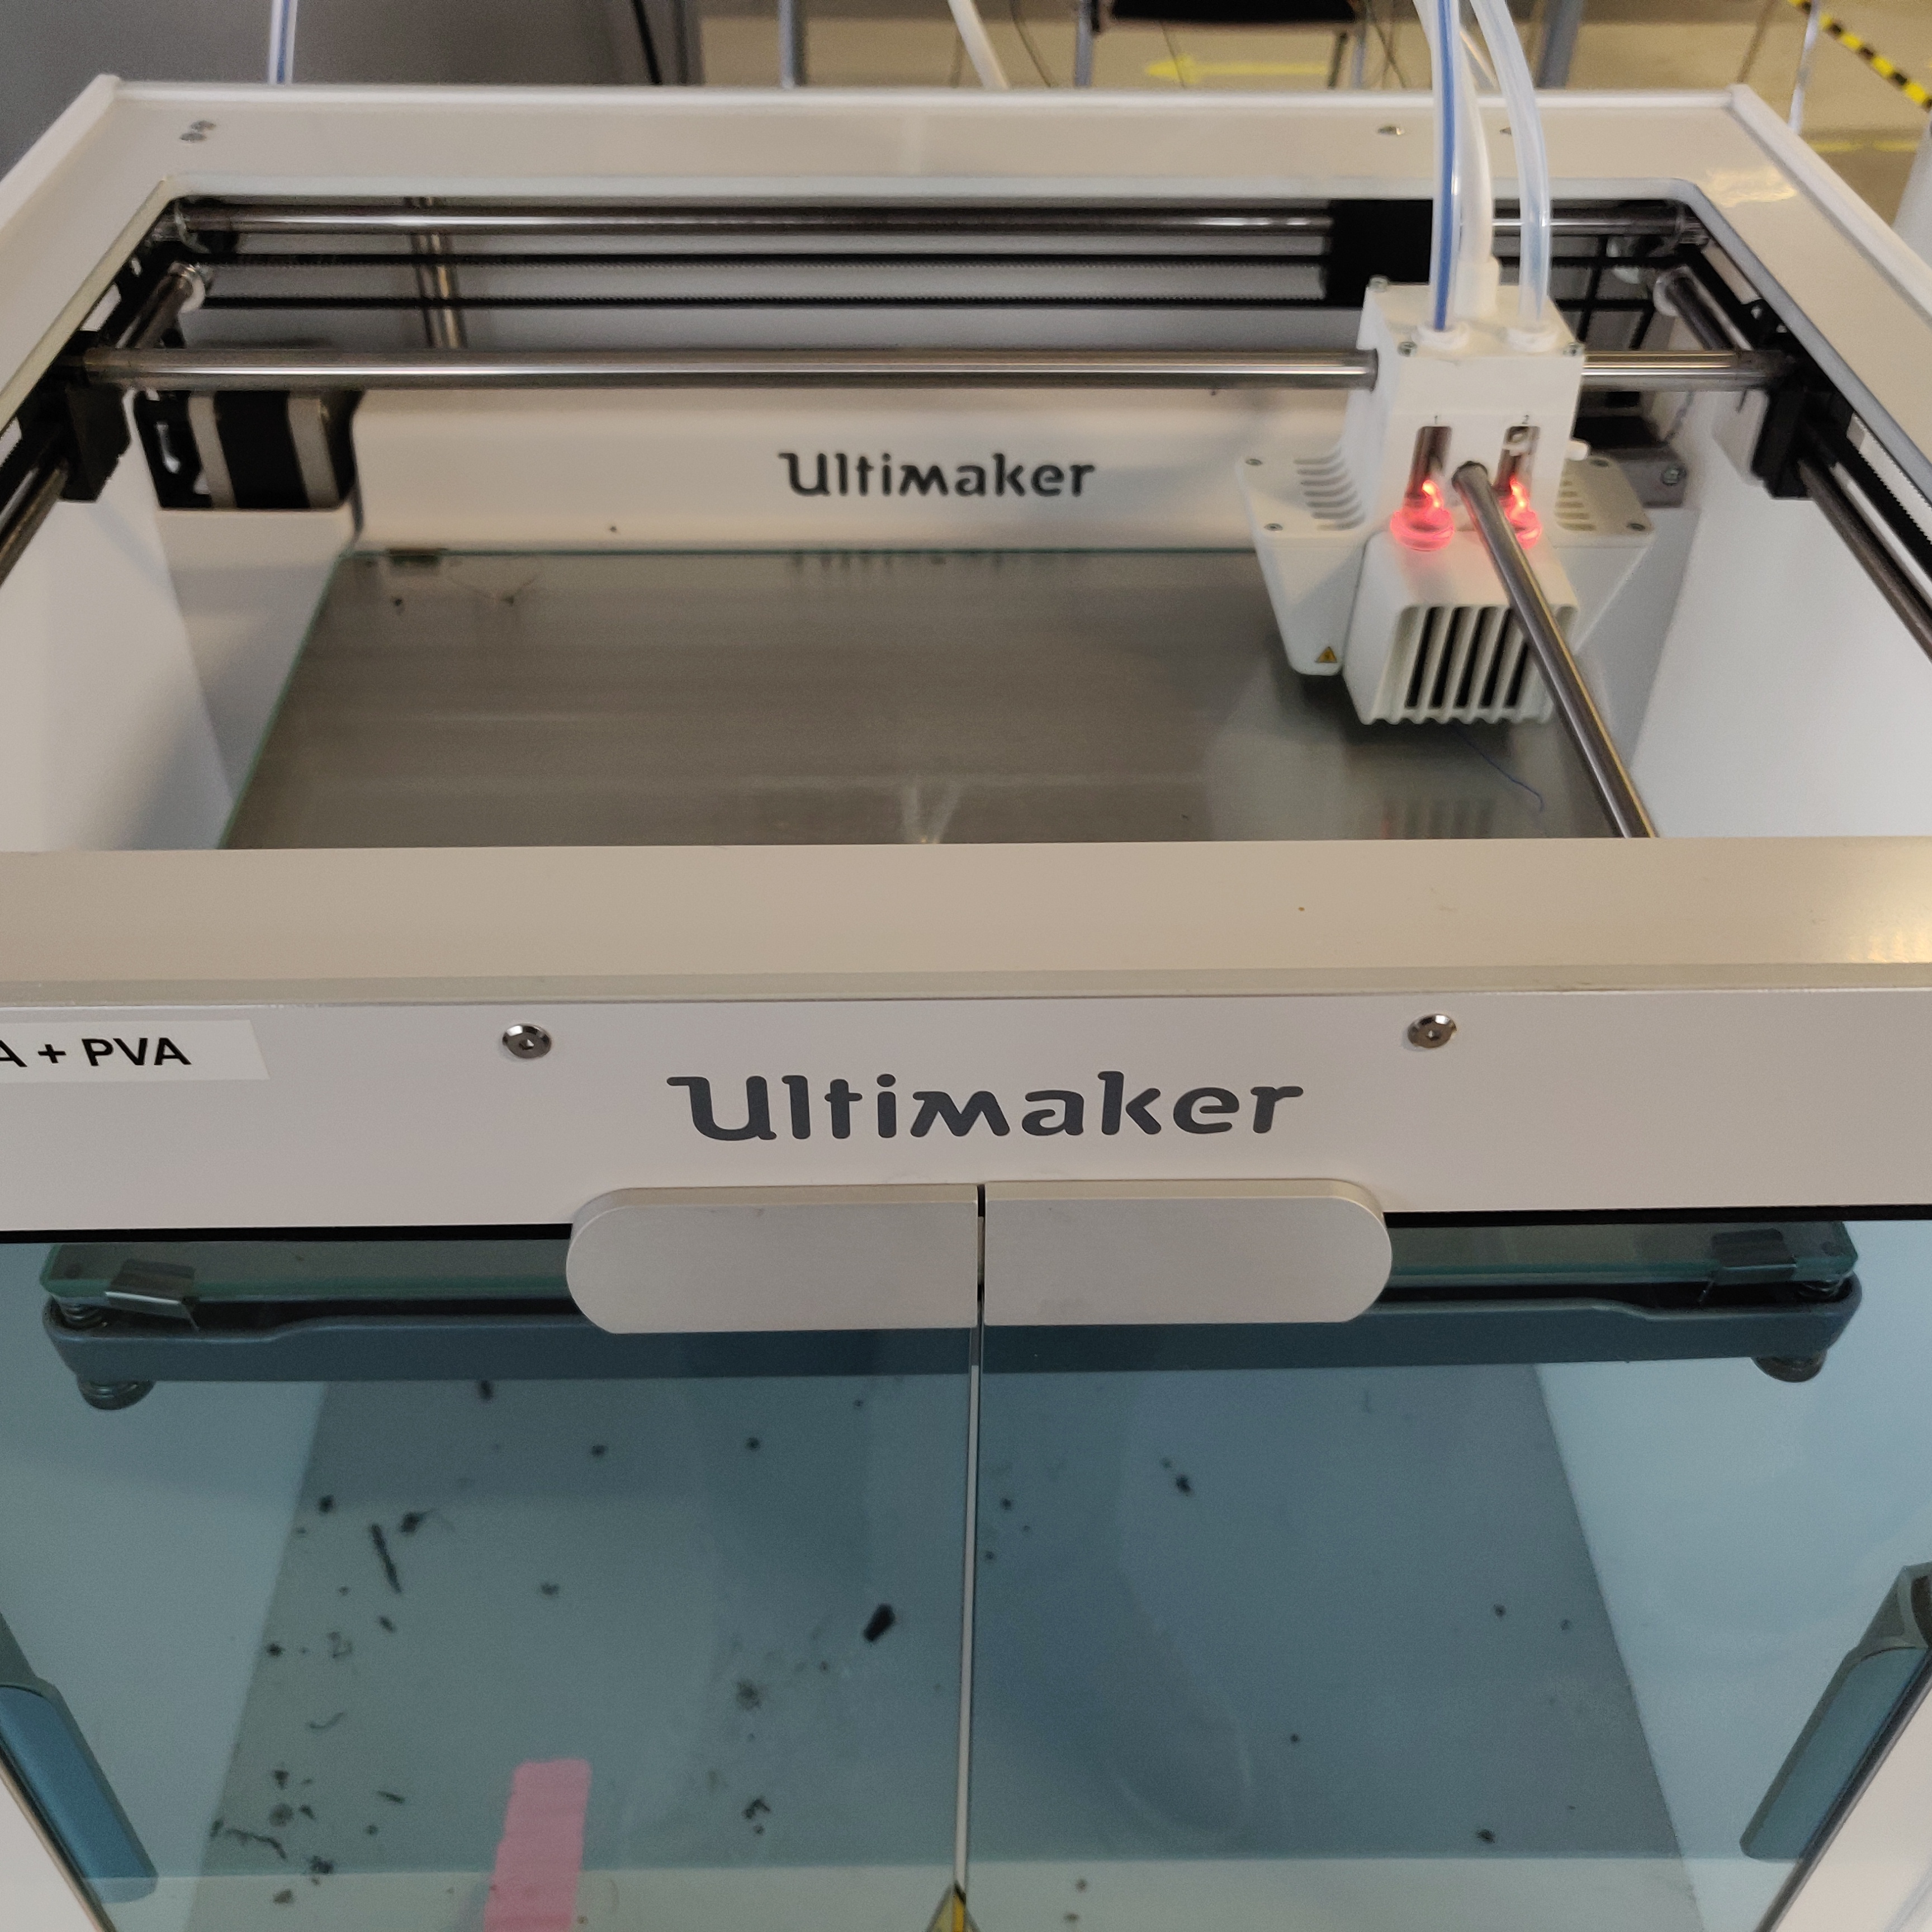
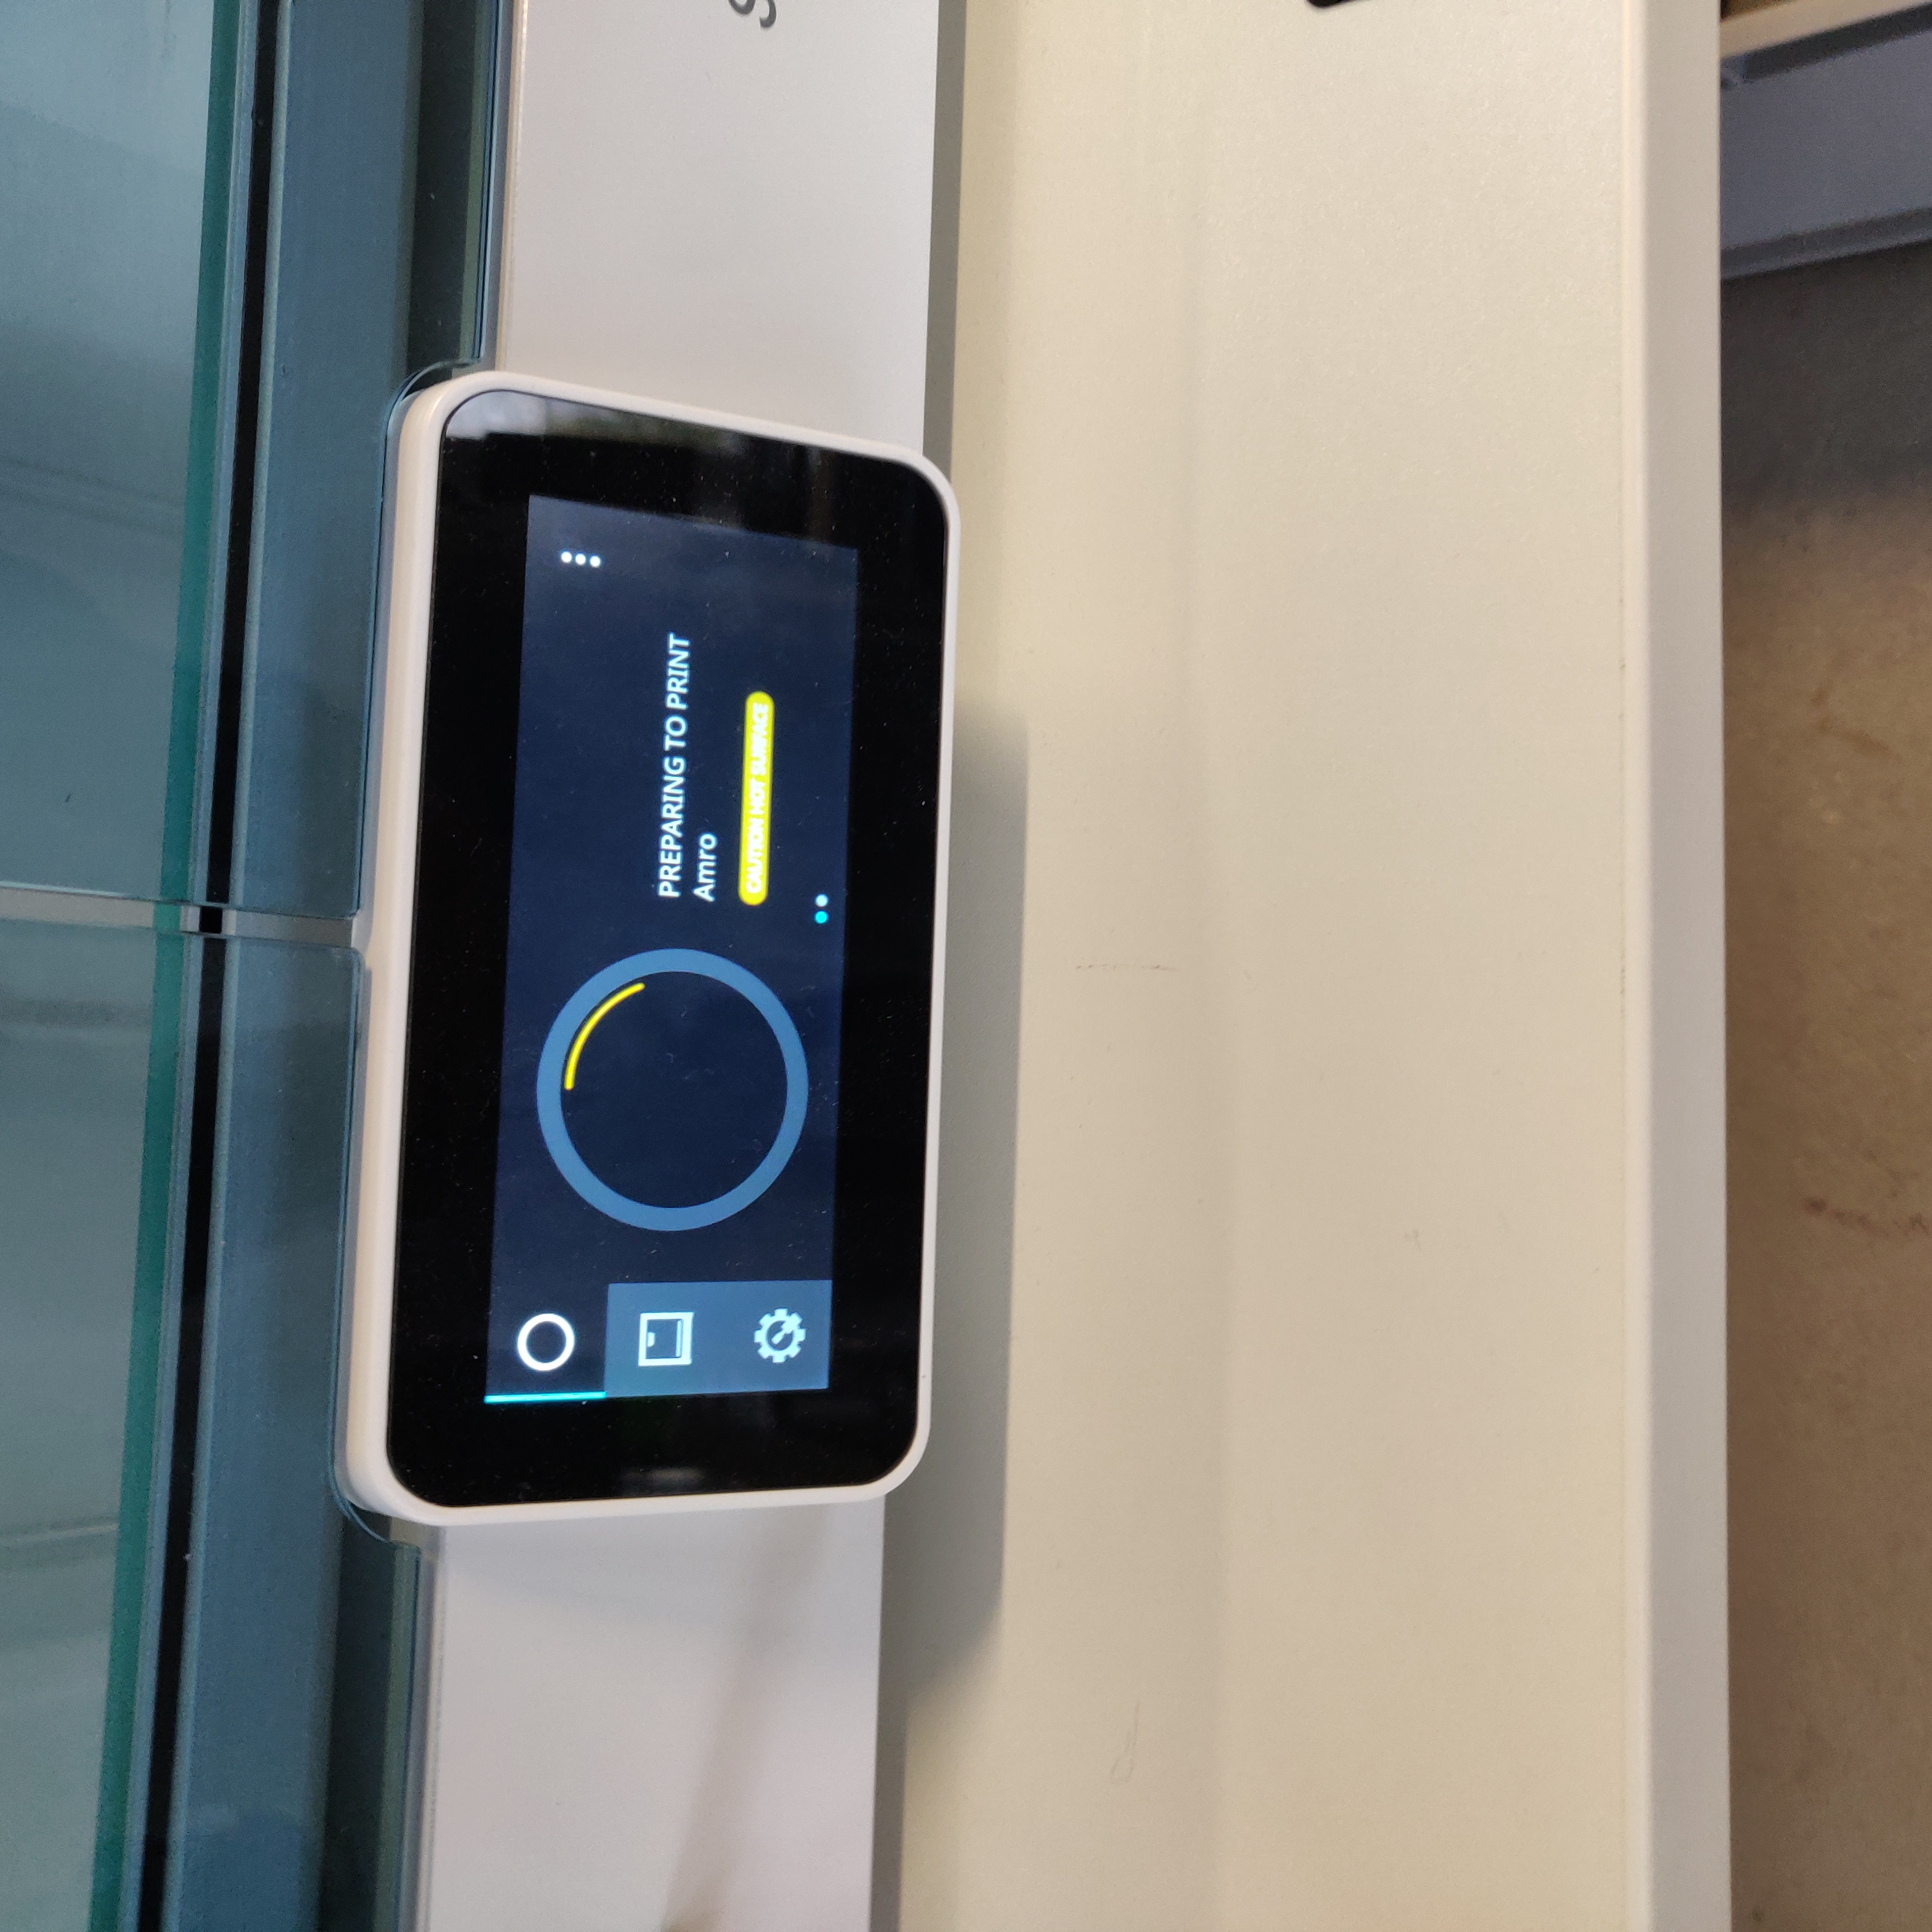
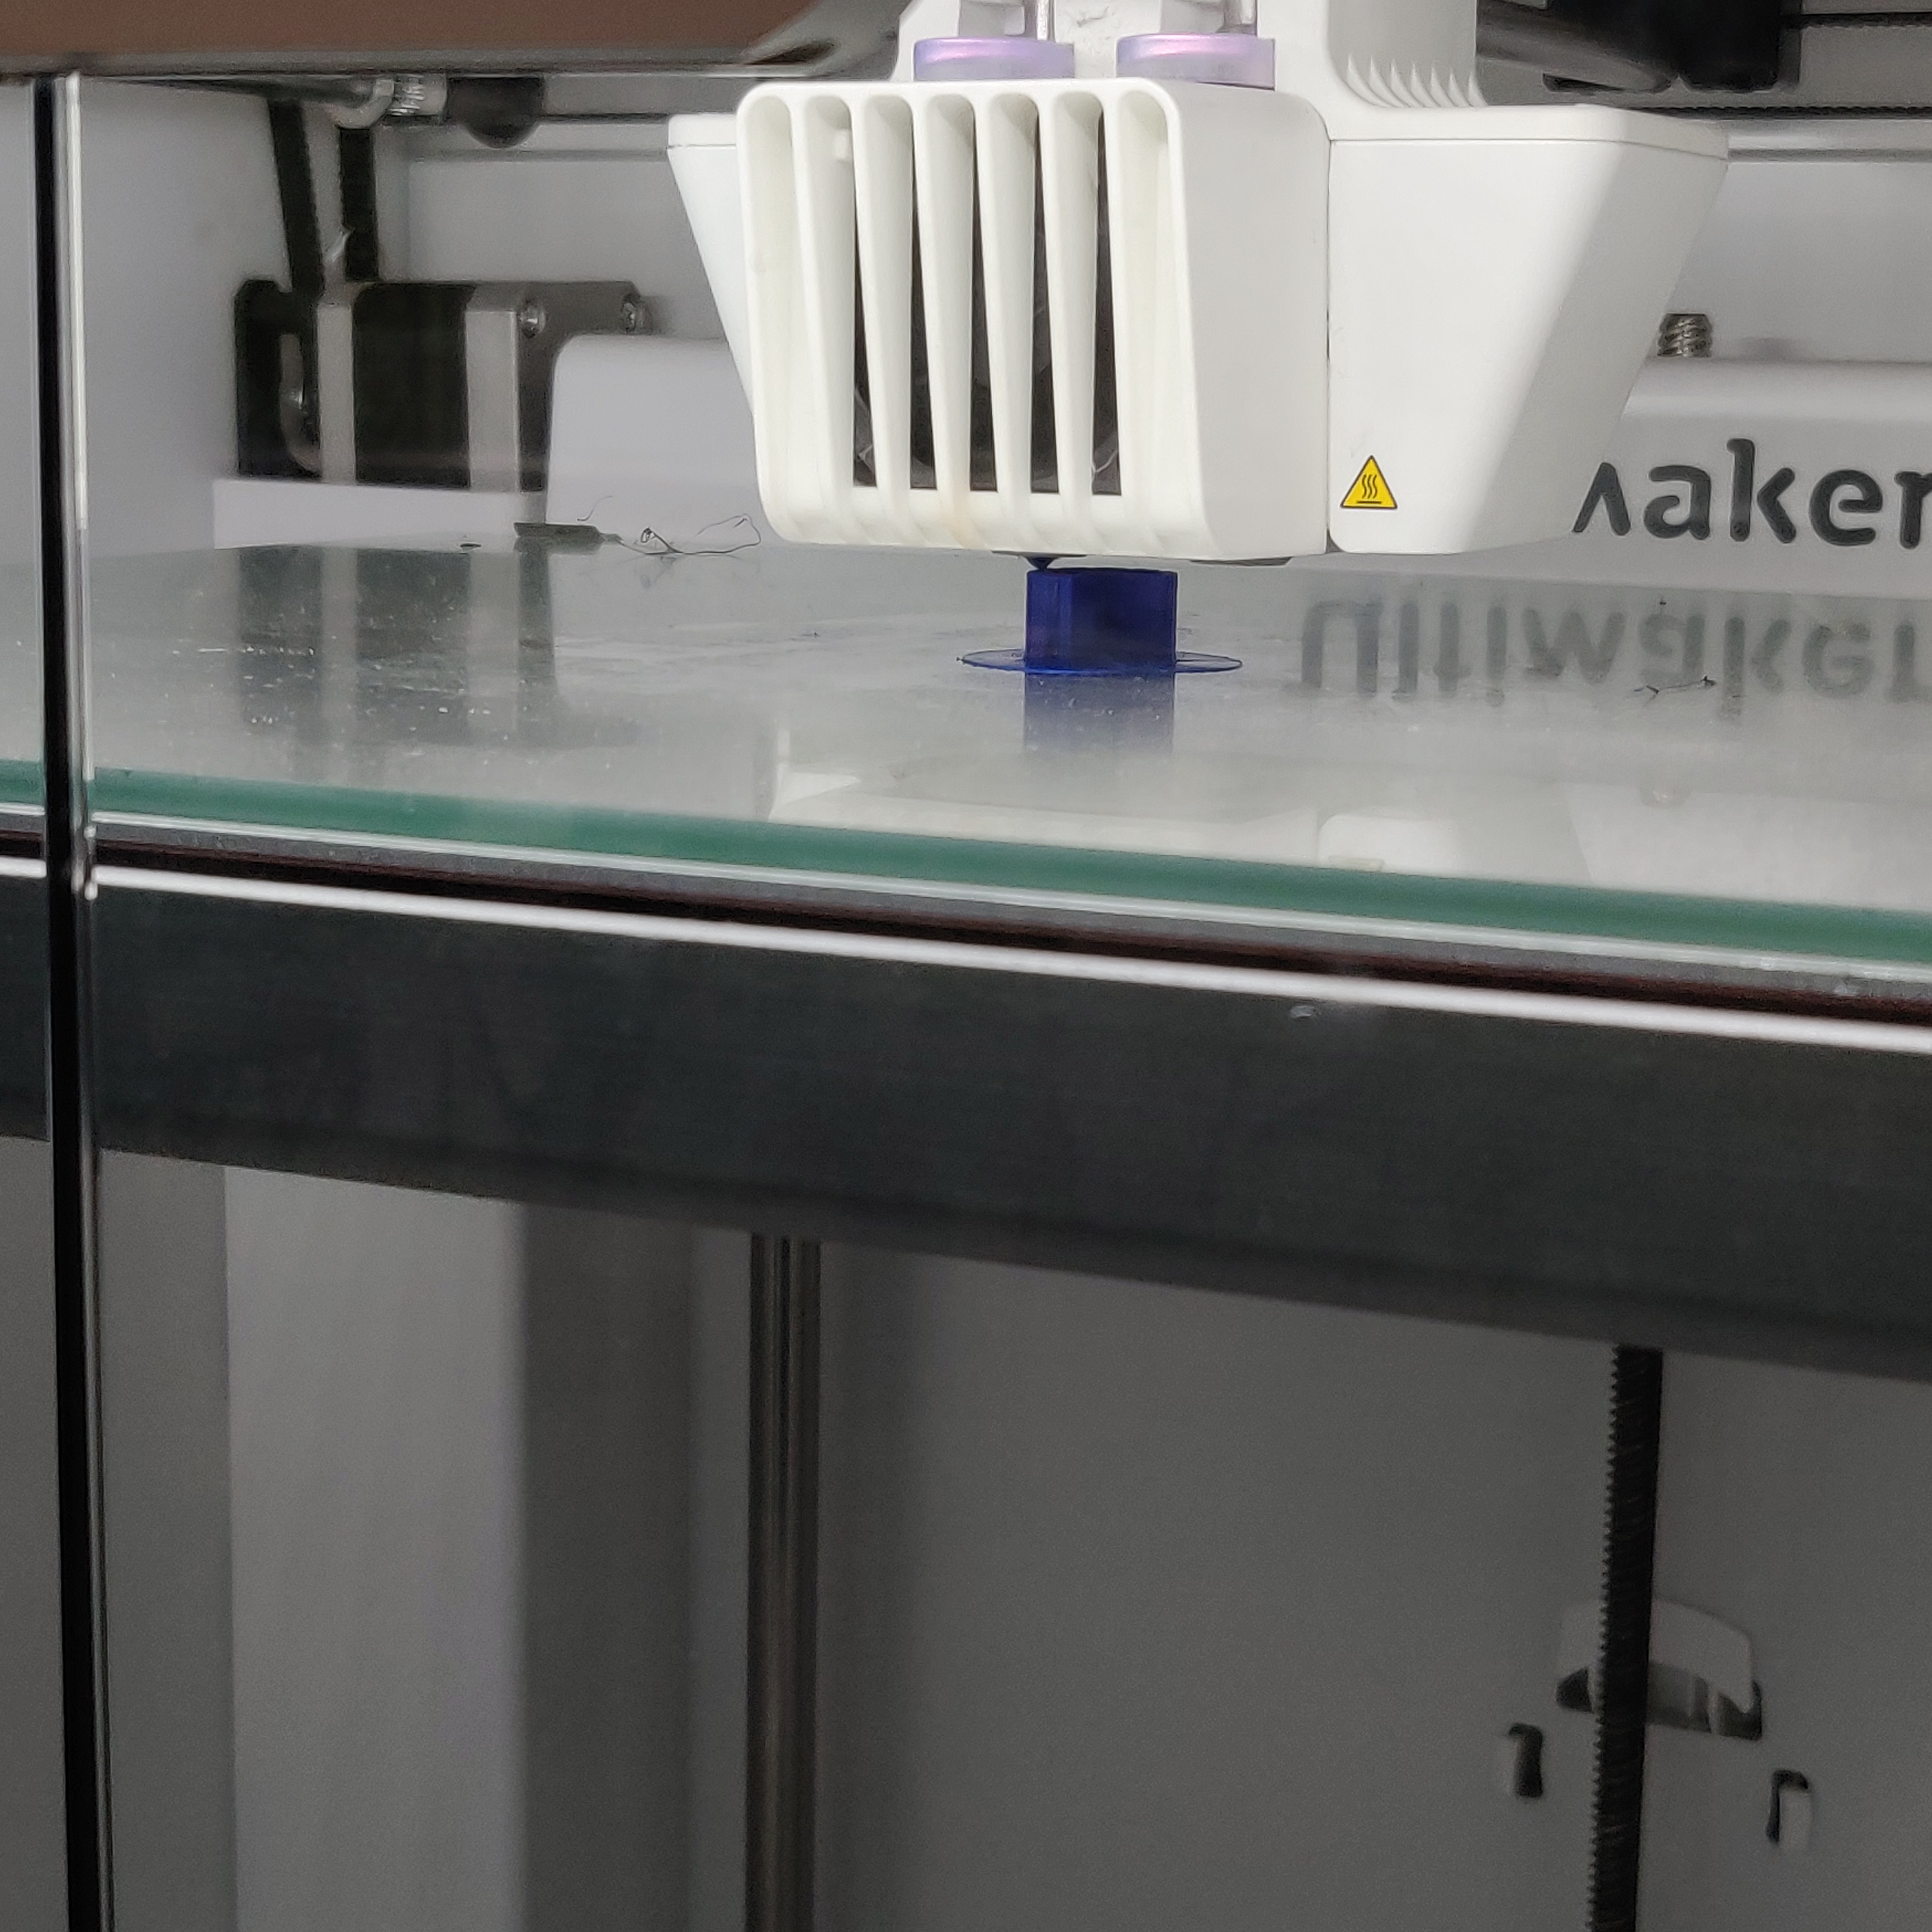
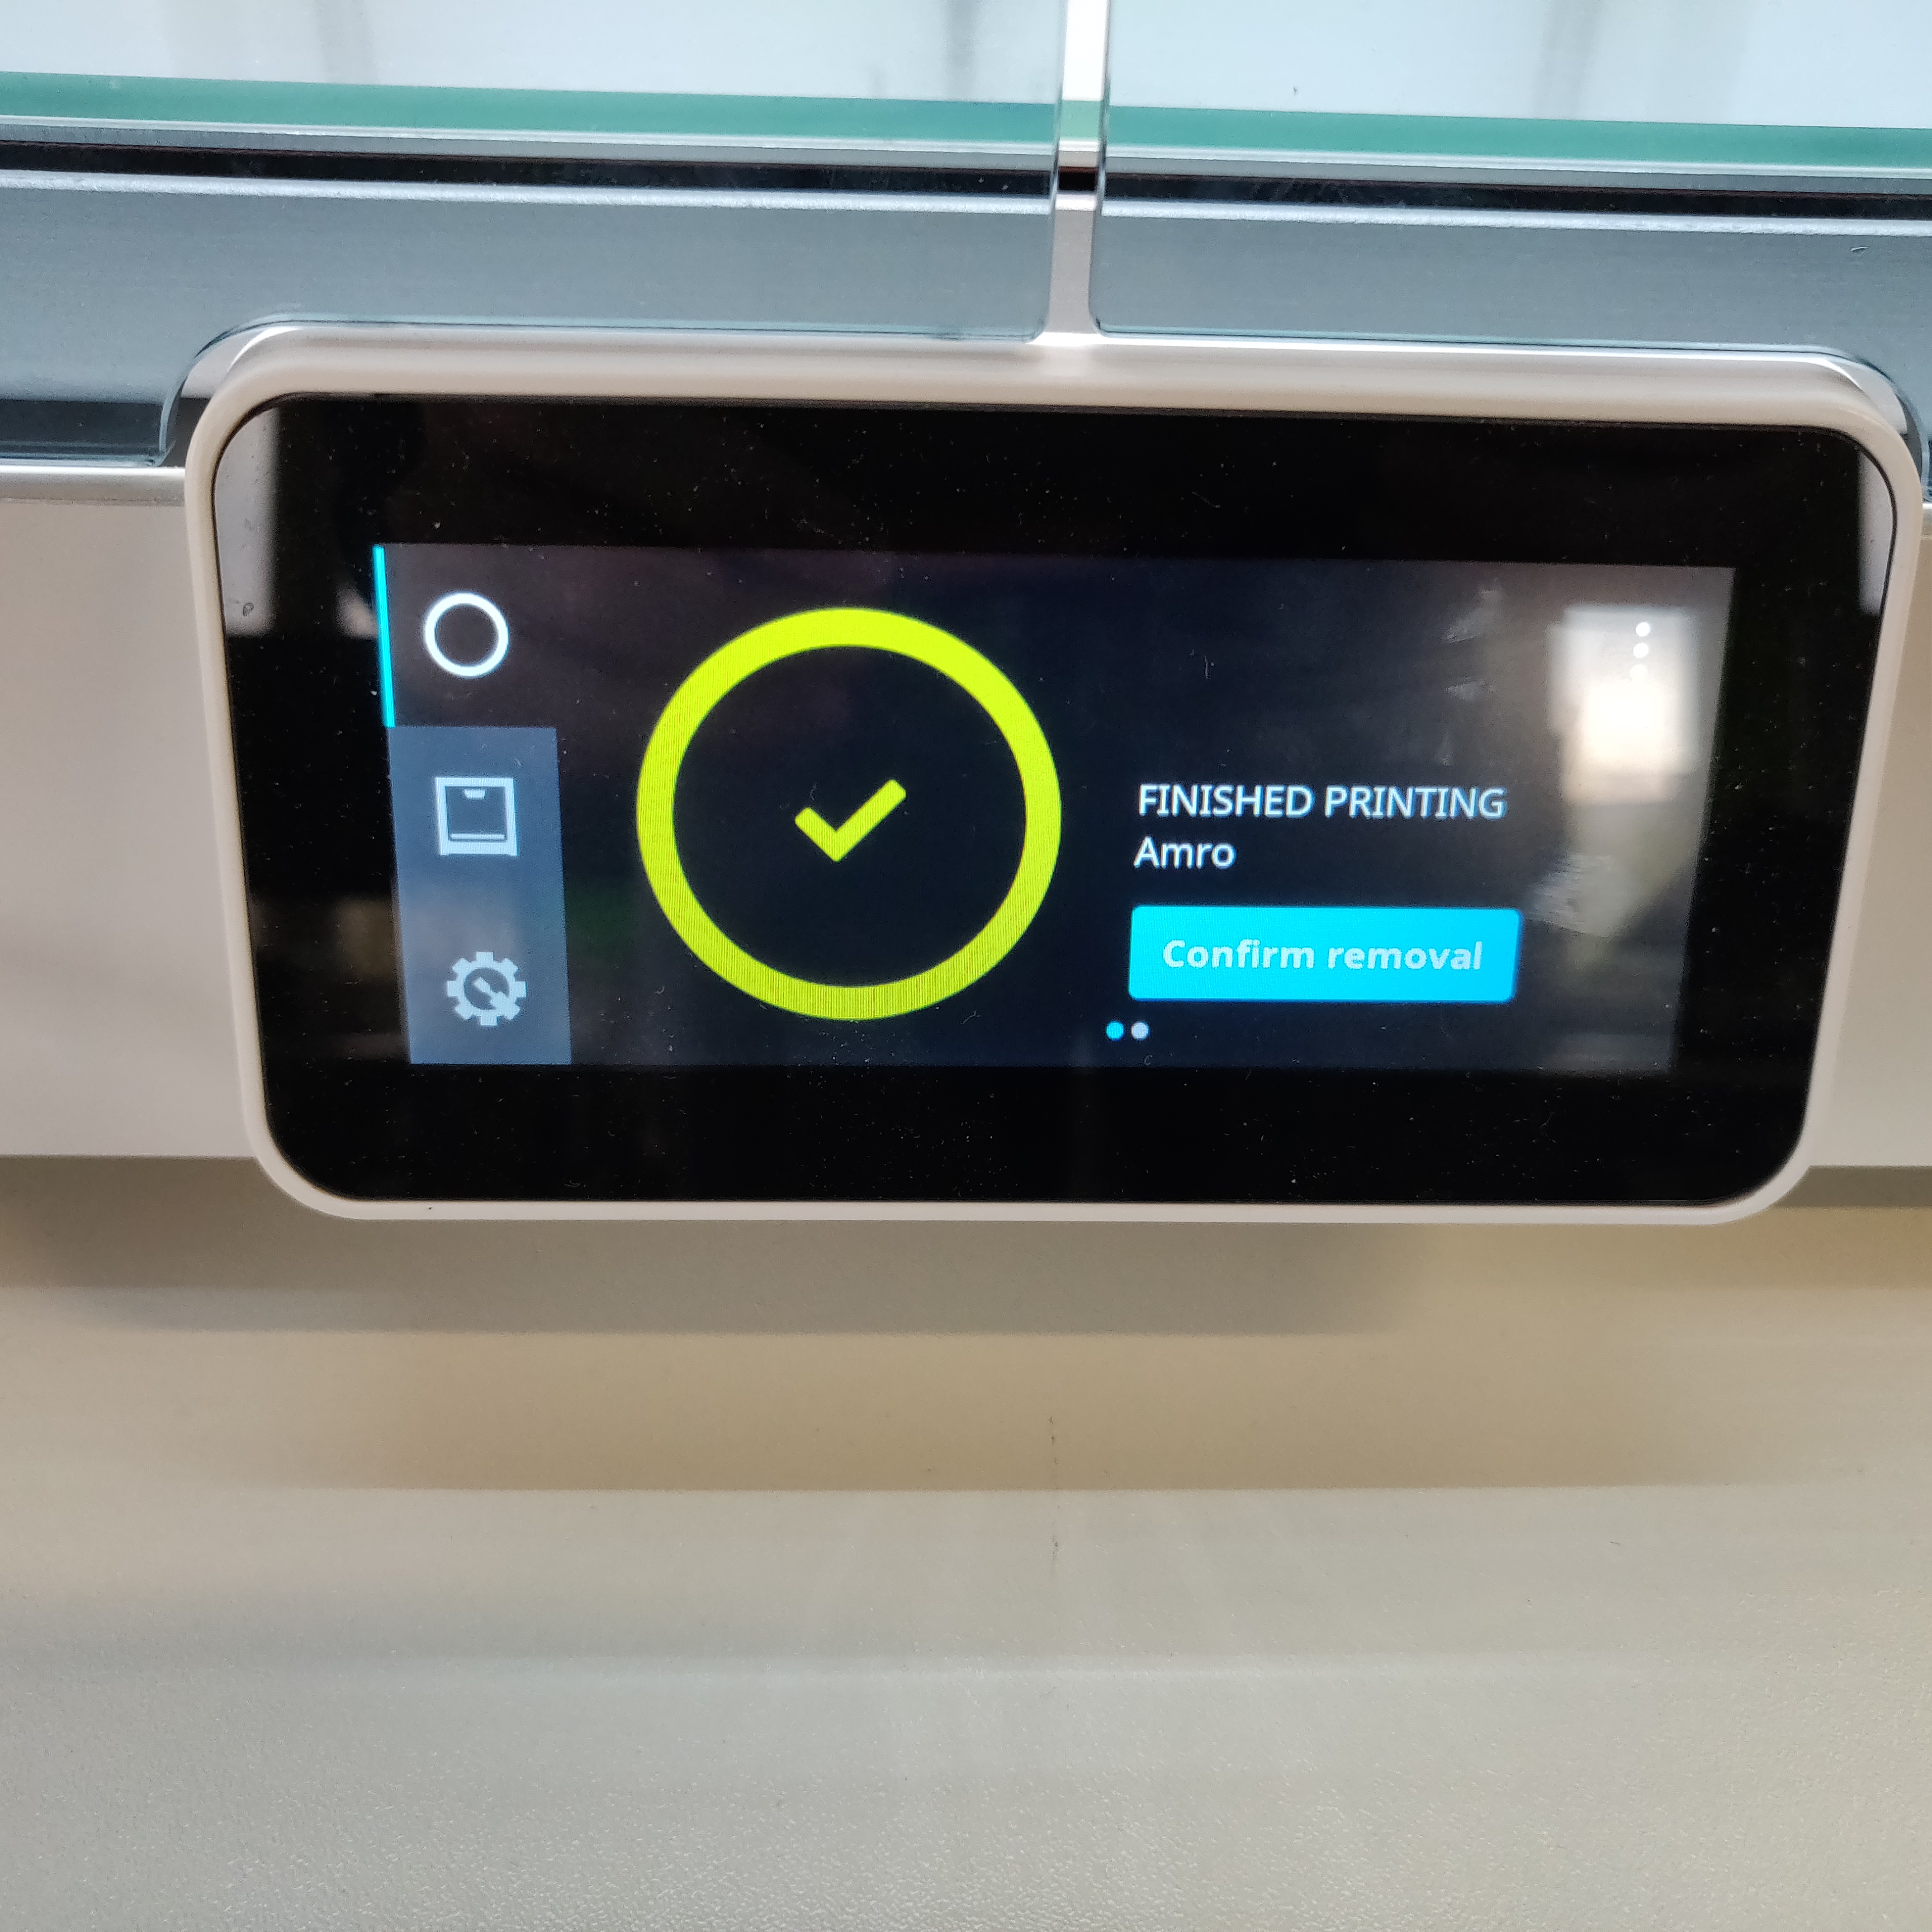
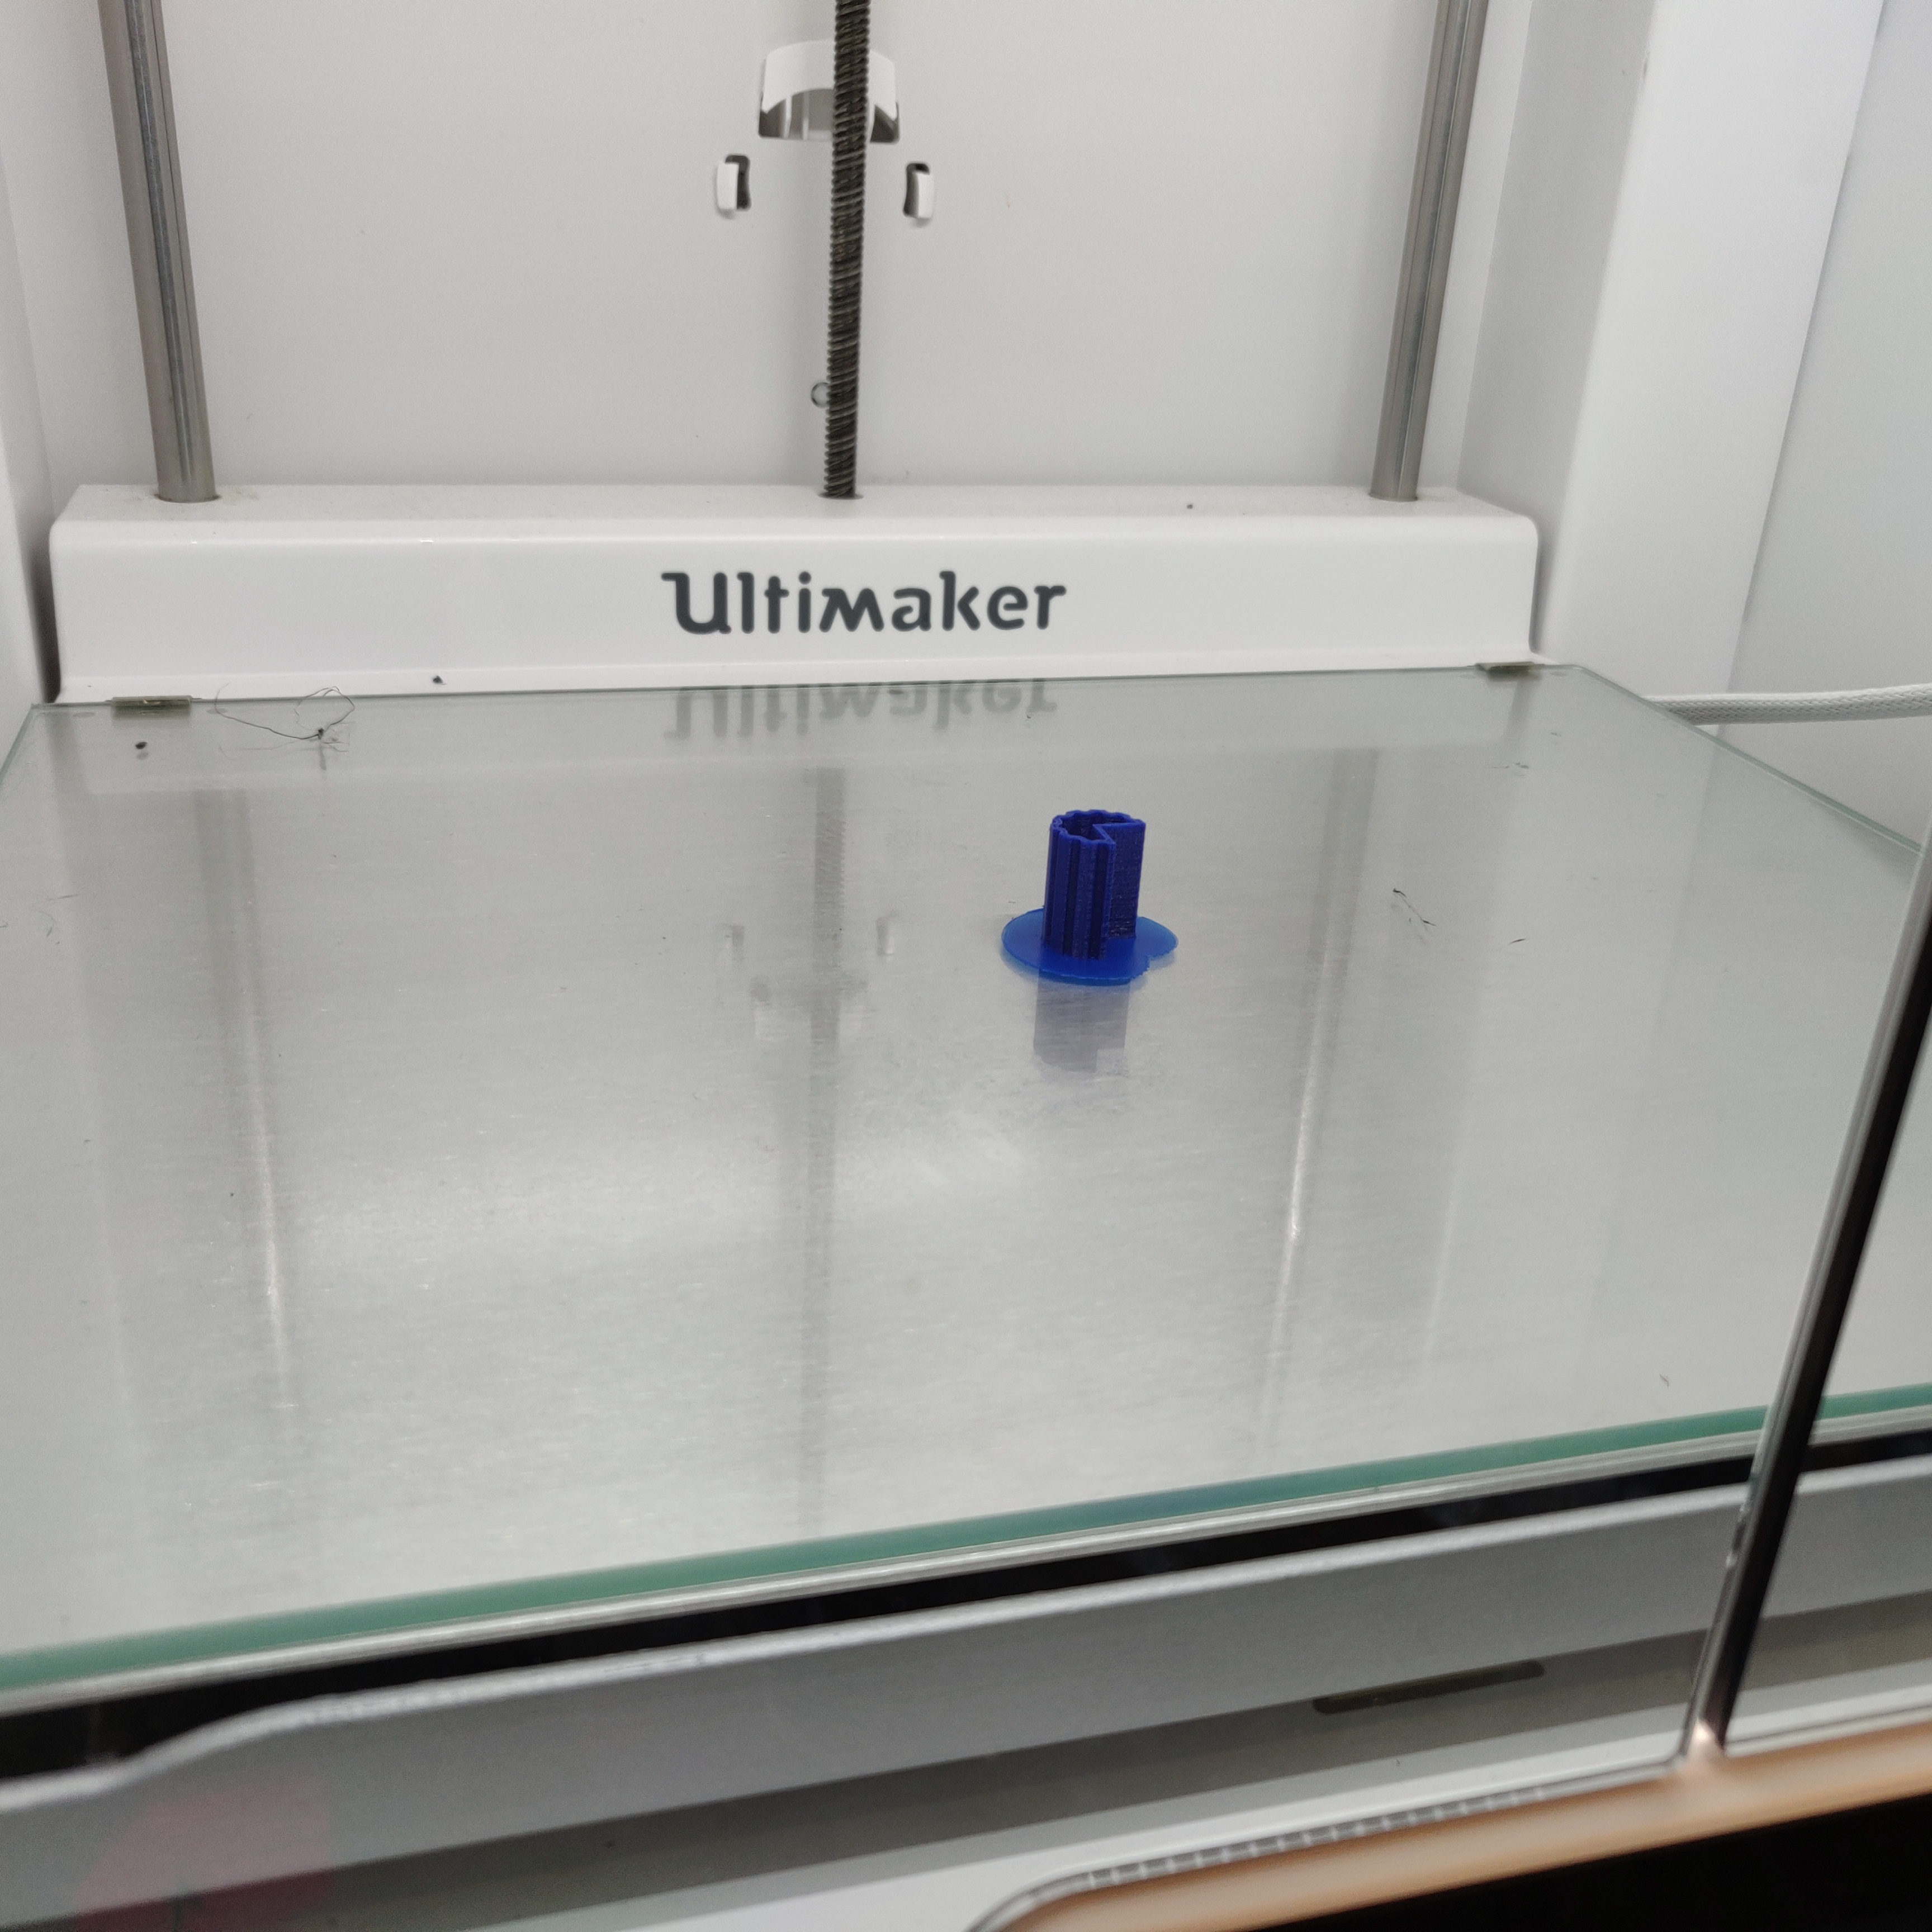
3D Printing
For the 3D Printing we're going to use 360 Fusion software again. First we open the model for the bathtub, then we project the profile of one of the columns:
The sketching profile for the column should look like this:
Then using the extrude tool we can finalize the profile
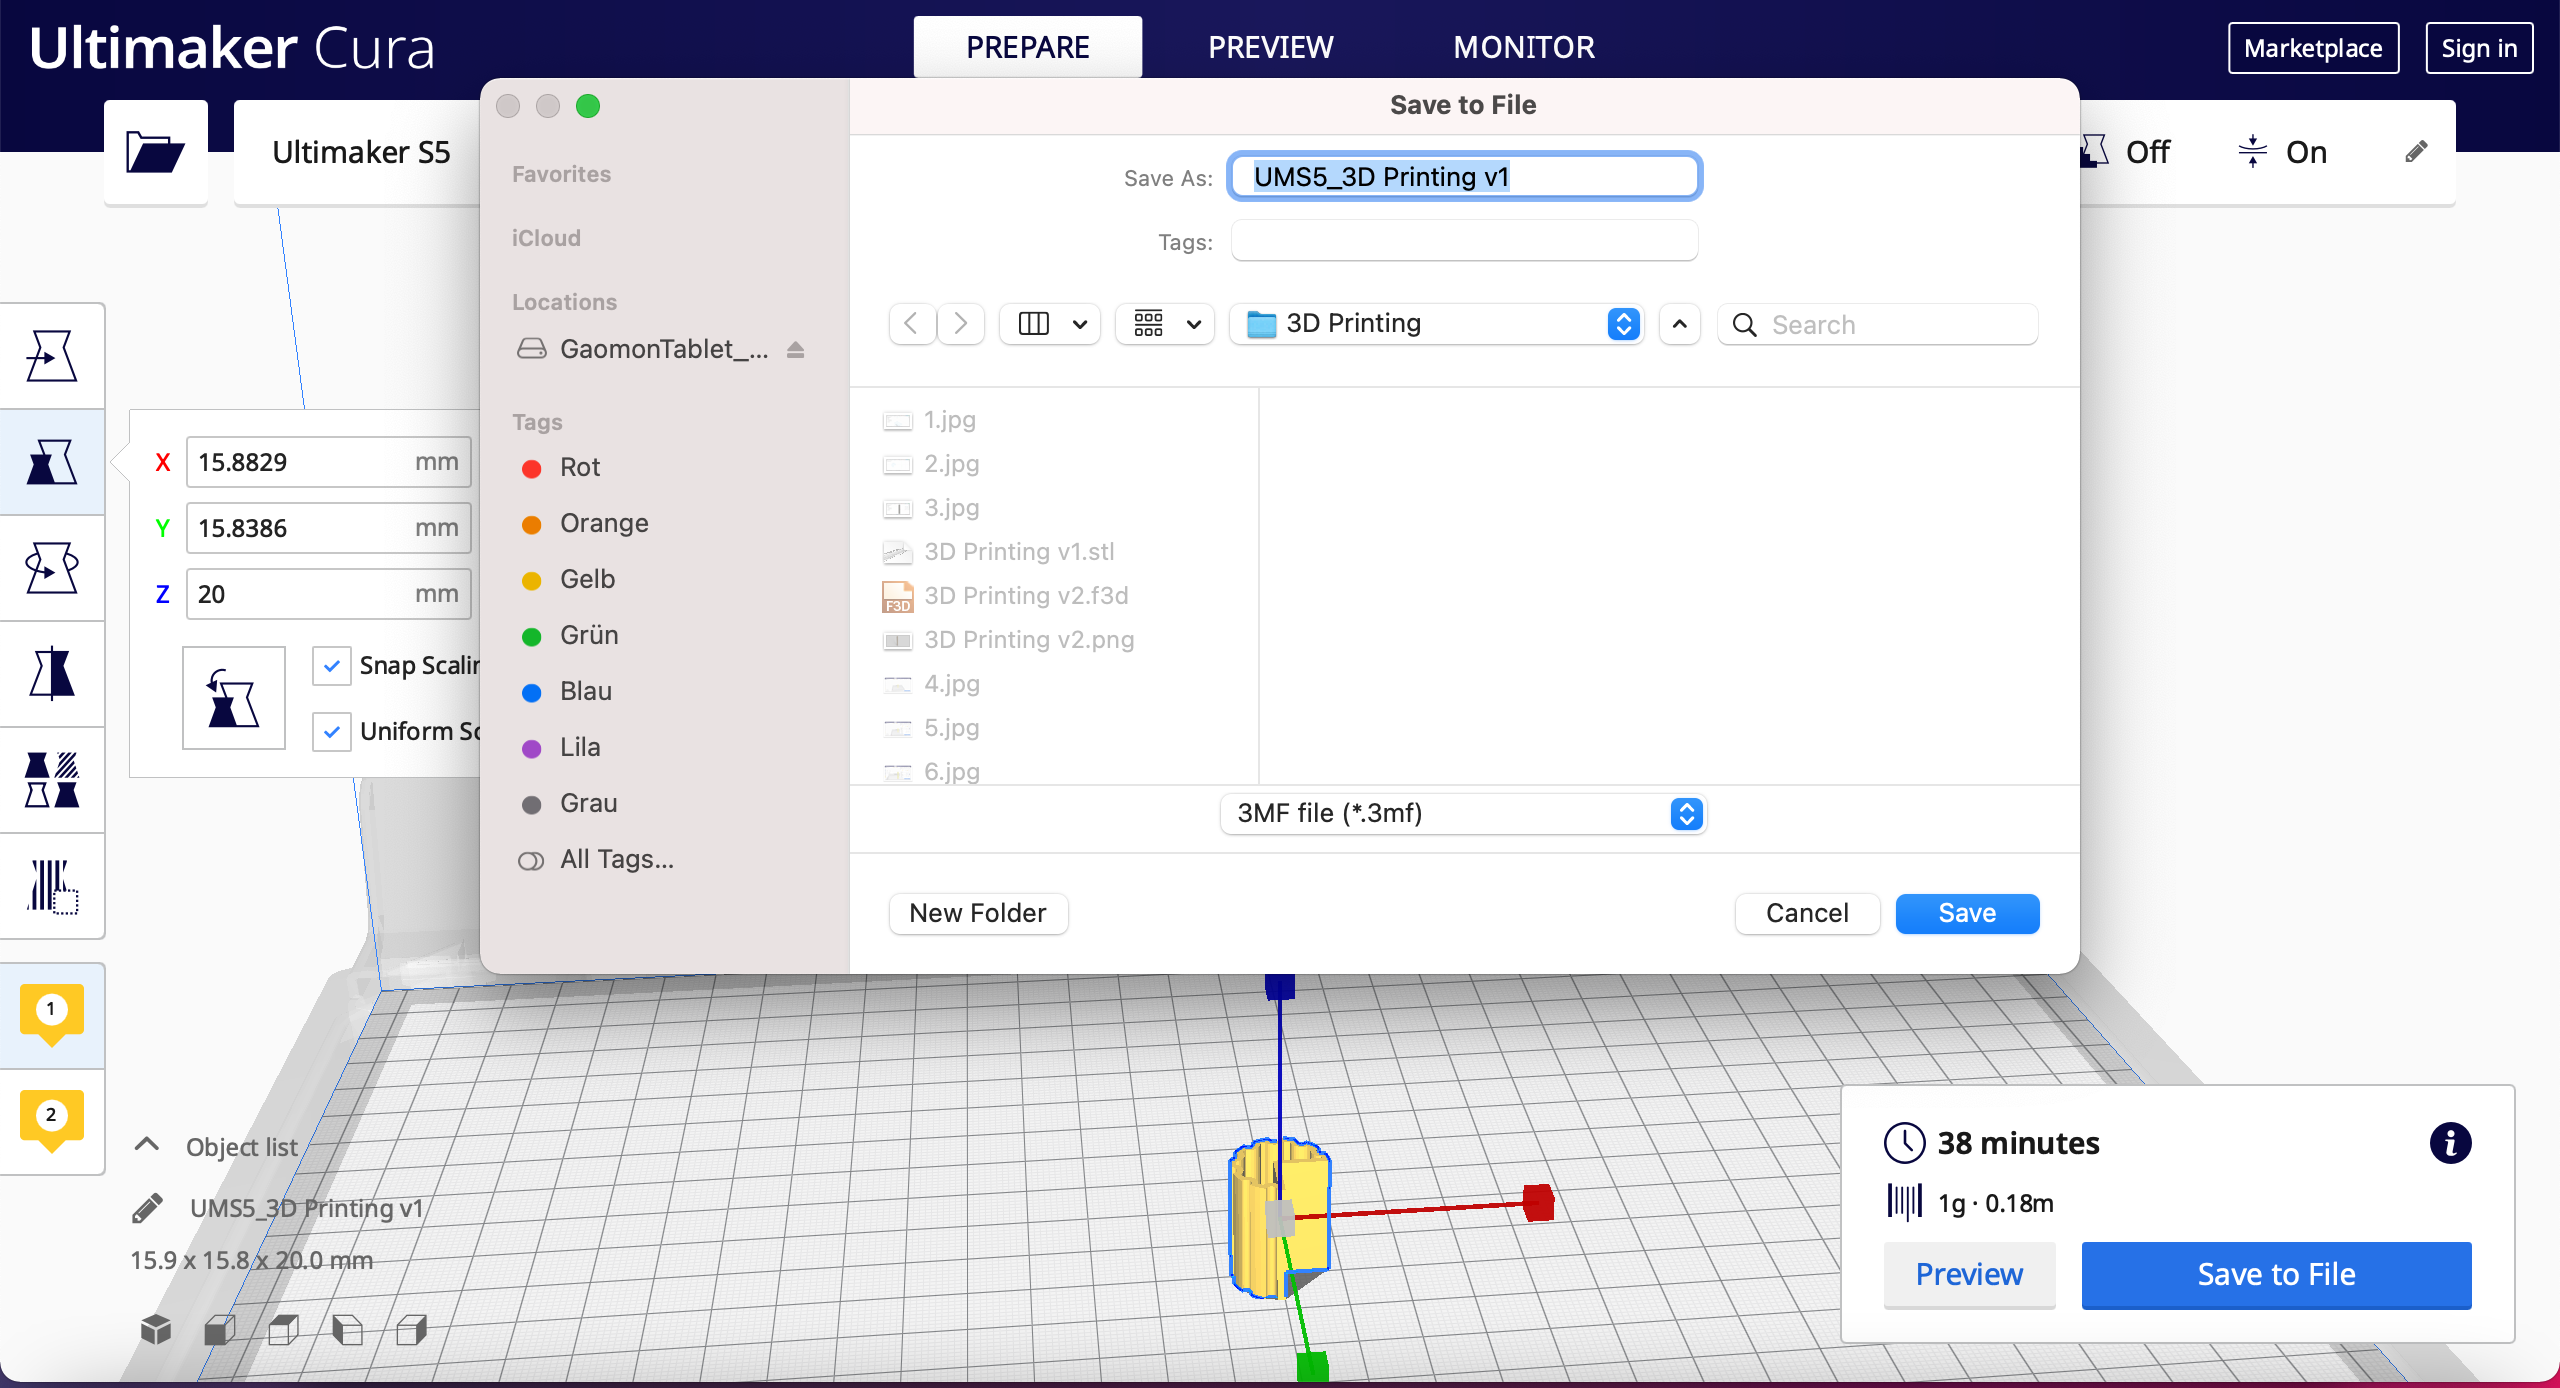
We then export the file with the extension "stl" that's readable by the slicing program "Cura"
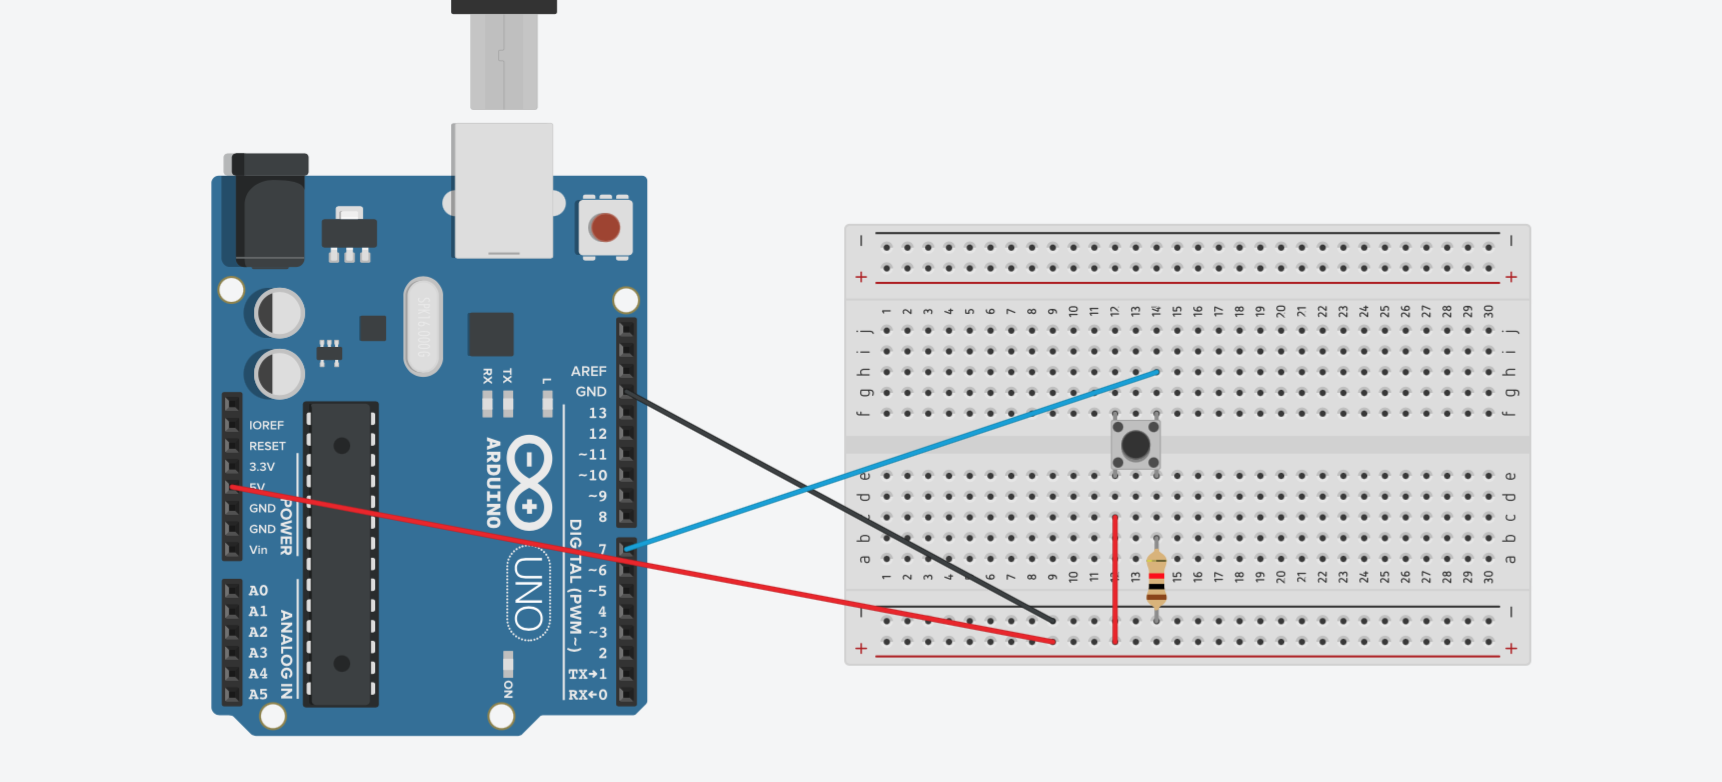
The idea is to write a sketch that turn on/off the built-in arduino LED depending on the number of button pushes and to show each push number on the serial monitor, using Arduino Uno.
Components
Arduino Uno 220Ω resistor Jumpers Breadboard
Circuit Connection
Arduino Sketch
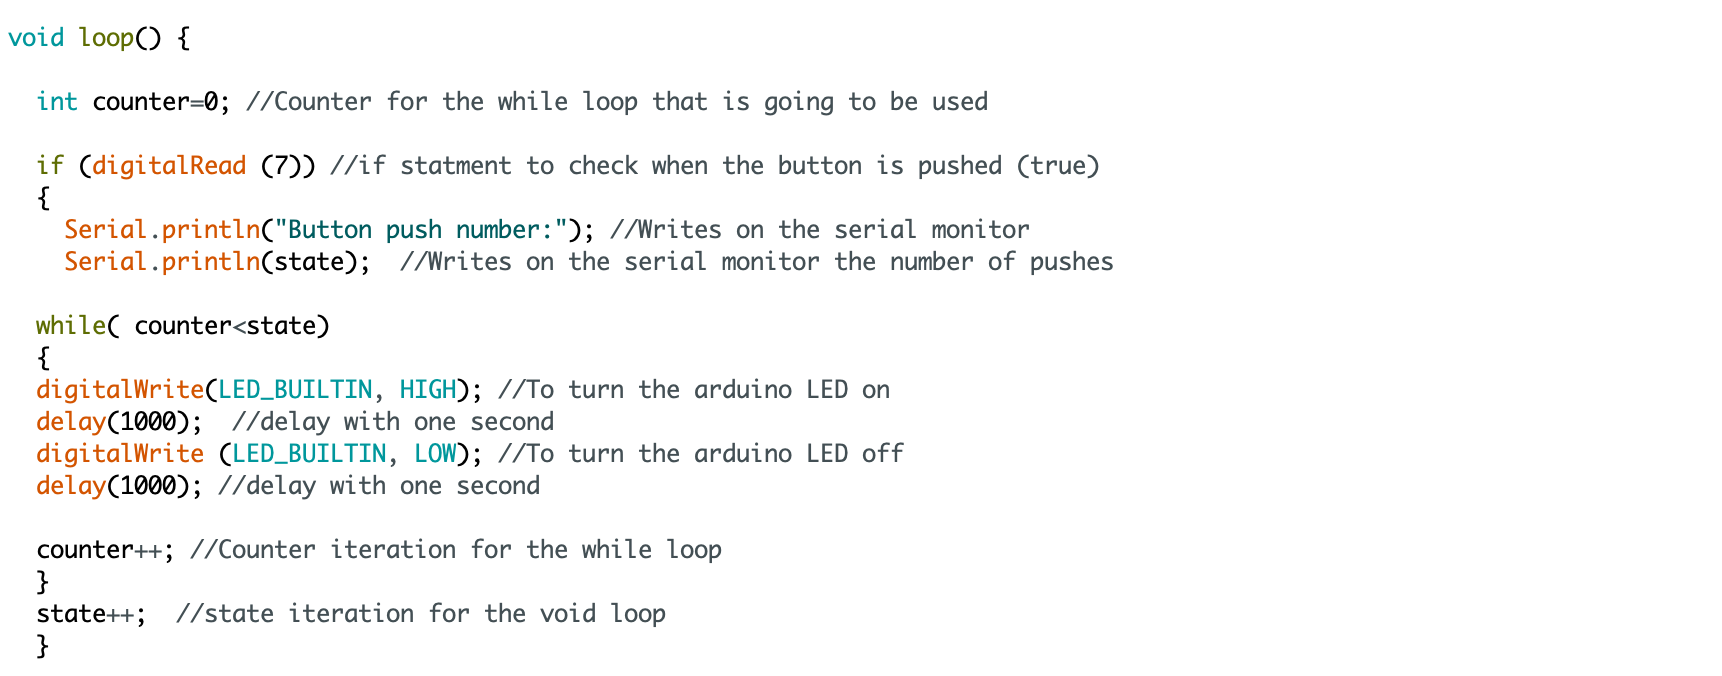
We first declare variable "state" with integer datatype and we initialize by giving it a value of 1, this variable will be responsible for storing the value of the state we're in (the push number):
Then in the void setup scope, we first need begin serial communication on baud 9600, then configuring the pin mode of the built-in LED to be the output and the button connected to pin 7 to be the input:
We then declare variable "state" with integer datatype and we initialize by giving it a value of 0, this variable is going to be use as the counter for the while loop we're going to use:
Then we use an if statement to check if the button is pressed, we add inside it a while loop for turning the LED on/off depending on the number of pushes (value of the state variable), we then iterate the loop counter inside the loop scope, and we iterate the state counter inside the if statement scope:
In the arduino software we set the board type to arduino uno from tools->board->arduino uno
Then we plug the Arduino Uno to the laptop usb and then we choose the port from tools->port->"arduino uno port"
After that we press verify to verify the sketch code, then we press upload to upload it to the arduino